How to Photograph Your Knitting Pattern Designs
Do you get stuck at the photography stage of the knitting pattern design process? Whether you consider yourself “terrible at photography”, don’t have the right equipment or just can’t be bothered with it, you’re not alone. Pattern photography is something that many knitting pattern designers feel uneasy about.
Unfortunately, it’s also unavoidable! When you’re selling your knitting patterns online, your pattern photography is very important. In fact, it’s one of your primary selling tools! Sure, the information that you share on your pattern’s sales page is useful too, but most makers are only likely to read that if they are sold by your pattern photos!
Why does your knitting pattern photography matter?
Imagine if you were selling your knitting patterns in-person. You’d likely have a sample knitted up that potential customers could admire and touch. Maybe they could even try it on!
When you’re selling online, it’s totally different. Your photographs need to visually communicate as many of the details of your design as possible, without the maker even seeing the sample in real life!
Your pattern photographs, and those of your test knitters, are the only way that most makers even know what your design looks like. If you don’t photograph your knitting pattern design in an attractive and informative way, makers will be left guessing on the details of your design, making it much less likely that they will buy the pattern.
What makes great knitting pattern photography?
Knitting pattern photography doesn’t need to be fancy. It just needs to give the maker all of the visual information they need about your design in a clear and attractive manner.
Here are three main things to focus on when shooting your knitting pattern designs:
1. Lighting
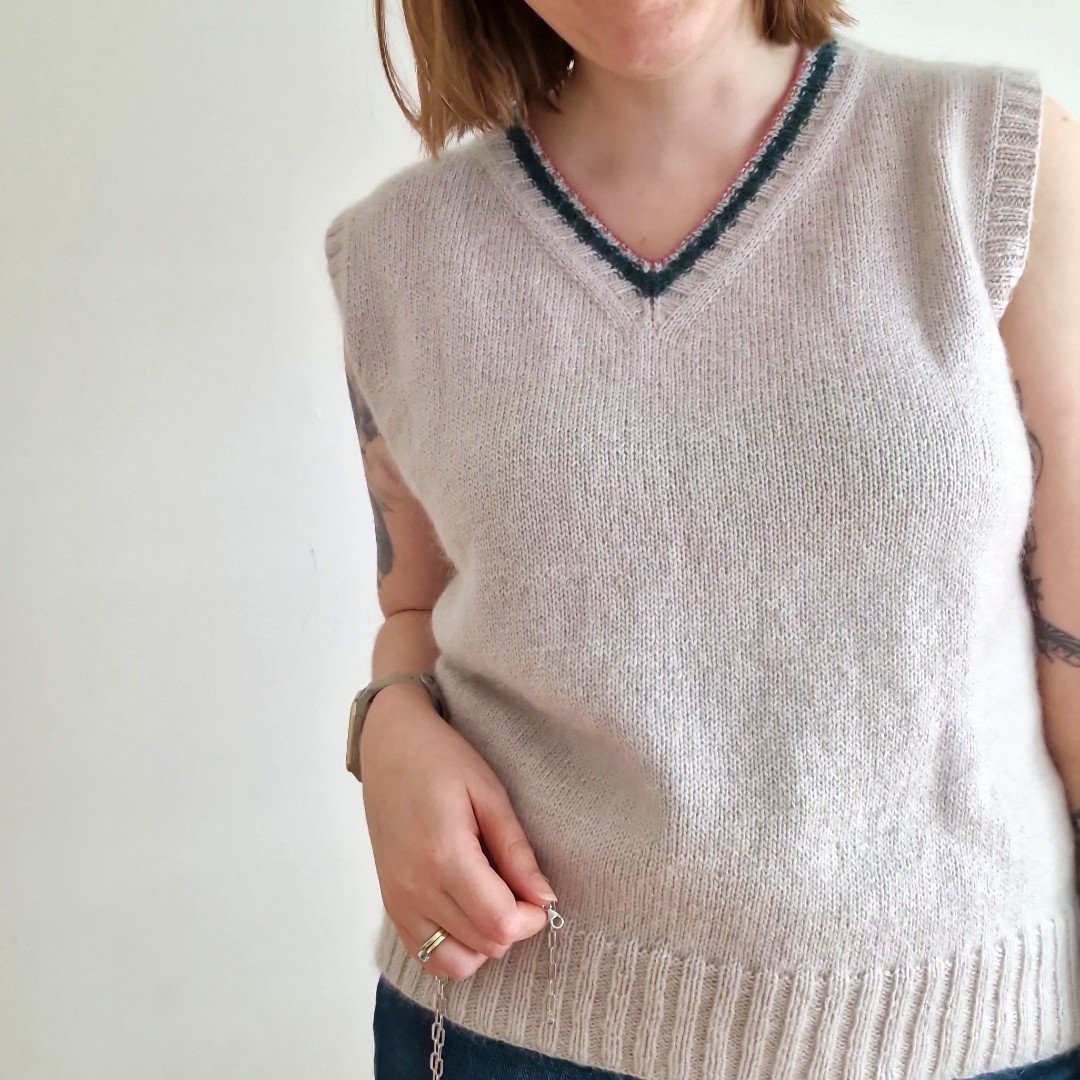
Your knitting pattern design should be well-lit so that makers can easily see the fine details. I highly recommend taking photographs of your design in natural light, since it is usually a lot more attractive than artificial lighting and, if you’re not very skilled with a camera (like me!), it’s much easier to work with. Surprisingly, a cloudy day can give beautiful results.
2. Focus
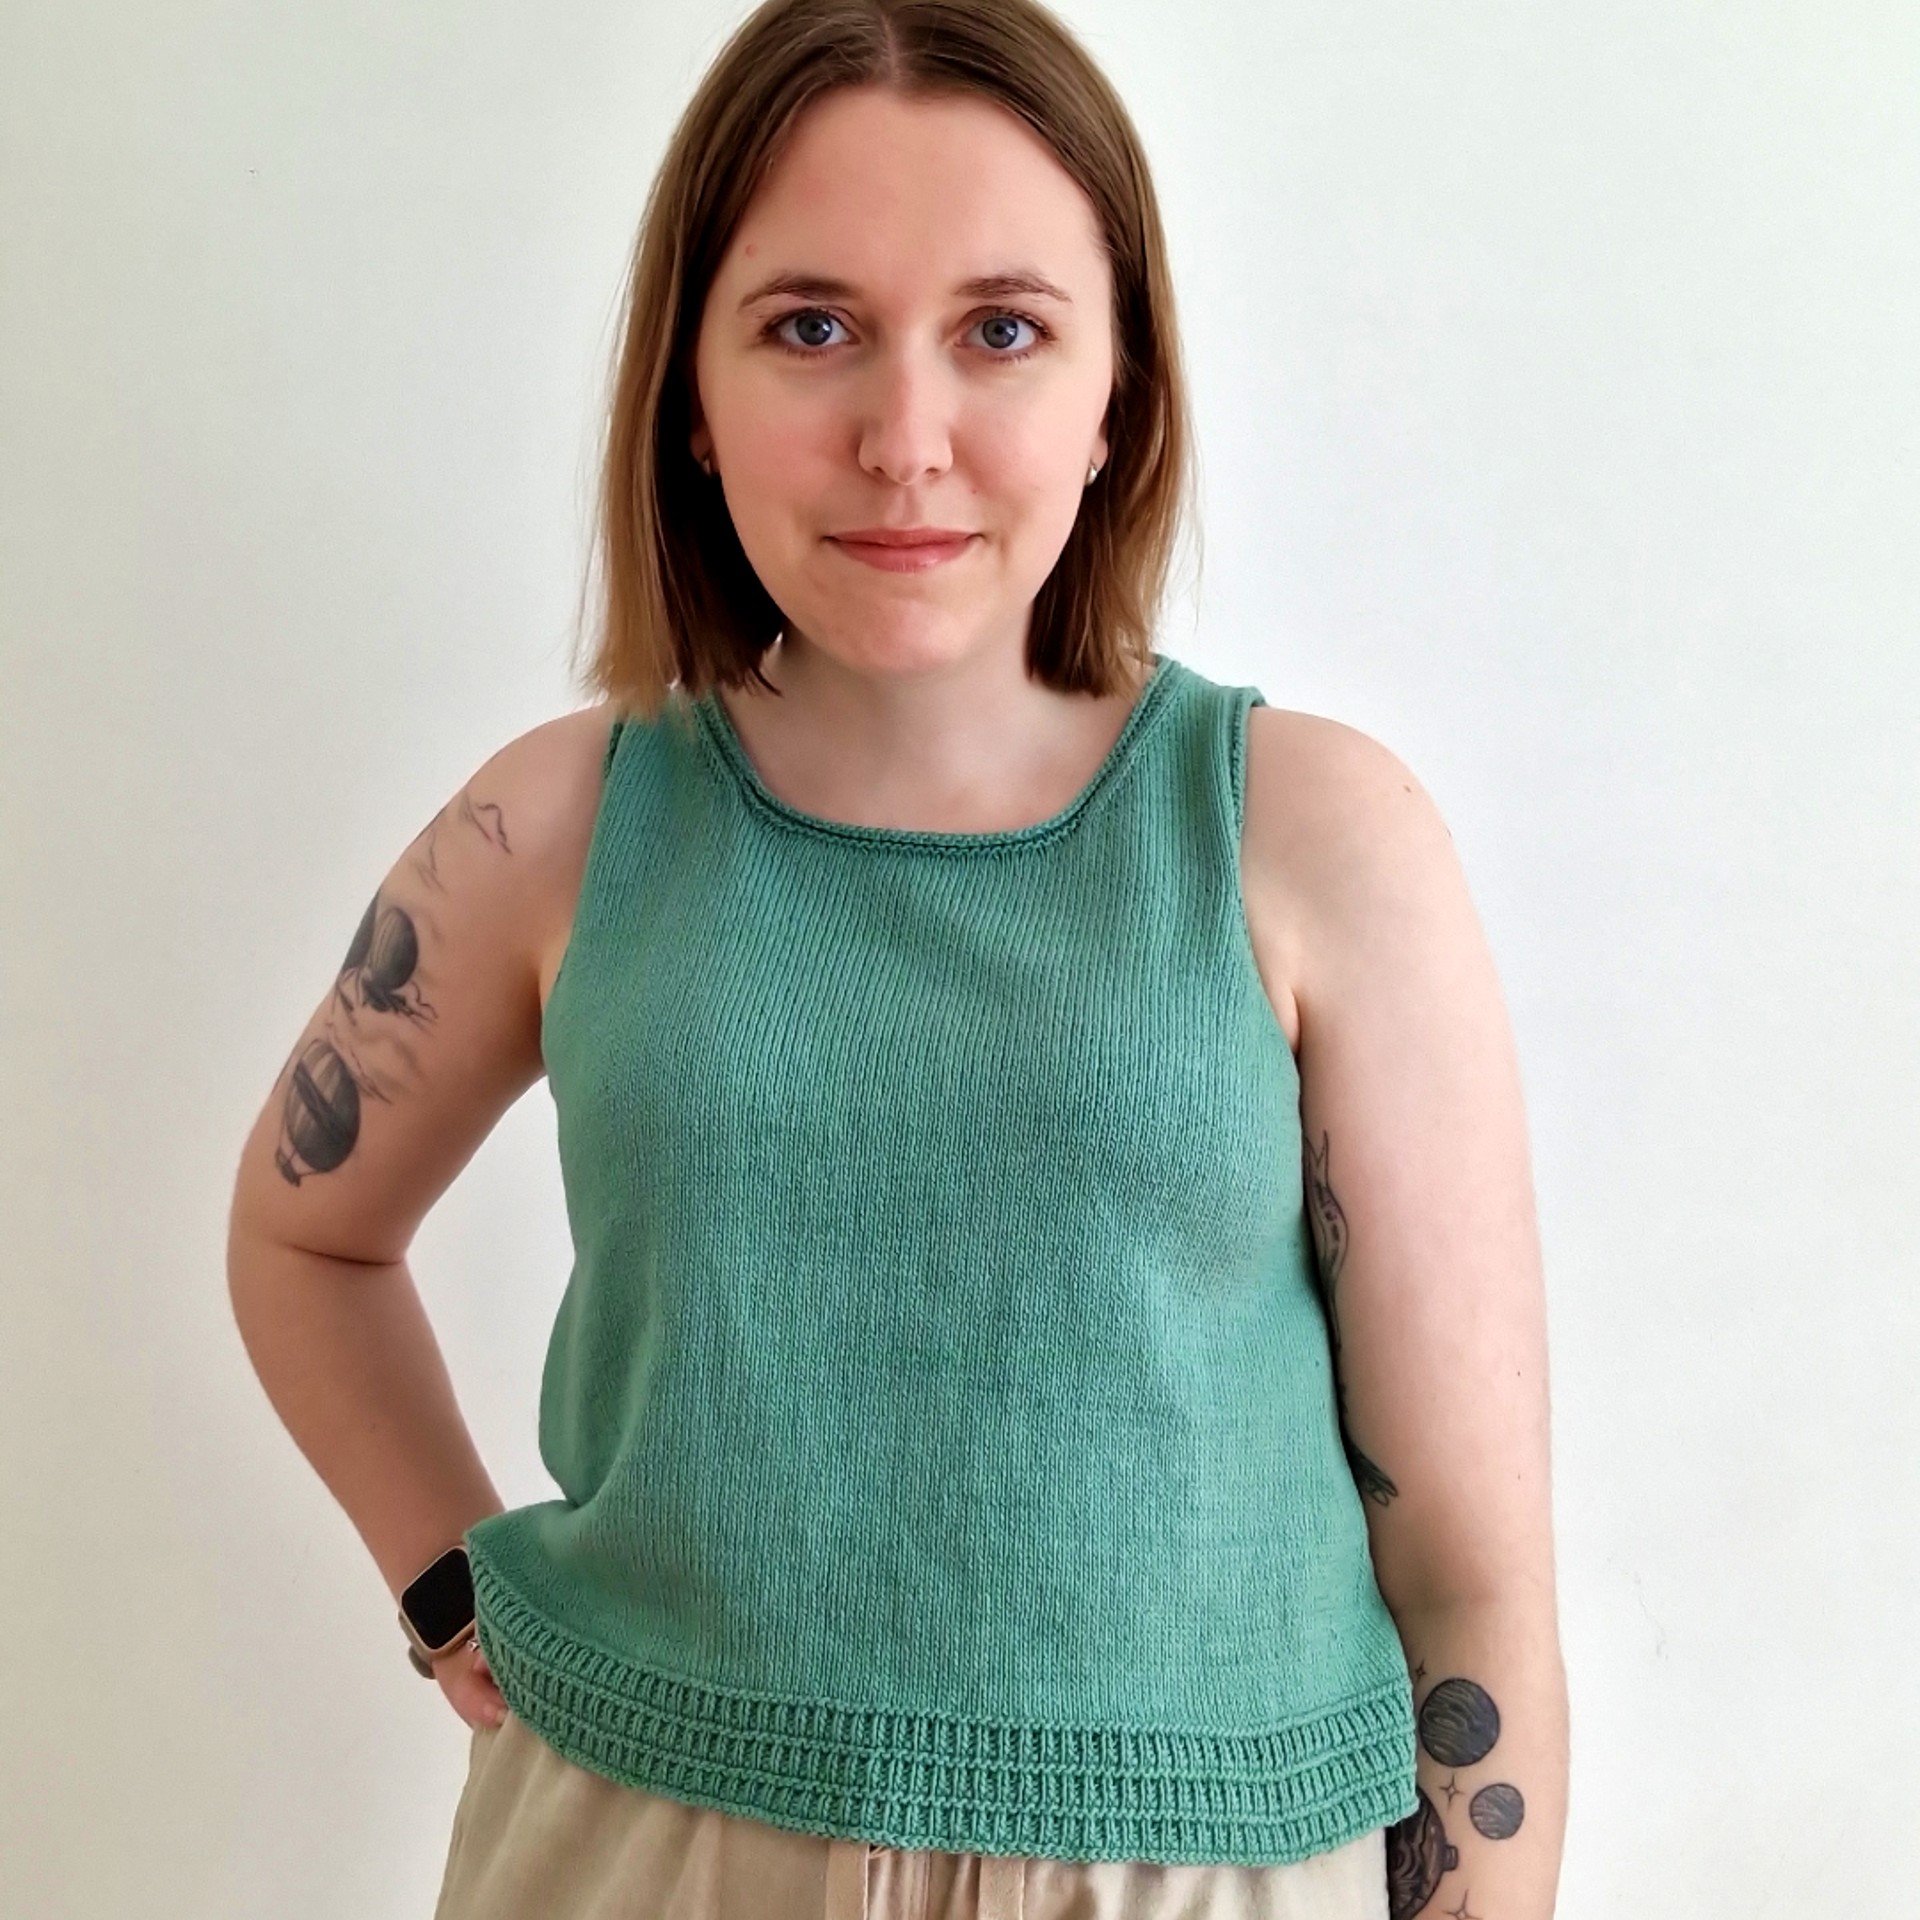
Remember the purpose of your pattern photos: to capture your design in an informative and attractive way. It can be tempting to make the outfit styling or background of your pattern images too busy, but that will only distract from your design, even if it results in a lovely photo. Focus on making your design the star of the show and keep everything else in the photo nice and simple.
3. Balance
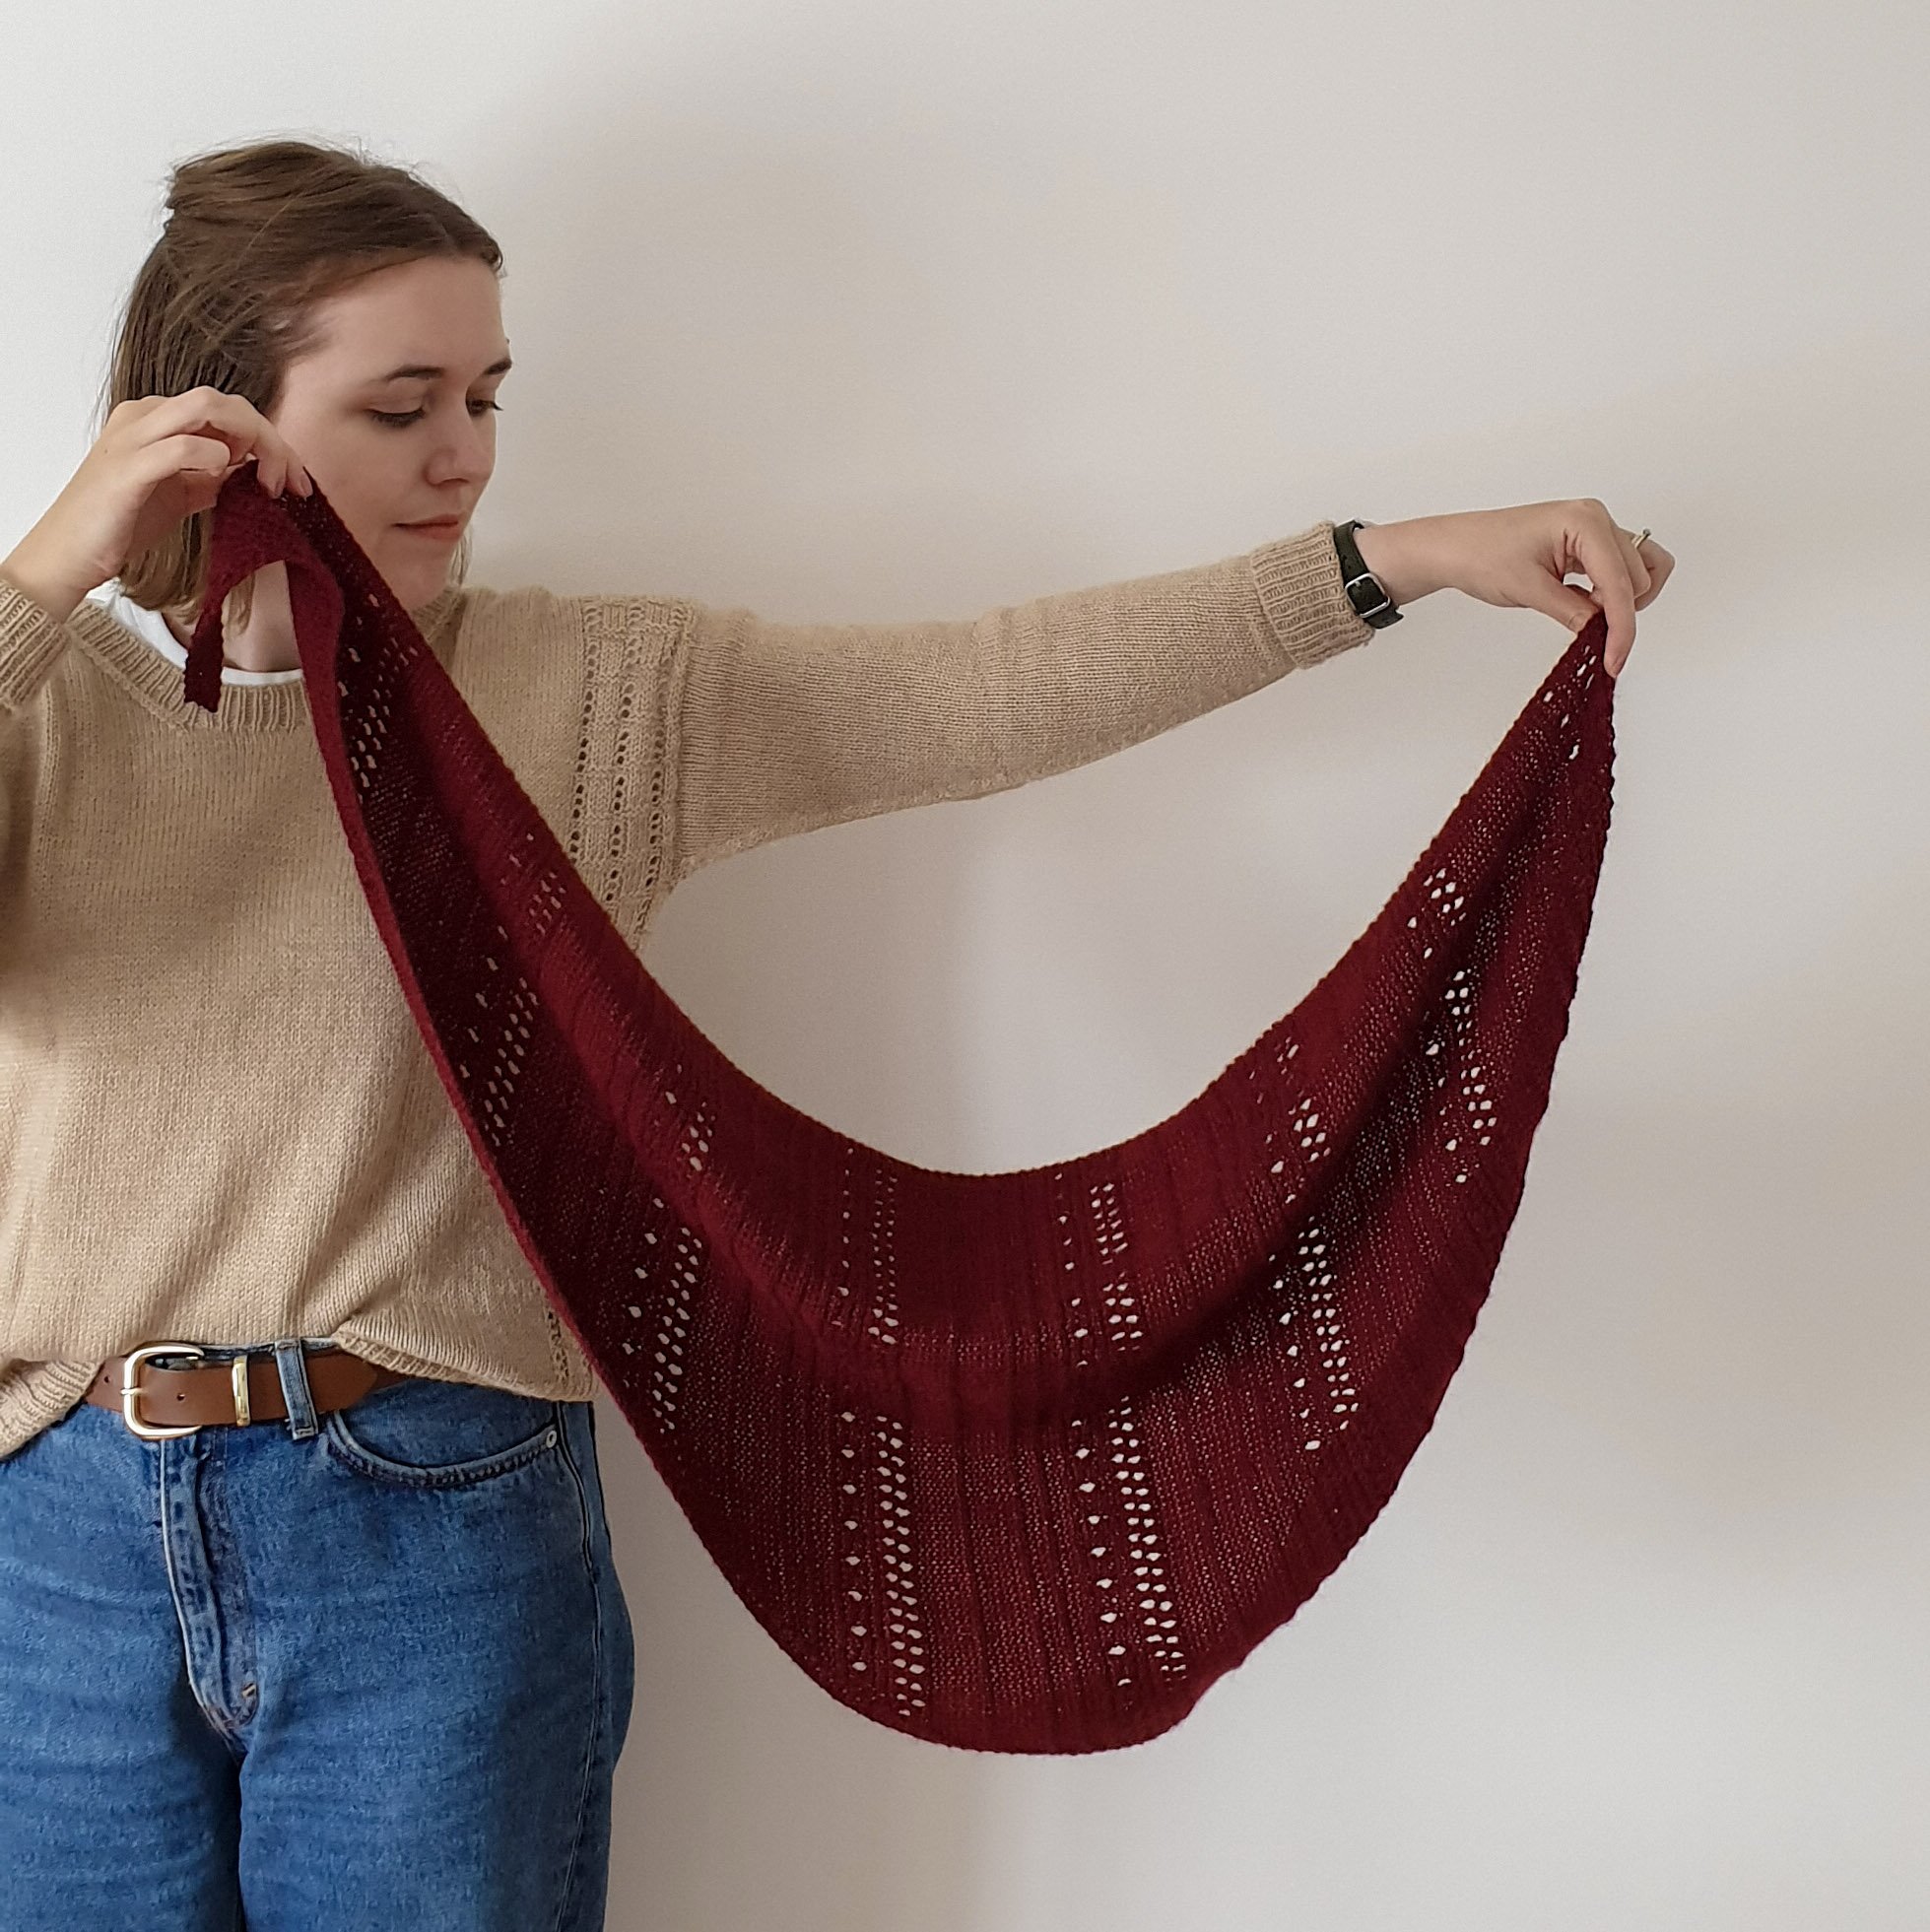
Try to find a balance between your mood photos and your more practical photos. The mood photos can be a little more “arty” and are essentially the hook of your design - they help to capture makers’ attention and start to tell the story of your design. They’re useful to tease your design on social media or your website, but they’re usually not detailed enough for a sales page.
The practical photos are the most important, showing makers exactly what your design looks like (front, back, side and all of the finer details). This helps them to decide whether they actually want to make it and are extremely useful on a pattern’s sales page.

What if I don’t have a fancy camera, model or photographer?
No problem! If you have a smartphone and maybe a tripod (although a chair and a pile of books also works!), you can take great photographs of yourself using the self-timer. I know plenty of knitting pattern designers do that. Just take your time and take TONS of photographs to choose from.
And if you’re hesitant about modelling, I want to encourage you to give it a try. You don’t need to worry about looking like a “traditional model” - in fact, many makers are sick of seeing the same beauty standards pushed in pattern photography and prefer to see designs photographed on models who feel more relatable.
Modelling your own designs can be a helpful branding exercise too - makers can easily identify your designs because they recognise you in the photos.
What if I’m terrible at taking photos?
If you’re not comfortable with taking photos, could you get help from a friend or loved one who enjoys getting behind the camera? My husband Ulysses took my early pattern photos before I started working with my friend, Joy Mumford, from Simple Soulful Film.
They don’t need to be a professional photographer - they can just be someone who has a nice Instagram feed or likes playing around with photography in their spare time.
What if I just can’t be bothered with pattern photography?
I am going to give you a little tough love here. If, by the time you need to take your pattern photos, you just can’t be bothered with it any more, you are sabotaging yourself and your design.
An artificially-lit, cluttered photograph quickly snapped on your kitchen counter isn’t going to show off your beautiful design to its greatest potential, and will inevitably result in poor pattern sales. I encourage you to try your best with your pattern photography and if you just can’t muster it, ask for help.
Where do you get stuck with knitting pattern photography?
Share where you get stuck with your knitting pattern photography in the comments section below and we can all help each other out. Let’s get your design photographed and published!