How to Publish Your Knitting Pattern on Ravelry
You have designed, written and tested your pattern. Now, you’re ready to self-publish it! But how do you get your knitting patterns on Ravelry?
Publishing a pattern on Ravelry is actually very simple. They pretty much walk you through the process, step-by-step, however, if you’re looking for some extra tips on optimising your pattern listing, I’m here to help.
In this blog post, I’ll show you exactly what you need to do to get your pattern up on Ravelry and ready to buy!
Add your pattern to Ravelry’s pattern database
Before you put your pattern up for sale, you need to add it to Ravelry’s pattern database. To do that, hover over My Notebook and click on Contributions in the drop-down menu.
Then, next to the bit that says Add a pattern to Ravelry, make sure that A pattern that I designed (free or for sale) is selected and then click the button saying do it. A window saying just to be completely sure… will pop up, but just click on the button in the bottom right saying add this pattern to Ravelry.
Now, we can go through and add your pattern’s information in each section. Most of the sections are self-explanatory, however, I’ll add in any tips below that might be helpful to optimise each section. You can save it as a draft at any point throughout this process.
Even though I self-publish my patterns through Sister Mountain, I still use Clare Mountain-Manipon as my designer name because it makes sense when I’m publishing with a magazine or another publication.
Name & Designer
In the designer name section, type in your name or if you’d prefer your designs to be published by your brand name, you could type that in instead. Make sure you check the box that says “Designed by me”!
Even though I self-publish my patterns through Sister Mountain, I still use Clare Mountain-Manipon as my designer name because it makes sense when I’m publishing with a magazine or another publication.
If you think some people might have trouble pronouncing the name of the pattern, Ravelry allows you to record the pronunciation using your computer’s microphone. This is optional.
Ravelry link to their Pattern Database Requirements here. I recommend that all designers read these requirements before proceeding to the next steps because Ravelry explains what patterns are accepted and what may be rejected. They also provide information on what information they want and where.
Craft & Category
Select the category that applies to your pattern. This category will be used when makers are searching for patterns, so make sure that your chosen category is super relevant to the pattern.
When you have selected your category, a little message will pop up to say “Do you need an additional category?” Most of the time, you will not need to use this. However, if you have a pattern that is convertible, e.g. a shawl that can become a poncho, it makes sense to use both categories. Do not use the additional category unless you absolutely need to.

In the box that says “When was this pattern first published?” put the month and the year you are publishing it in.
Sources
In the box that says “When was this pattern first published?” put the month and the year you are publishing it in.
Unless you are putting a pattern on Ravelry that you previously published elsewhere, you are likely to select the month that you are currently in.
If you are preparing the pattern page in advance of your pattern release (which can help to avoid the last-minute rush!) you can select months in the future too.
In the section that says “Where was this pattern published?” select the option that applies to your pattern.
If it is published in print, write the full name of the book or magazine title.
If you published the pattern on your blog or you have a shop on your website where you are selling the pattern, write the name of the blog or website. Do not use the URL (website address).
If you are publishing it on Ravelry, tick the box.
If you are publishing the pattern as part of a collection in an eBook, tick the box and fill out the name of it. Ravelry will then ask you to set up your eBook with the publication date.
Feeling unsure whether your design ideas are “good enough” to share on Ravelry? You’re definitely not the only one.
This free video shares a perspective shift that will help you move past self-doubt and start designing with confidence, even if you don’t have tons of experience.
Links & Price
If you have a page on your website dedicated to this pattern where buyers might want to learn more about the pattern, you can put the URL in the box.
If you’re linking to another place where makers can view or purchase the pattern, tick the box. I often do this because most of my patterns are available to buy on both my website and Ravelry store.
If you are selling the pattern as a single pattern, rather than as part of a collection, you can state the price here. If the pattern is only available as a kit (ie. you need to buy the yarn in order to get the pattern) you can select that option here.
Attribute Tags
Ravelry has an incredible pattern search engine which makes it very easy to find the type of pattern you are looking for. If you want to see how attribute tags can help your pattern to show up when searching the pattern database, look at the filters to the left of the pattern browser & advanced search.
When adding your pattern to the database, I recommend that you click through each of the attribute sections and select all that apply to your pattern. If you’re not sure what an attribute means, Ravelry shows a description of each attribute when you hover over it.
Think about these attributes from the perspective of the maker - would they be happy to see your pattern show up in their search results based on that attribute, or would they think it’s irrelevant?
This is not about trying to get your pattern to show up in as many searches as possible. It’s about trying to make your pattern show up in as many relevant searches as possible.
If your pattern has an attribute that you don’t see listed and you’d like Ravelry to add it to their tags, they give you an opportunity to suggest it. Keep in mind that Ravelry only considers adding a new attribute when there have been 100 patterns with the same attribute suggestion.

Yarns & Needles
In the suggested yarns section, write the yarn(s) that you have designed the pattern for.
It can be really helpful to suggest several yarns, especially if they cover a range of budgets, however, only share yarns that you or a trusted test knitter has used and had success with. It would be a bad experience for a knitter to use one of your suggested yarns only to find that it doesn’t work for the pattern.
Ravelry give you three slots to fill out suggested yarns, however, if you have more than three suggested yarns, click to add more yarn.
If you help two yarns together, click the box to indicate that and define the weight of each yarn as well as the overall weight of the yarns held together.
Gauge
When Ravelry asks for the gauge, I like to fill out the stockinette gauge, even if the pattern predominantly uses another stitch. This is because makers tend to use the gauge suggestion on the Ravelry pattern page to make yarn substitutions.
It is easier to compare the gauge on a yarn ball band to a pattern’s stockinette gauge than anything else. If the maker is looking for the gauge in order to swatch, they can always get that from the pattern.
I don’t recommend suggesting gauge using repeats. This isn’t particularly helpful for potential customers.
When filling out the total yardage for the pattern, be specific. Don’t just look at how many skeins of the suggested yarn it uses and figure out the total yardage based on that. Work out exactly how many yards/meters of yarn the first and last size take and use that instead. If you need help with yardage calculations, I walk you through the process in my yarn estimation blog post.
Notes
When listing the sizes available, don’t use “S, M, L” etc - they aren’t very informative because they vary so much from designer to designer. Instead, list the sizes based on bust circumference in both metric and imperial measurements. This helps makers from all over the world have a good understanding of the sizes available.
I’ll write more about what to include in your pattern notes at a later date, but here are my suggestions:
Romance copy
Construction notes
Skill level
Sizing
Finished measurements, including ease suggestion
Yarn (fibre content and skeins used)
Yardage (specific yardage used in each size for those substituting the yarn)
Needles
Extras they might need, e.g. buttons, a tapestry needle
Gauge after blocking (stockinette is needed, but feel free to include other gauge suggestions too)
Advanced techniques used in the pattern and links to recommended tutorials
Photos
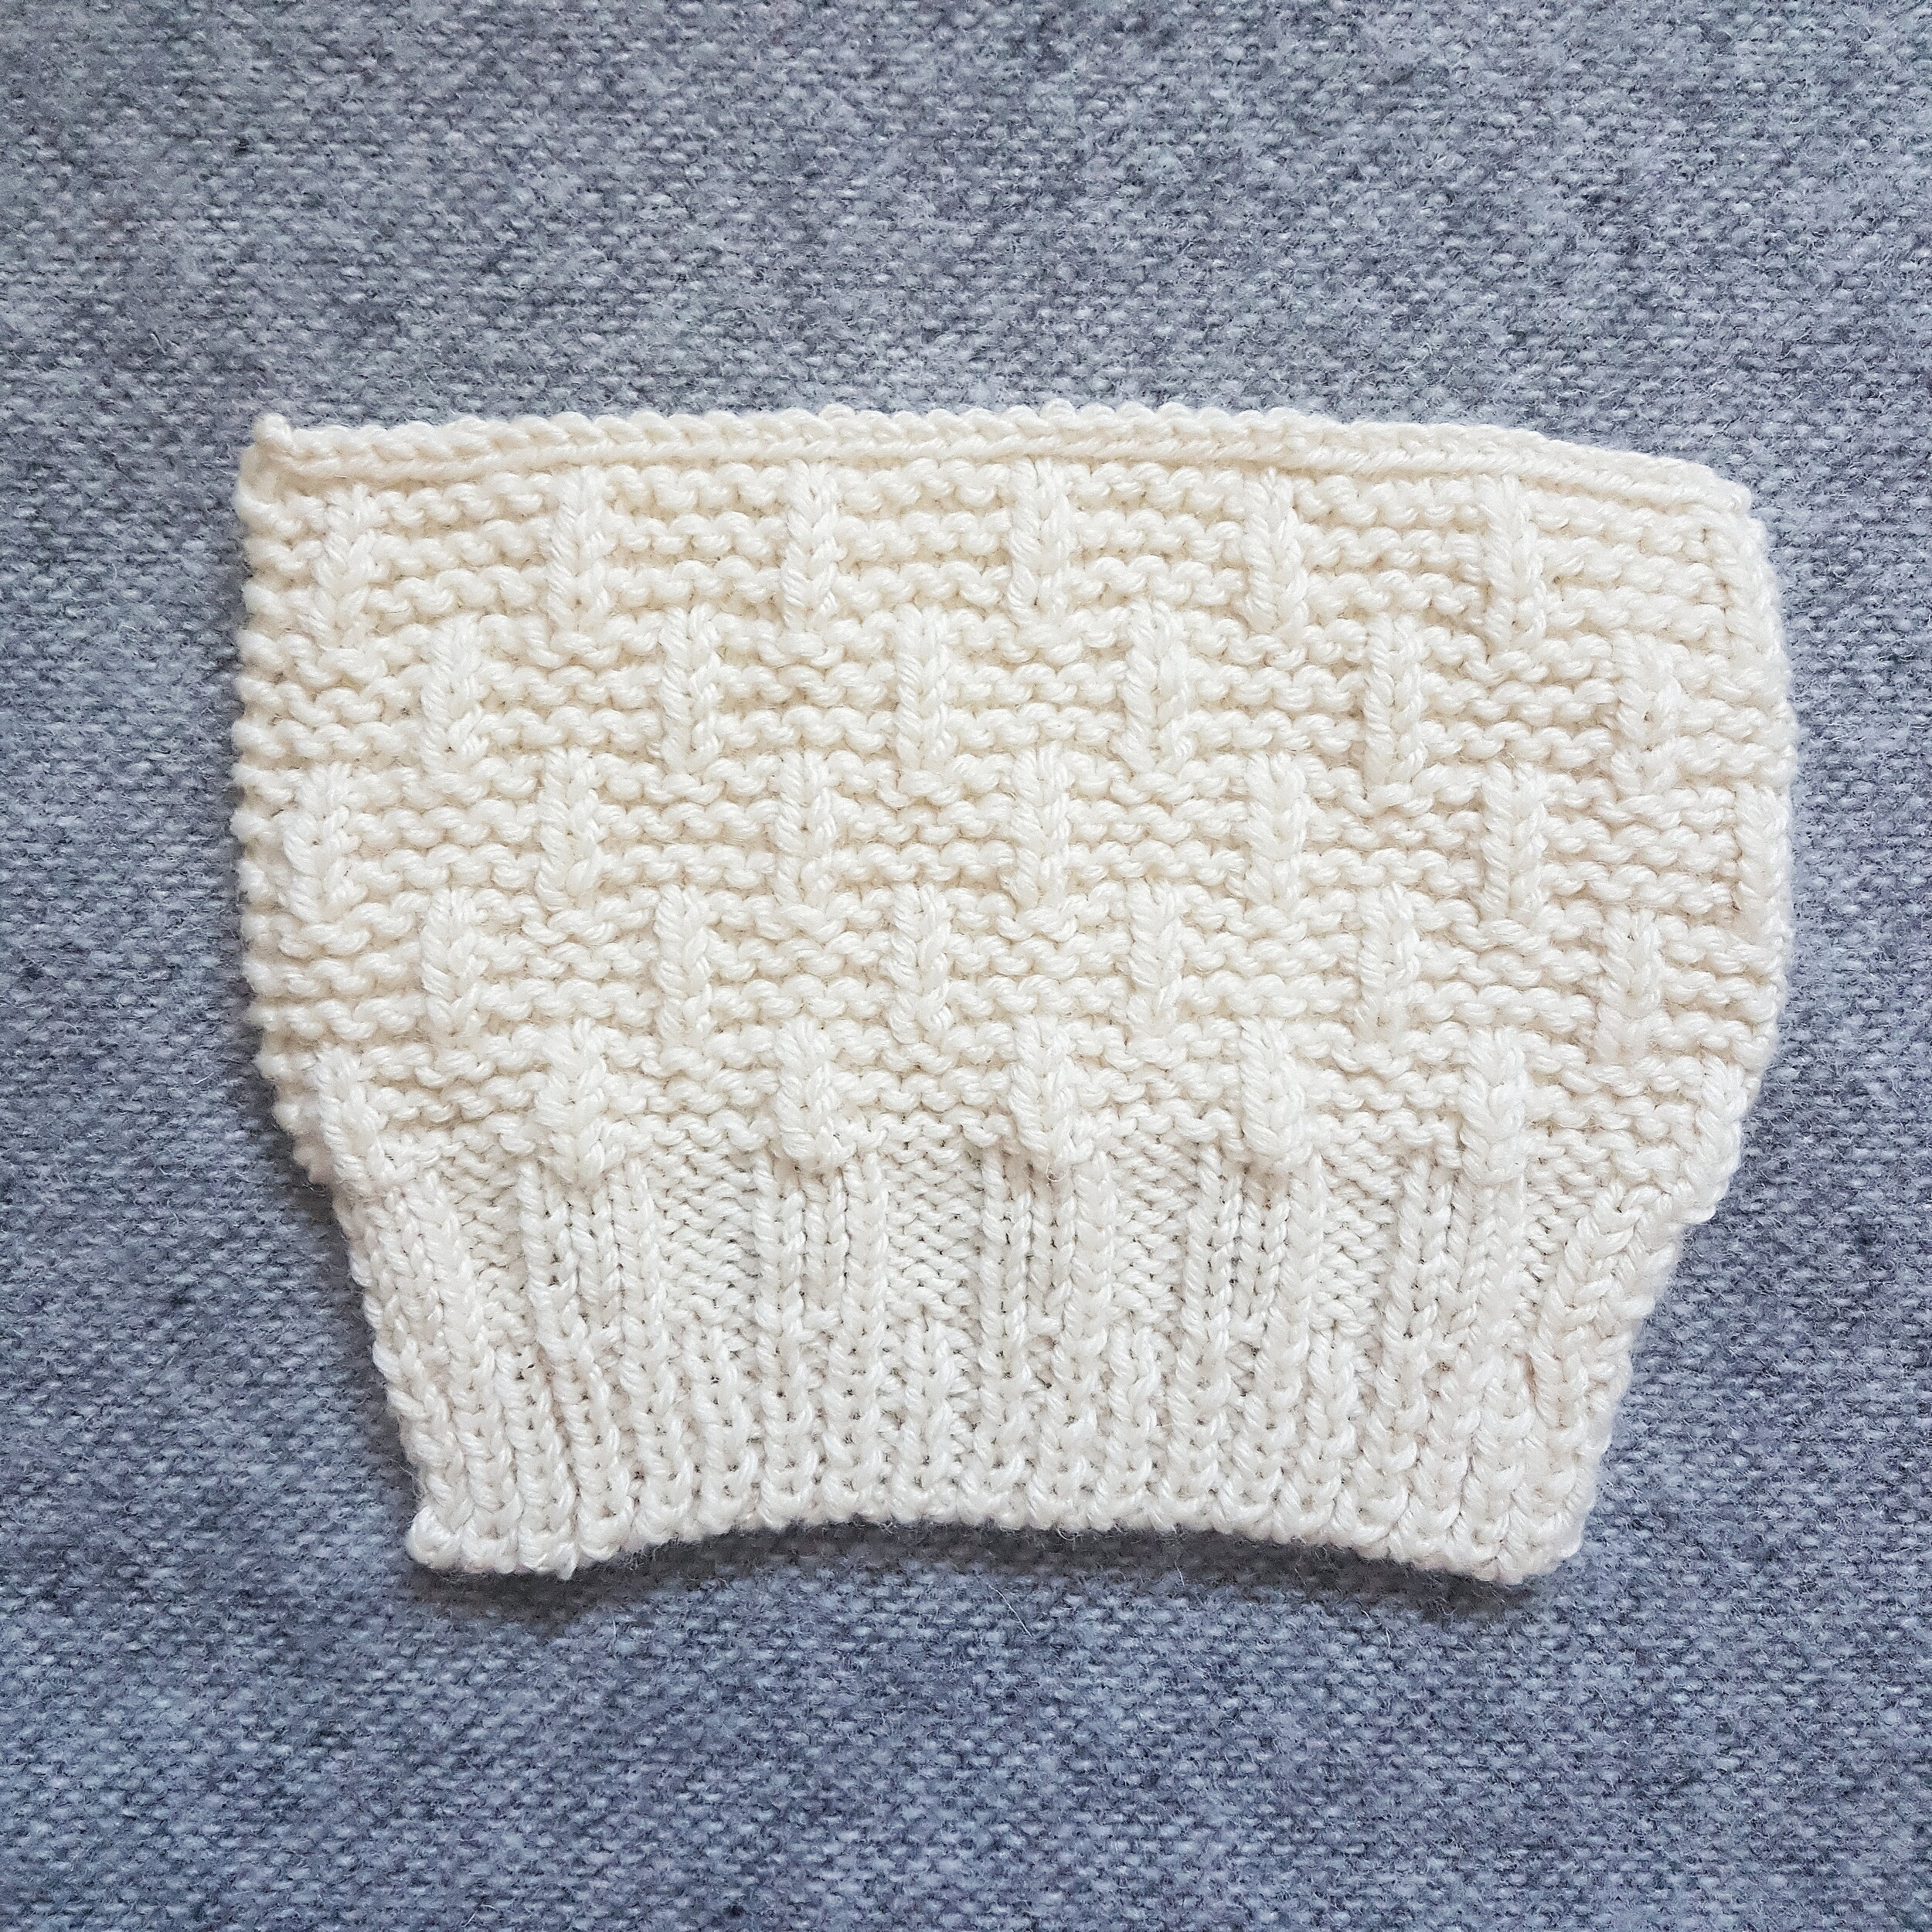
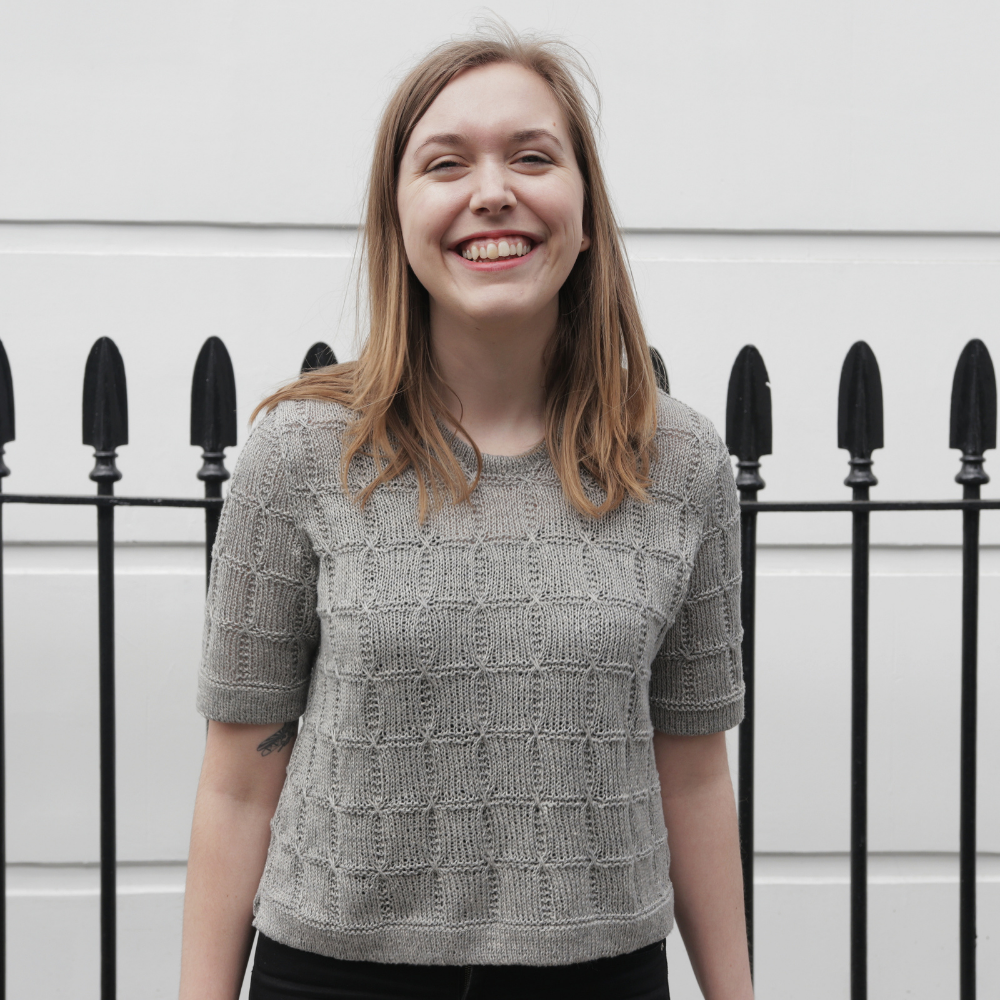
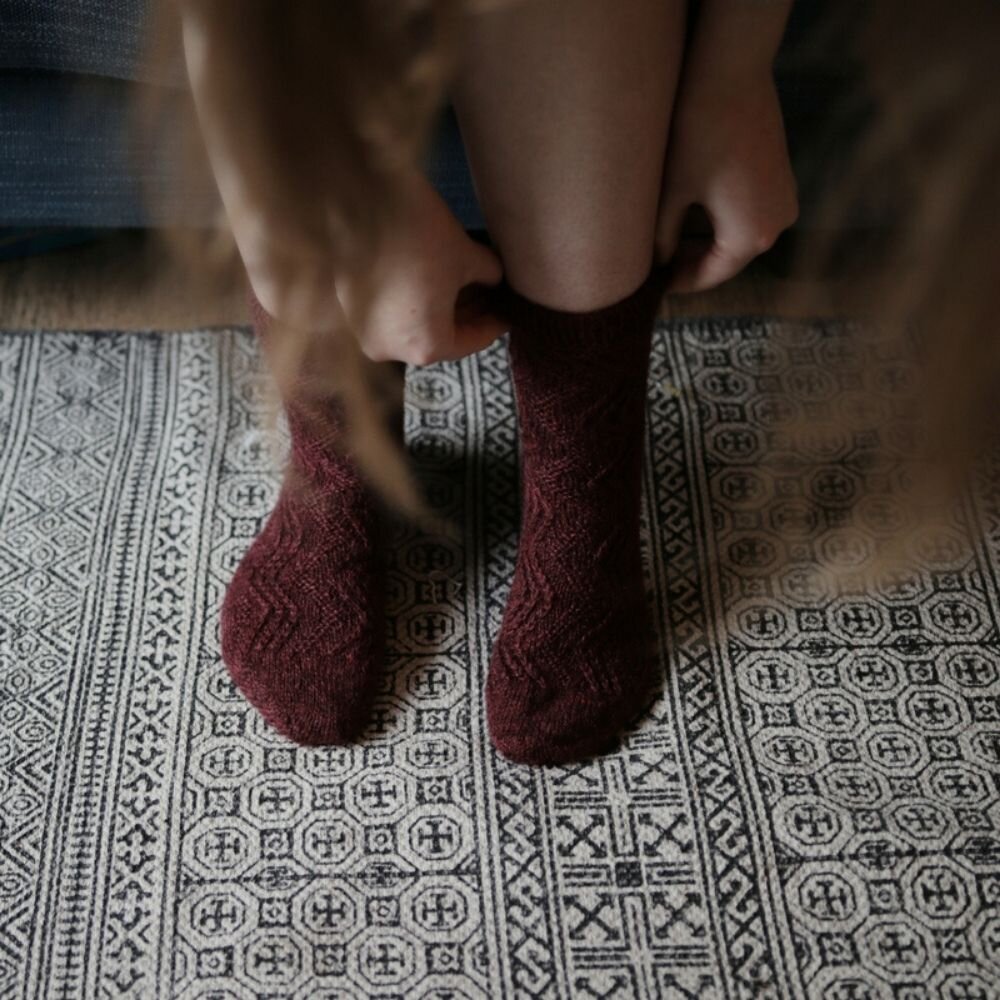
Ensure that your photos are high-quality in good lighting. They should show all angles and details of the design.
Once you have uploaded your photos, you can click the crop icon to crop in on a certain part of the photo. You can also click the pencil icon to rotate the image, add a caption and add image copyright information.
Drag the photos around to change the order in which they’re displayed on the pattern page. Remember that the first photo will be the thumbnail picture used in pattern searches, so make sure it is one that will capture attention.
Once your pattern is published, you can send requests to your test knitters to show their photos on the pattern page too, which helps to show the design in different sizes, yarns and colourways.
Testing
If you are using test knitters, you can link their project pages to the pattern page before it’s even published using a tester code.Your test knitters need to put this code in their project’s pattern name field to link them.
You’ll be able to see all of your testers who have linked their projects in the “Current Testers” section.
This feature is so handy, because as soon as your pattern page is published, there will be a selection of finished projects potential buyers can browse straight away.
Preview & Publish
When you’re ready to publish your pattern page, check over every detail in the preview Ravelry gives you. If you spot an error or something you want to change, you can go back to that section to amend it. If Ravelry gives you any warnings, make sure you fix the errors they are warning you about.
Once you’re happy with it, you can either click publish or save the listing as a draft, ready to publish on a later date. You’re now ready to add your PDF to Ravelry!
How do I add a PDF to Ravelry?
It’s not enough just to add the pattern to the database. You also need to configure your store and upload the pattern PDF in order to sell it on Ravelry.
Hover over your profile picture, then click on My Designs. On your designer page, click on Manage Store. If you haven’t yet configured your store, you can fill out the details there to do that. Once you have verified the details, you can now add the PDF to your Ravelry store for sale.
Go to Patterns and in the drop-down box, click on the pattern you want to add as a PDF. The pattern doesn’t have to be a published listing in the database - they will allow you to add PDFs to your drafts.
If the pattern page is already published, add the price in your desired currency and click save. If the pattern page is still a draft, you won’t be able to add a price yet.
You can also enable in-store sales if you’d like yarn stores to be able to sell your knitting patterns. You can learn more about the In-Store Sales Program on Ravelry.
Once you’re ready, upload the pattern PDF, adding a description of the document and setting the language.
Click Activate product to make the PDF available for purchase. Your pattern is now for sale on Ravelry - go tell the world about it!
Discussion
Are you selling your patterns on Ravelry? What do you struggle with the most? Share in the comments section and I, along with the rest of The Sisterhood, will help you out.