How to Successfully Adjust Knitting Patterns to Suit You
Have you ever felt frustrated that you can’t find knitting patterns that truly reflect your personal style? Or have you found something close but wished it was just a little bit longer, wider or more fitted? You’re not alone!
The solution? Learning how to adjust a knitting pattern to better suit you and your preferences.
In this beginner’s guide to pattern adjustments, I’m going to demystify the process of modifying knitting patterns so that it can become a simple, empowering tool you can use whenever a pattern is not quite right for you.
You’ll learn the “why” and “how” of pattern adjustments, understand common mistakes to avoid and gain the confidence to adjust knitting patterns to make them truly yours.

Image description: A photo of a wire basket filled with yarn on a table with knitting needles, scissors, and a selection of buttons with the text "How to Successfully Adjust Knitting Patterns to Suit You" on top.
Why Adjust a Knitting Pattern?
Learning how to adjust knitting patterns is not just about personalising them to suit your style or body better - it can also be an awesome stepping stone towards your ultimate knitting goal: designing your own patterns from scratch!
Personalising patterns is, at its heart, all about making something your own. When you adjust a knitting pattern, you’re not just mindlessly following a set of pattern instructions. You’re interpreting them, modifying them, and making creative choices based on your own preferences.
This process is similar to that of designing your own knitting patterns. You begin to see not just the individual stitches but the overall construction and design. This is a crucial skill for any aspiring knitting pattern designer.
Changing the sizing of your chosen knitting pattern can be just a starting point for you. As you adjust it to fit you better, you’ll begin to understand how patterns can be graded and adjusted to fit a whole range of body types.
Again, this understanding is key when eventually designing your own knitting patterns. It’s one thing to create a beautiful design, but it’s another to create a design that fits beautifully across a range of sizes.
So, as you start tweaking the patterns you knit to better suit you, that’s not the only thing you’re doing - you’re also laying the groundwork for designing your own patterns. With each adjustment, you’ll gain more understanding of the design process and get one step closer to designing your own original patterns.
Image description: A woman in a yellow sweater is sitting at her laptop celebrating. The text says, How to Successfully Adjust Knitting Patterns to Suit You.
How to Adjust a Knitting Pattern: A Guide
The process of adjusting a knitting pattern is dependent on the types of modifications you would like to make, whether you’re adapting the dimensions for a better fit, switching out the stitch pattern, or adding new features such as pockets. Each calls for its own set of strategies and techniques.
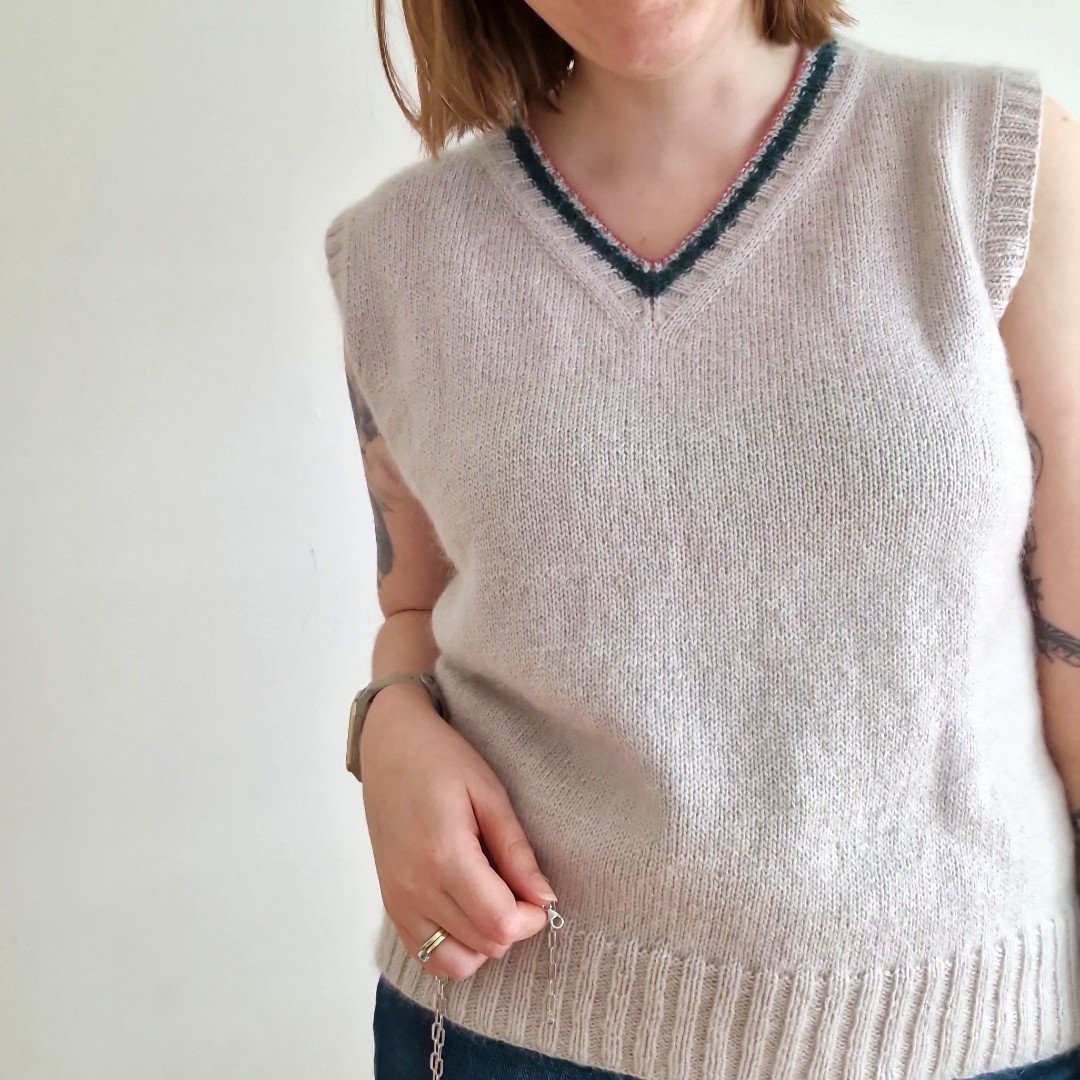
Changing the Style
Before making any changes to the style of your project, you need to understand how it is constructed. Is it knitted flat or in the round? Does it have a drop-shoulder, raglan or set-in sleeve? Once you understand this, you can make decisions on what to change.
For example, if you have a sweater pattern with short sleeves and you want it to have long sleeves instead, you’ll have to calculate how many additional rows/rounds you will need to knit using your gauge.
If it has a tapered sleeve, you will also likely need to add additional decreases to the sleeve shaping in order to make it fit correctly around the wrist. You can work out just how many by calculating your desired stitch count at the wrist using your gauge and then subtracting this stitch count from the upper arm circumference in stitches.
Divide the result by two, as you will be making two decreases per Decrease Row/Round. These Decrease Rows/Rounds should be spread evenly across the whole sleeve for a smooth line. The Magic Formula can help with this.
If you want to use a different stitch pattern to the one used in the pattern, you need to make sure that the new stitch pattern’s gauge matches the gauge of the original stitch. If not, you’ll need to recalculate the pattern to fit the new gauge.
You also need to understand how the stitch or motif fits into the overall design. Is it a repeating pattern? If so, you will need to ensure that the repeat fits into the total stitch count, whether that means adjusting the stitch pattern or the stitch count itself.
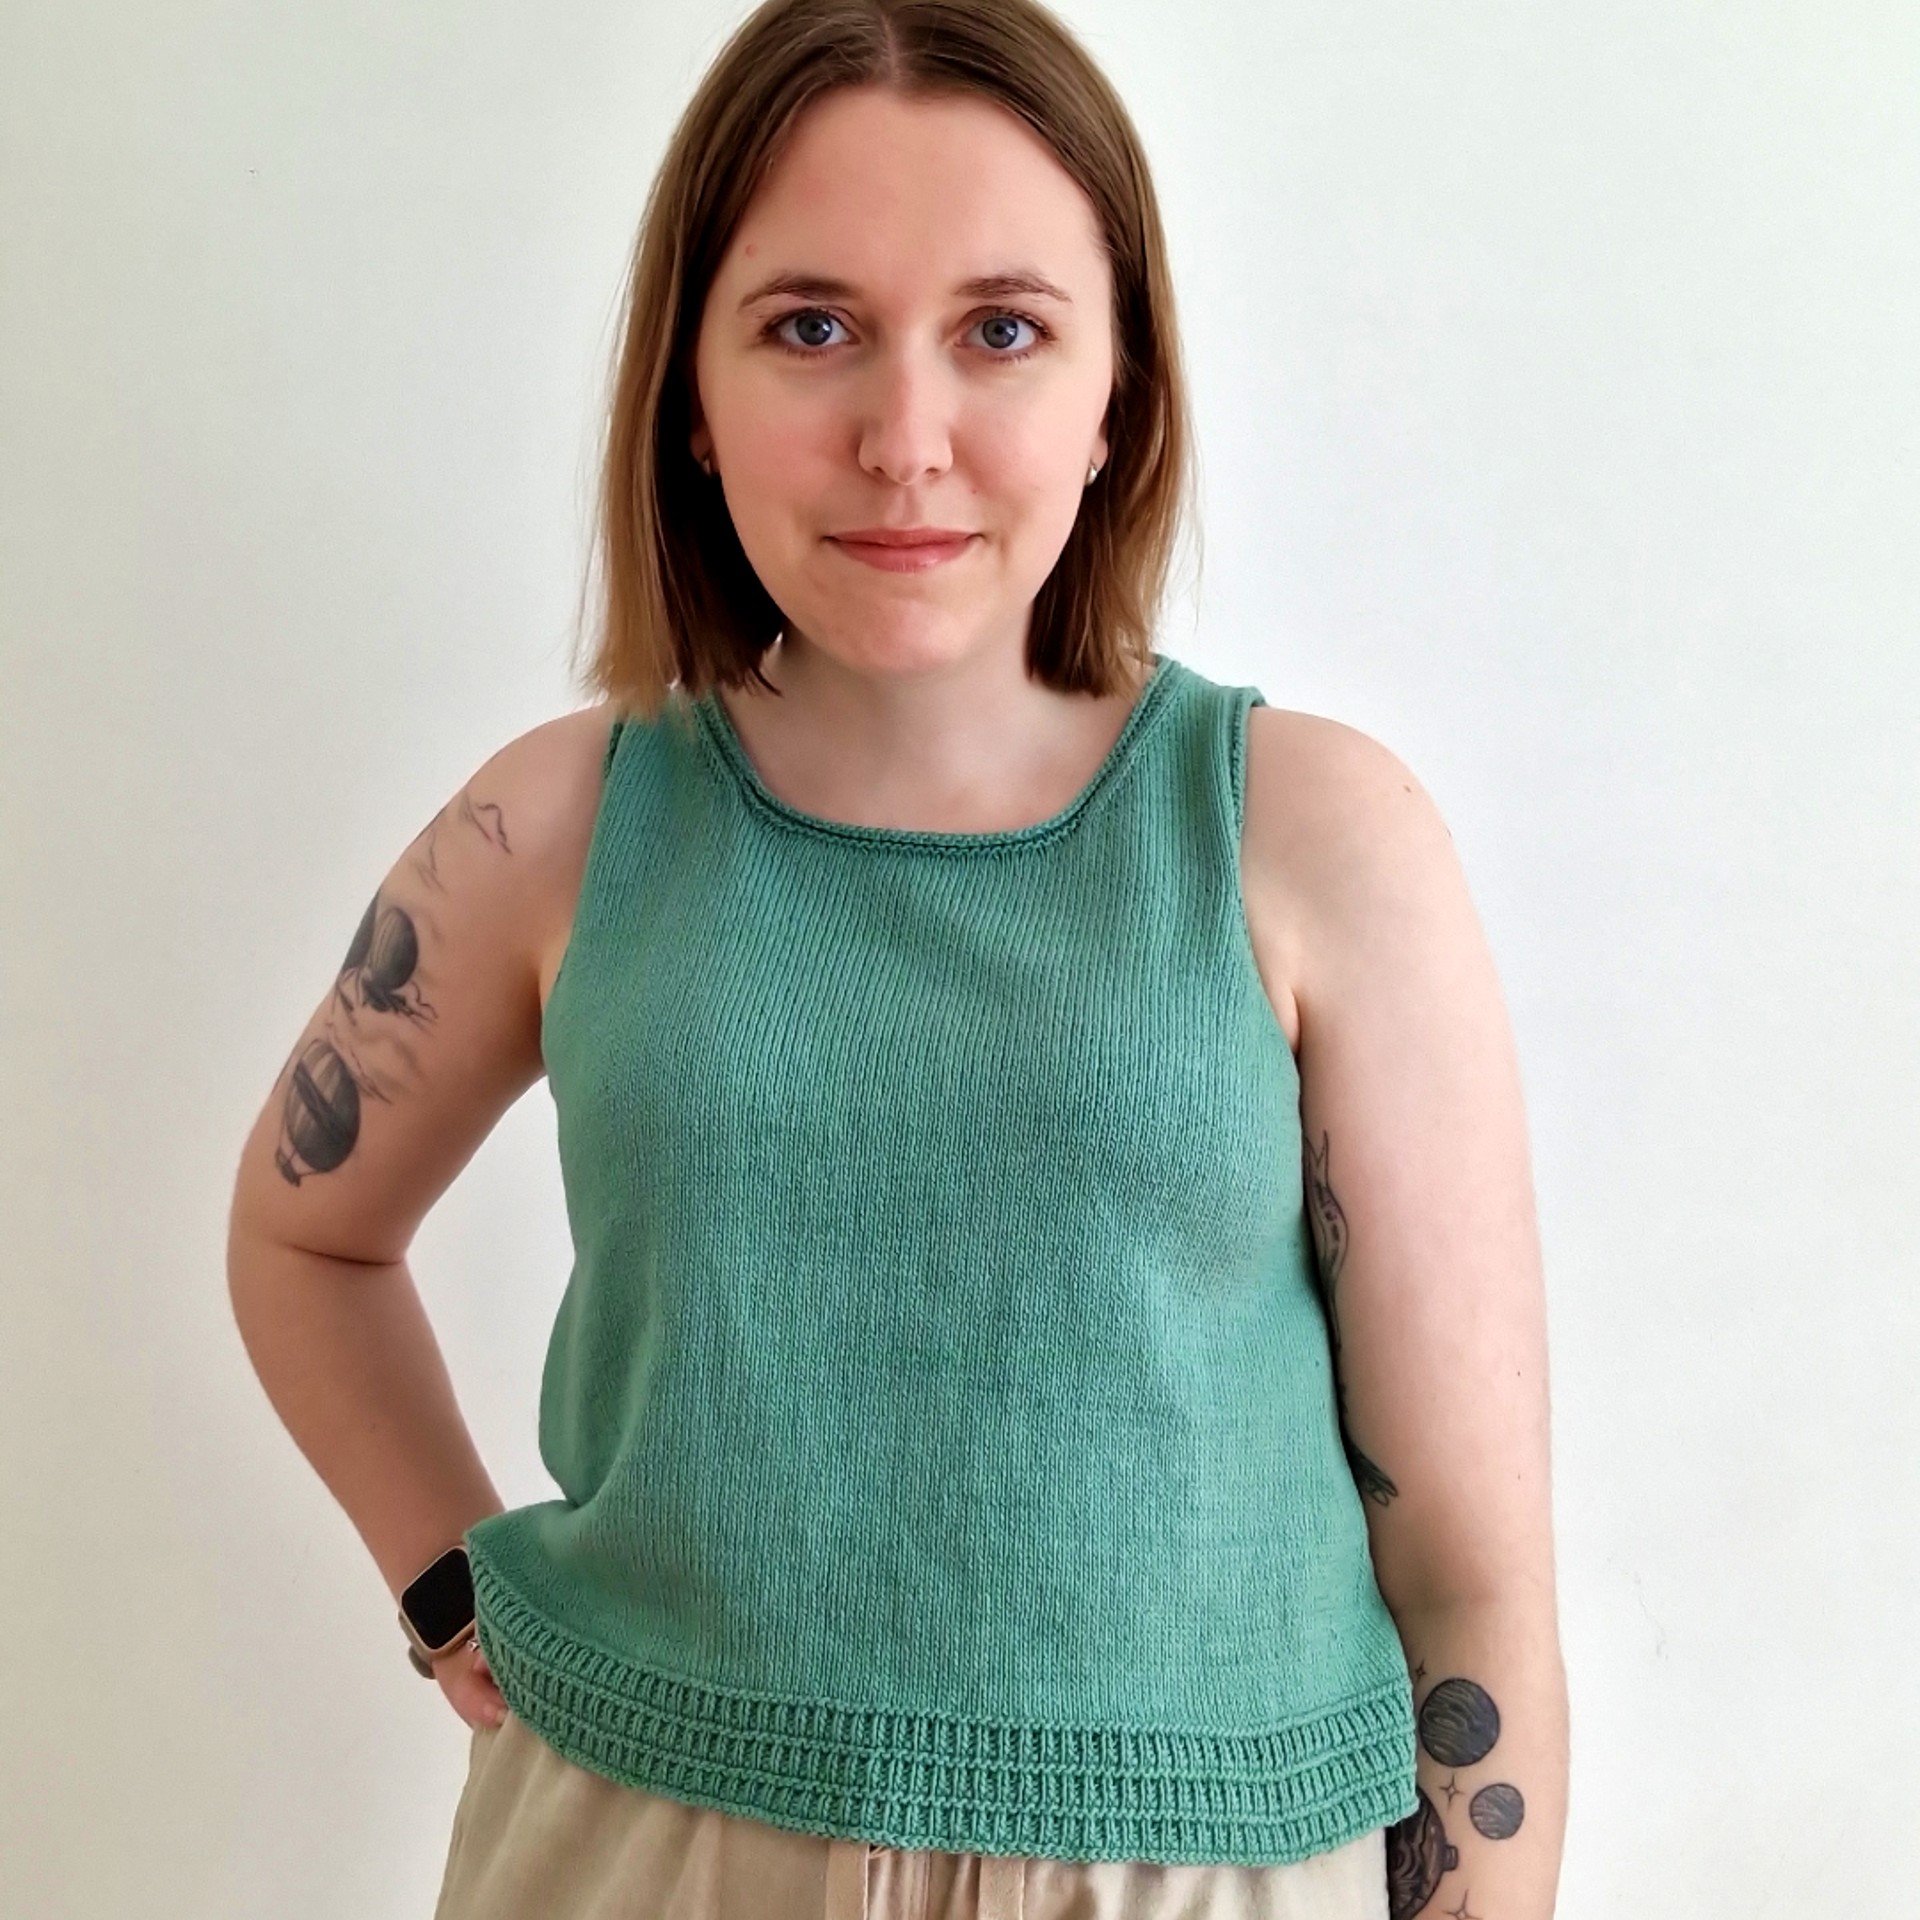
Altering the Size
Altering the size of your project will usually involve adding or subtracting stitches and rows/rounds, as well as possibly adjusting the shaping.
For example, if you want to make a sweater longer, you can just add more rows/rounds to the body before starting the armhole shaping (if you’re knitting a bottom-up sweater) or after the armholes (if you’re knitting a top-down sweater).
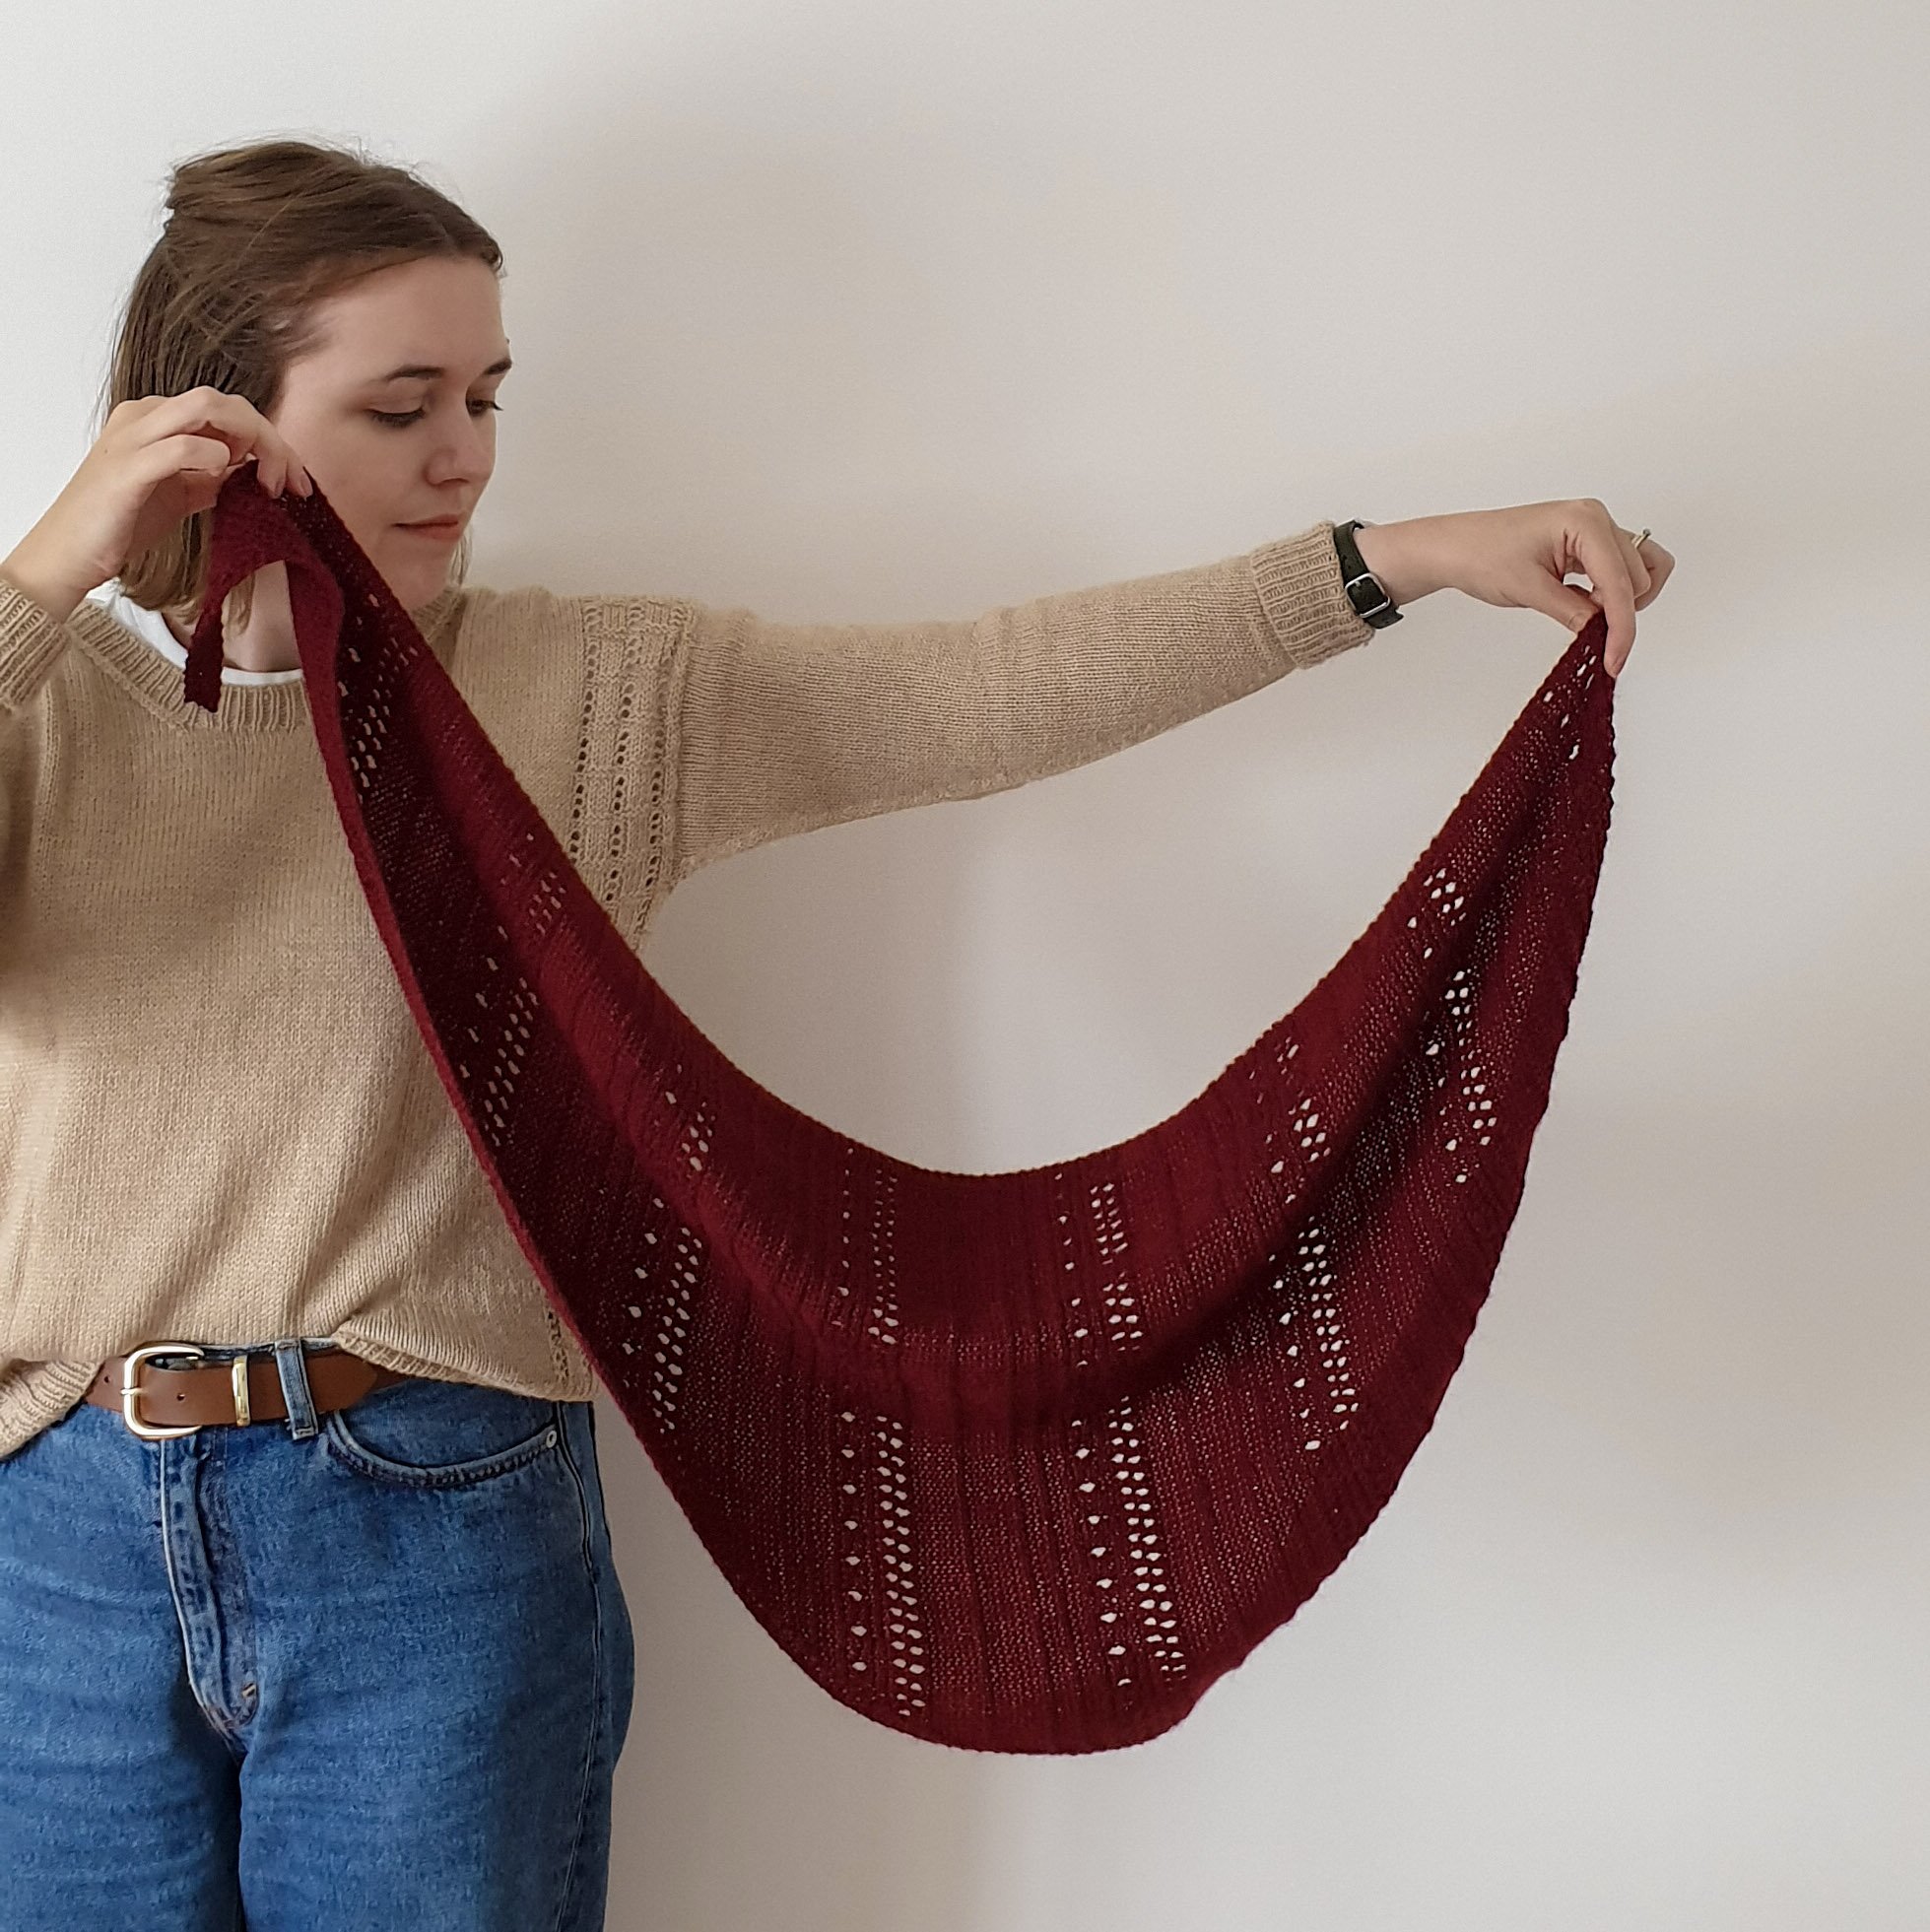
If your project features a repeat pattern such as lace or cables, a very easy way to alter the size of it is by adding or removing pattern repeats. Of course, you’ll need to understand how many stitches and rows/rounds are in a repeat and, using your gauge, calculate how many repeats you need to add or remove to achieve your approximate desired measurements.
If your project doesn’t have a repeat, you can just change the stitch or row/round count using your gauge and new measurements to help you make your calculations.
Whichever method you use, you still need to keep the shaping in mind, as your adjustments may require you to make changes to the shaping as well so that you achieve the right stitch count in the right number of rows/rounds.
Adjusting the Shape
If you want to adjust the shape of your project, you need to establish where you need to place the shaping.
For example, if you want to add waist shaping to a sweater that doesn’t have any, that shaping is usually placed at the sides of the garment, a few inches below the bust.
Don’t attempt to follow the exact contours of the body, as that will likely result in a very severe shape. Instead, reduce your bust stitch count by approximately 4%, then increase it back to roughly the original stitch count for the hips.
If you wanted to have gathered cuffs on your sweater rather than the tapered sleeve in the pattern, you could omit any sleeve decreases for the full length of the sleeves, then make all of the decreases in one or two rows before you start the cuff ribbing.
Image description: A pile of sweaters knitted in warm shades of brown, orange and beige.
Adding or Subtracting Features
If you want to add new features to your project, such as pockets, you’ll need to plan carefully where you want to place them and how big they should be. A patch pocket is the easiest option, as you can knit one in the desired shape and size and simply stitch it on.
But, if you want a pocket that is integrated into the body of the project, you’ll need to plan it before you start knitting so that you leave an opening in the right spot. Then, you can go back to pick up and knit the pocket.
If your pattern is designed with a crew neck and you want to turn it into a roll neck, you can simply extend the ribbing until it reaches your desired length.
Keep Track
I know it is easy to get carried away when you’re knitting, but it’s important that you keep detailed notes of all the adjustments you make. This will save you any difficulty if you need to go back and change something in the pattern or even if you plan to knit another one with the same modifications.
Adjusting patterns can be a complex task at first, but once you get the hang of it, you'll find that it gives you much more flexibility and creativity in your knitting. Practice, patience, and a good understanding of basic knitting construction will certainly help you get there.
Mistakes to Avoid When Adjusting a Knitting Pattern
Learning how to adjust knitting patterns is extremely fun and can open up lots of opportunities for customisation and creativity but, as with any new skill, it’s not without difficulties. By being aware of common mistakes, you can try to avoid them for a more successful outcome.
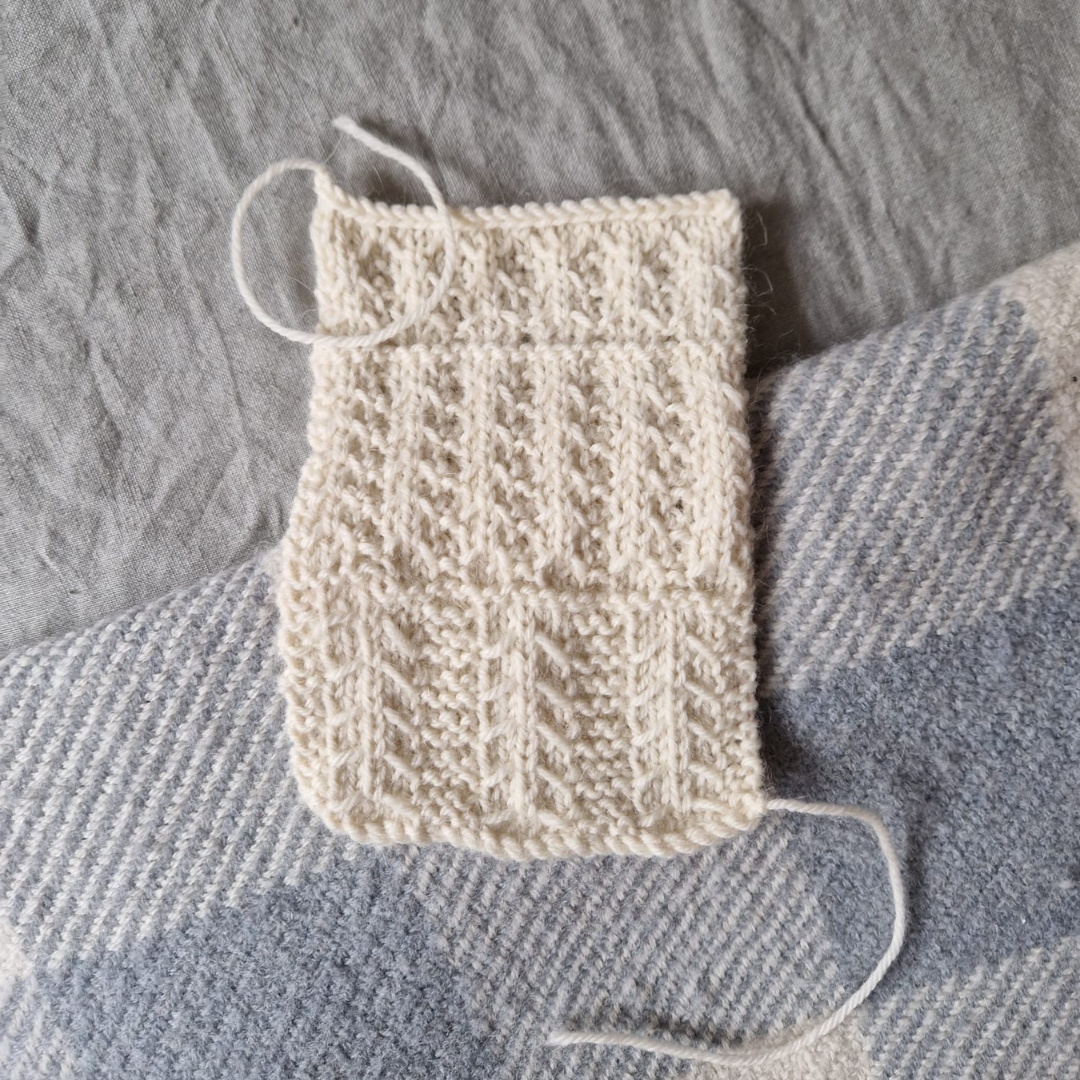
Skipping the Swatch
One of the most common mistakes knitters make is neglecting to swatch. Despite what you might believe, swatching is neither optional nor unnecessary. In fact, it has the biggest influence on whether the project is a success! It’s your guide to ensure that your project fits correctly and looks as you envisioned.
Not only does it help you achieve the correct sizing, but it also allows you to get to know your yarn before you commit to the final project. Whilst it might feel like it delays the exciting part, it’s a small investment of time and resources upfront that can prevent a lot of disappointment and wasted effort later on.
Measuring Incorrectly
Next on the list of common mistakes is measuring yourself incorrectly. If you are changing the size of your pattern, measurements are the backbone of your project and without accurate measurements, you can end up with badly-fitting garments and disproportionate accessories.
Have you ever heard of the carpentry mantra, “Measure twice, cut once”? Well, in this case, it should be, “Measure twice, knit once”. Accurate measurements are crucial in ensuring that your project turns out just how you planned.
Rushing the Process
Finally, there’s the mistake of rushing the process. Adjusting a knitting pattern can feel daunting, and with everything that you need to do, it’s easy to feel overwhelmed and just try to rush through it all.
However, this is a process that can’t be rushed. Take the time to do the necessary calculations, write up detailed notes and double-check everything. Take it one step at a time, and remember that every expert was once a beginner. With each pattern adjustment you make, you’ll gain confidence and proficiency, making the process faster and more intuitive.
Conclusion: How to Adjust Knitting Patterns
Learning to adjust knitting patterns is an endlessly useful skill that offers so many benefits. It allows you to truly make each project your own, finetune the fit to suit your unique body shape, and even prepare you for eventually designing your own patterns! It might seem daunting at first, but with patience and practice, you can master this skill and take your knitting projects to the next level.