How to Design Your First Knitting Pattern: A Beginner’s Guide to Knit Pattern Design
Designing your first knitting pattern can sometimes feel impossible. You’re fantastic at knitting from someone else’s knit pattern, but when it comes to designing your own from scratch, where do you even start?!
As intimidating as it can initially seem, designing your first knitting pattern doesn’t have to be a struggle. In fact, it can be a lot of fun!
In this super in-depth guide, I’m going to show you how to break the design process down into simple, manageable steps that will help you to finally reach the finish line and publish your first knitting pattern design. Let’s get started!

Image Description: Close up of the hands of someone knitting. They are wearing a white fuzzy sweater and using chunky, burnt orange yarn. On top of the photo are the words, “How to Design Your First Knitting Pattern”.
Designing Your First Knitting Pattern
Choose a knit Pattern Category
The first thing you will need to consider when designing your first knitting pattern is what type of pattern you want to design. Do you want to design a hat or a shawl or something else entirely?
I highly recommend that you select a pattern category that you have knitted many times from other people’s knit patterns so that you feel totally confident with the construction of your design. So, if you confidently knit a lot of socks, design your first sock pattern! Or if you’re an avid hat knitter and want to start with a hat pattern, check out my blog post all about designing hats.
I also suggest that you choose a pattern category that doesn’t require a ton of grading - if any. A simple accessory is ideal. Designing something that doesn’t need to be graded will allow you to focus on learning the knitting pattern design process, which is so valuable as a new knitting pattern designer.
If you do want to have a go at grading, choosing a pattern category that only needs to be graded to a very small number of sizes, such as a hat, is great to practice on a small scale before you move on to multi-size garments.
Set Your Vision
As a new knitting pattern designer, it’s easy to lose your focus, lose your confidence and even give up when you’re working on your first knit pattern. Setting a crystal-clear vision for your design will help to keep you on track.
Create a Moodboard
One of my favourite ways to get clear on my design is to create a moodboard, so that you aren’t trying to come up with ideas from scratch. You can select images that inspire the:
Silhouette
Stitch
Colourway
Yarn
Overall “vibe” of your design
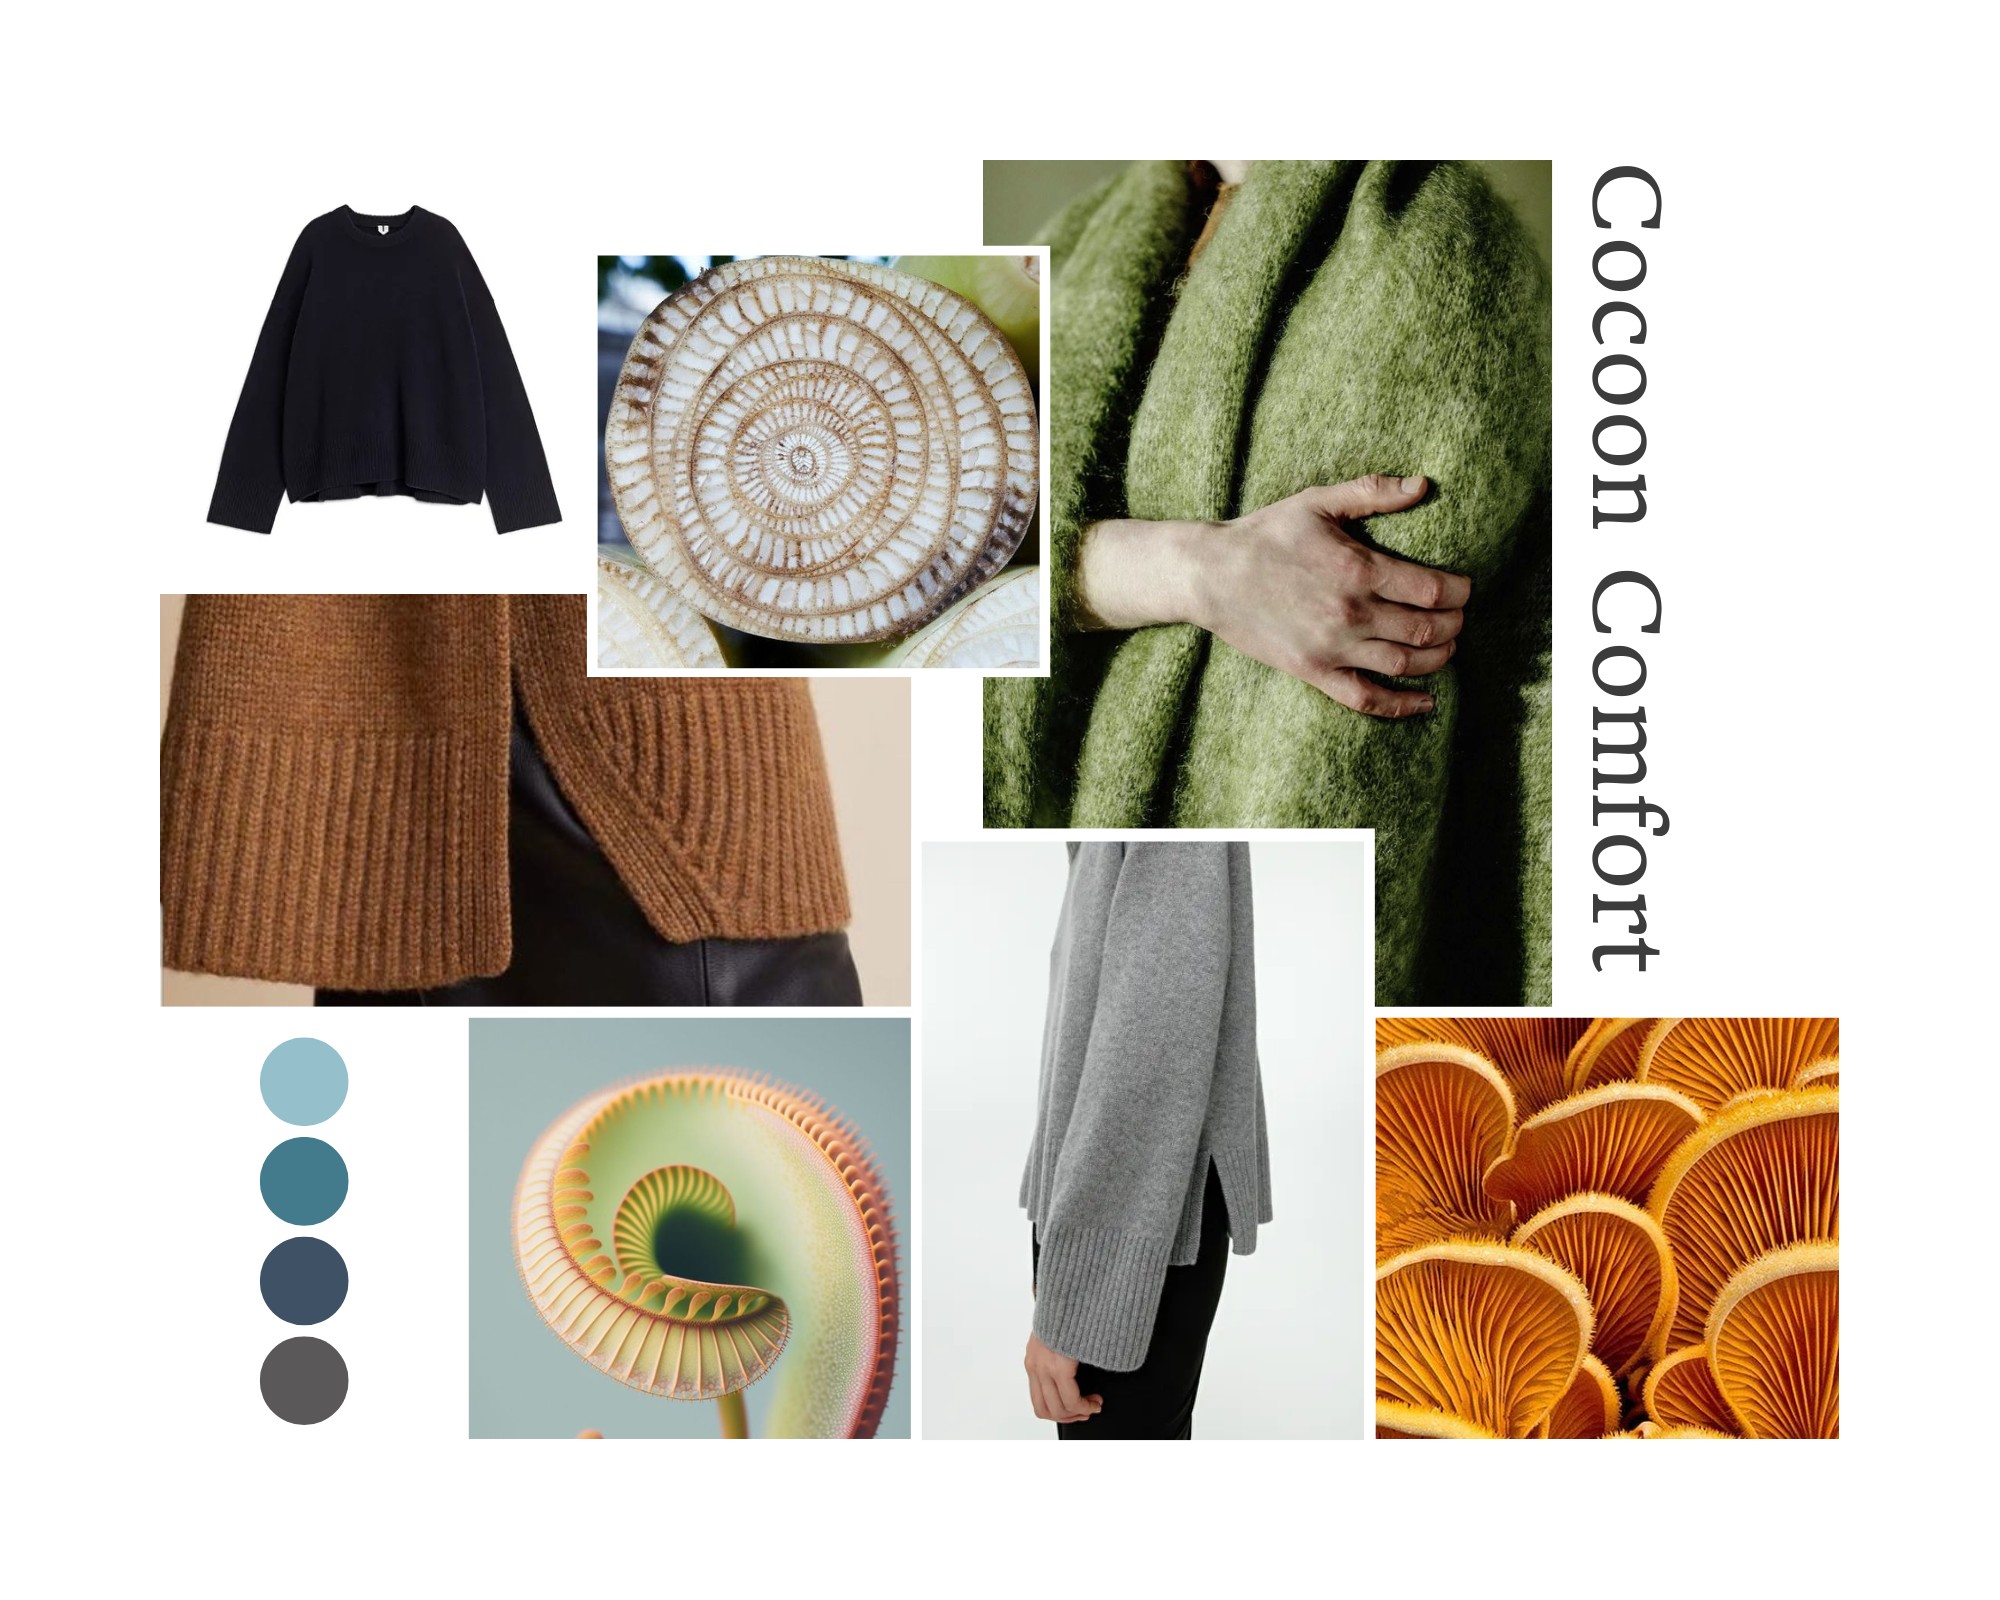
Image Description: A digital moodboard titled "Cocoon Comfort" featuring images of a cosy green wrap, plant stem cross-section, navy jumper, ribbed brown hemline, spiralled fern, and orange mushrooms.
Remember, your moodboard can be whatever you want it to be—it doesn’t have to look a certain way. It could be:
a bunch of magazine cutouts pinned to a corkboard
a piece of card with printouts and yarn wrappings glued to it
a digital moodboard created in Canva.
Pro Tip: Canva offers a very user-friendly way of creating digital moodboards, and I've shared 3 ways to make moodboards for your designs in Canva here on the blog.
Sketch Your Ideas
Once you have a moodboard for your design, you can start sketching out ideas on paper. Don’t worry if you aren’t much of an artist - your sketches are simply to get those abstract ideas out of your head and into a more tangible form. As long as you can tell what you’re trying to communicate through your drawing, you’re doing great!
If you’re having trouble getting started with sketching, the 15-minute timer method is a great way of breaking through any creative block you might be experiencing.
Sometimes, it can be tempting for new designers to throw everything but the kitchen sink at their sketches, drawing out highly complex designs that are honestly unachievable at this stage. It is much better to keep your first design simple.
Keeping things simple now means that you will actually be able to follow through on your design, building your confidence so that you can go on to design more and more ambitious pieces in the future.
Use a Stitch Dictionary
I absolutely love designing my own stitch patterns, and I highly recommend that you give it a go in the future, but for now, I suggest keeping things simple.
Start with a basic stitch like stockinette or garter stitch to familiarise yourself with the pattern design process. This approach allows you to focus on learning the more technical side of design without getting overwhelmed.
Once you’re ready to explore more, I recommend using a stitch from a stitch dictionary. You are already learning so many new things in the knitting pattern design process that it can be helpful to leave coming up with your own stitch pattern until later.
Recommended Resources
Vogue Knitting Stitch Dictionaries: You can't go wrong with these—I used them frequently for inspiration when I worked as a swatch designer in the commercial knitwear industry.
Online Stitch Dictionaries: If you’re not ready to invest in a set of stitch dictionaries yet, don’t worry. I’ve written a blog post all about 5 Online Stitch Dictionaries Every New Designer Should Know About, which is perfect for brand-new designers like you!

Image Description: Hand of someone wearing lacy fingerless mittens in warm, variegated colours. They are holding a handful of wooden knitting needles.
Choose a Yarn
Once you have finalised your design, and know what stitch or motif it will feature, you are ready to choose your yarn.
This isn’t just about choosing a yarn you like. It’s about choosing a yarn that will bring out all of the best features in your design. Think about what your design needs and choose a yarn that fulfils all of that.
Perhaps you designed a lace shawl that is designed to drape elegantly around someone’s neck. For this design, you’ll need a yarn that has both drape and stitch definition to highlight that beautiful lace stitch.
Perhaps you designed a simple hat without too many fussy details. This is the perfect opportunity to select a fancy yarn that does all the talking, such as something hand-dyed, variegated, or textured like a bouclé or slub. It should also have good memory and elasticity to avoid the hat losing its shape.
When selecting yarn, consider choosing something that is either easy to get hold of for most knitters in the location where your typical customer lives, or something that is easy to substitute. If you use a very unusual yarn that is hard to source or substitute, it could potentially put knitters off from trying the pattern because they can't easily replicate your sample.
If you’re interested in learning more about yarn choice, I recommend reading this blog post about How to Choose What Yarn to Use in Your Knitting Pattern Design.
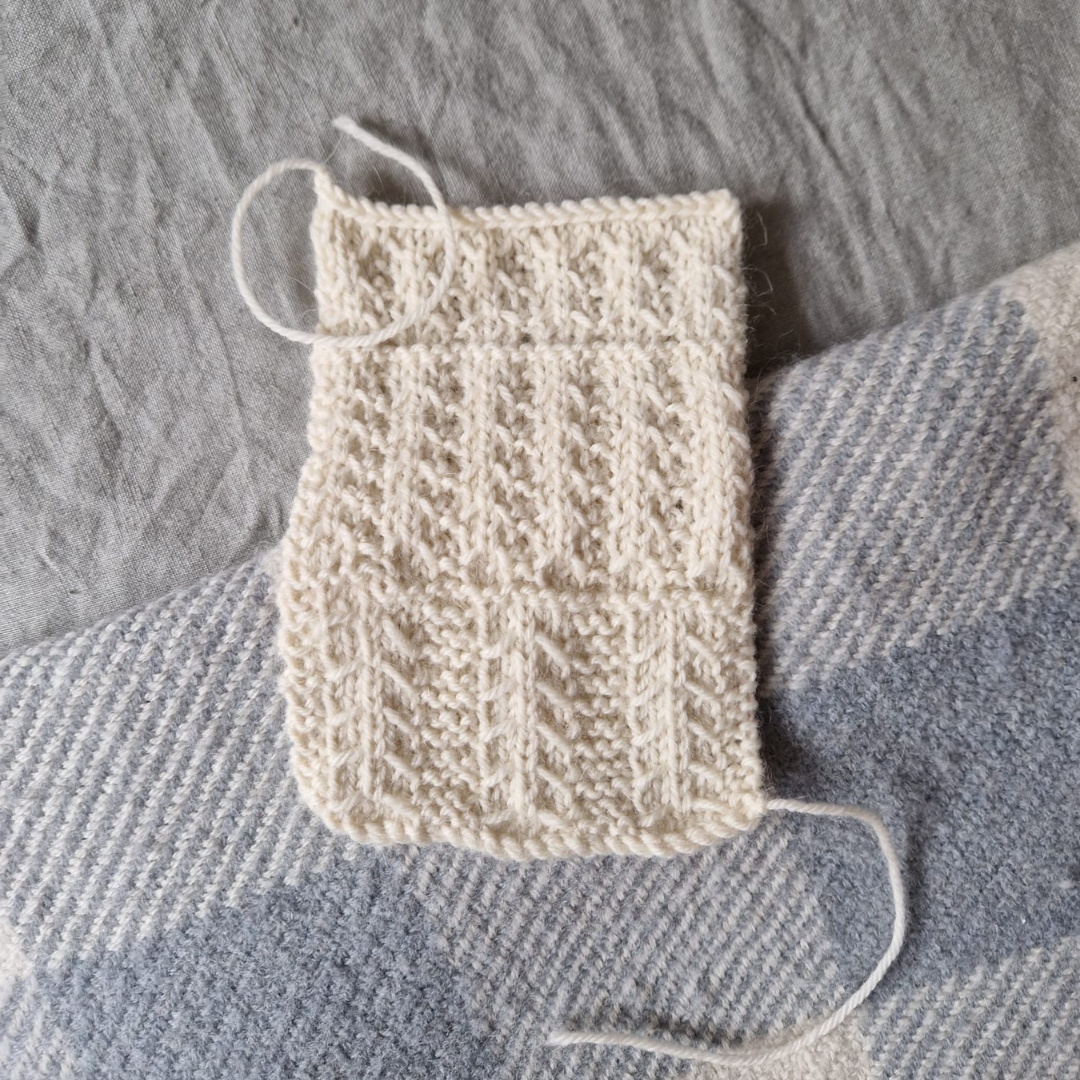
Swatch thoroughly
Swatching thoroughly is one of the best ways to ensure that your design comes out just as you imagined, particularly if you are a beginner knitting pattern designer.
Steps to Swatch Effectively
Make a Large Gauge Swatch
Make your gauge swatch a minimum of 6 inches square, but ideally 8 inches.
Flat Vs. Round
If you're knitting your design flat, knit the swatch flat.
If it's knitted in the round, knit the swatch in the round.
Why?
This will make your gauge reading more accurate, as most people's gauge differs in the round compared to the flat.
Block Your Swatch
Block your swatch as you intend to block the finished sample so that your gauge reflects the finished fabric.
The gauge can differ quite a bit from unblocked to blocked, so this step is crucial.
Problem-Solving with Swatches
Swatching isn’t just about gauge; it’s also about problem-solving and refining your design ideas.
Swatch where you intend to place your shaping, how the trim connects to the main body of the object, and anything else you aren't sure how to execute.
I discuss this more in my blog post on How to Design a Sweater Using Swatching.
Write a Construction Summary
When you’re designing your first knitting pattern, it can be difficult to figure out which stitch/row counts and shaping you will need to calculate for your knit pattern in advance. Writing a simple, step-by-step summary of how you will construct your design helps you to identify the numbers you need to calculate in your spreadsheet.
Steps to Create a Construction Summary:
Identify the Key Steps in Your Design:
Start by outlining the major steps in your design process.
Example: If you are designing a hat and you’re knitting it from the bottom up, the first step in your construction summary would be to cast on the stitches for the ribbing.
Calculate Stitch/Row Counts:
Based on each step, determine the stitch/row counts and shaping you’ll need to calculate for your pattern.
Example: From the ribbing step, you now know that you need to calculate the number of stitches to cast on in your pattern spreadsheet.
Use Existing Patterns for Inspiration:
If you’re having trouble thinking about the construction off the top of your head, review the knitting patterns you already own.
List out the way they construct their designs based on the pattern instructions. This is a great way to become familiar with various garment or accessory constructions.
Whilst no one else will read your construction summary, it will make your life so much easier when you come to writing your knitting pattern, especially as a newbie.
Pro Tip: For more guidance on sweater construction, I share 3 Sweater Styles to Design from the Top Down on the blog, which gives you a construction summary for top-down drop-shoulder, raglan, and set-in sleeve sweaters.
Create a Simple Pattern Spreadsheet
Whilst you could totally work out a simple, beginner’s pattern without a spreadsheet, they are essential to more complex patterns, especially those that are graded. That’s why I encourage you to get an early start with pattern spreadsheets, even on the simplest of designs, so that you can build confidence and proficiency before you start working on something more complex.
Key Components of a Pattern Spreadsheet:
Include Finished Measurements:
Add the intended finished measurements of your design, whether it’s a single size or you are doing some simple grading for a small number of sizes.
Input Your Gauge:
Include the gauge that you’ve determined from your swatching.
Refer to Your Construction Summary:
Use your construction summary to methodically calculate the pattern numbers for every step in your design, using the intended finished measurements and your gauge.
Example Calculation:
Step 1: Calculate the Number of Stitches to Cast On:
If you’re designing a hat with a finished circumference of approximately 52 cm (20.5 in) and your main stitch gauge is 2.2 sts per cm, you need to cast on approximately 114 sts (52 x 2.2 = 114.4) to achieve that measurement.
Step 2: Adjust for Stitch Repeat:
If you’re using a stitch pattern like a 2x2 rib with a pattern repeat of 4 sts, round 114.4 to the nearest multiple of 4, which is 116 sts. The MROUND function in your spreadsheet is very useful for this.
Why use the main fabric's gauge?
I base the hat’s stitch count on the main fabric’s gauge so that the main part of the hat fits comfortably on the head. Then the ribbing, which is naturally more elastic, pulls it in nicely so it’s more snug around the ears and doesn’t slip off.
If you want to see how I set up my own knit pattern spreadsheets, I shared more about it in my blog post about How to Grade Knitting Patterns Using a Spreadsheet. It’s too much to cover in detail here, but that post breaks down the process really well and will guide you through it step by step.
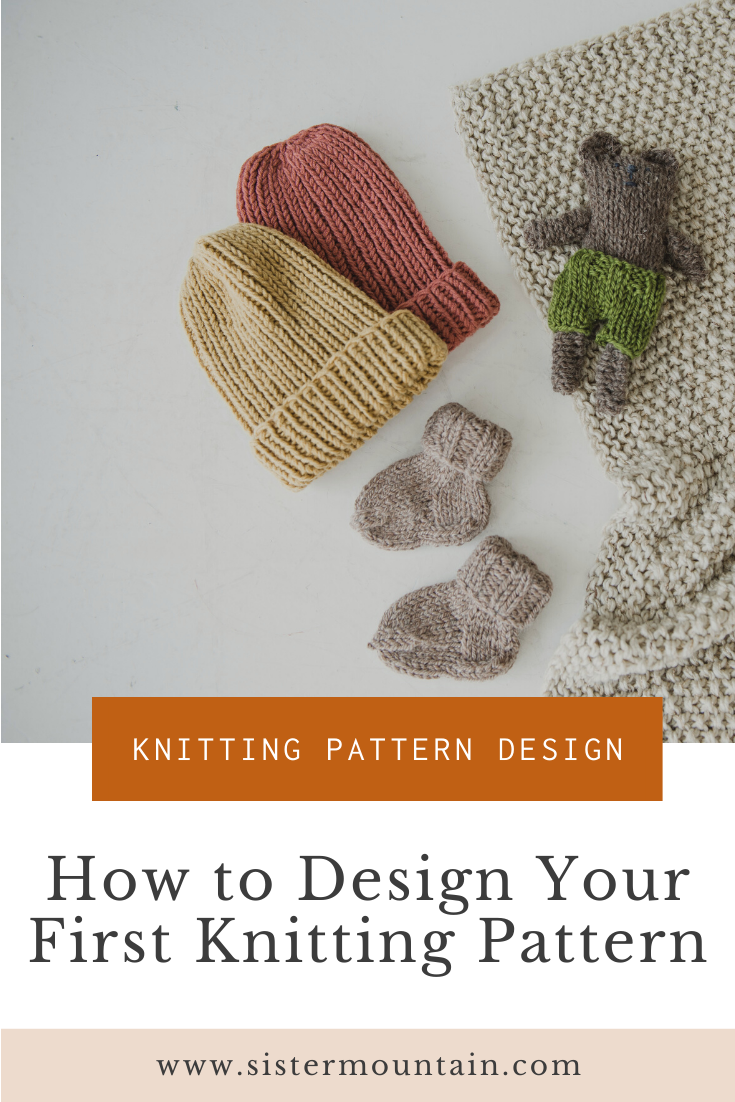
Image Description: Image of a knitted blanket, teddy, hats and some booties. Underneath, it says: Knitting Pattern Design. How to Design Your First Knitting Pattern. www.sistermountain.com
Write a First Draft
At this stage in the design process, you will have all of the information you need to write your first draft.
I’d like to preface this step by saying DON’T expect perfection from yourself at this stage. This will definitely be a “sh*tty first draft” and that’s perfectly okay.
As a guide, take a look at knitting patterns you own and enjoy working from for an idea of the structure and types of information you need to include in your pattern, as well as the language that other designers typically use to communicate their pattern instructions.
You’ll notice that every designer has their own way of pattern writing, even though they might follow a similar structure. Choose an informative pattern writing style that feels most natural to you.
Try not to get too fixated on writing perfect instructions right now; just do your very best and move on to the next step!
If you are having trouble writing your instructions, you could try knitting and writing at the same time for this pattern. While I often recommend avoiding this when possible, as it can be valuable to “test-knit” your own pattern later, I understand that some knitters need to knit their sample before or while they write their pattern. We all have different processing styles, so do what works best for you.
For those who are ready to write first, it allows you to check your pattern as you knit from it and catch some errors or areas of confusion before it goes to the tech editor.
If you’d like more guidance on writing knitting patterns, I’ve written a blog post on The Art of Clear and Concise Pattern Writing, which covers how to write easy-to-follow knitting patterns.
Knit the Sample
Before you start knitting your sample, weigh your yarn. If you are using different colourways or yarns in the same design, weigh each of them separately. This information will help you to work out the pattern’s yarn requirements later on.
I create all of my pattern spreadsheets in Google Sheets and write all of my drafts in Google Docs, which I can access on my phone and laptop. This makes it easy to adjust the pattern if I encounter any issues while knitting and makes writing the pattern as you go much more manageable.
If you have written your pattern before you start knitting the sample, you will essentially be your first test knitter. This is brilliant, as you will have the opportunity to spot any errors or areas of confusion that you encounter as you’re knitting. Make sure you update and edit the pattern as you go so that you don’t forget any adjustments you want to make.
You will find that, after knitting your sample from your draft, your knit pattern instructions are already a little better! And, of course, they will only continue to improve as you go through tech editing and test knitting.
For those who prefer or need to knit the sample before or while writing the pattern draft, keeping your pattern information organised is crucial. Google Sheets and Google Docs are particularly useful tools for making adjustments on the fly, ensuring that your pattern remains clear and accurate as you continue knitting the sample.
Once you have finished your sample, weigh your yarn again to determine exactly how much was used. You can then use this information to calculate the yarn requirements.
Get Your knit Pattern Tech Edited
Tech editing is the best way to check your pattern for mathematical errors, missing pattern instructions, or any areas of confusion.
Why Tech Editing is Essential:
Error Detection:
Tech Editors meticulously go through your pattern with a fine-tooth comb to catch any errors in the maths, instructions, or clarity.
Expect a fair amount of adjustments to be suggested—this is a normal part of the process!
Improving Clarity and Usability:
Tech editing isn’t just for catching errors; it also ensures your pattern is as clear and user-friendly as possible.
Remember: Test knitters are not a replacement for tech editors; they focus more on the user experience rather than catching every technical detail.
Once you receive feedback from your tech editor, update your pattern accordingly and then send it back for a final check. After that, the pattern is usually ready for test knitting!
Tech editing can take some time, so it’s important to factor this into your timeline. Communication is key—don’t hesitate to ask your tech editor for clarification if something isn’t clear.
If you’re curious about the process or want to learn more, I recommend reading my Beginner’s Guide to Working with Tech Editors.
Get Your Pattern Test Knitted
Test knitting is an exciting stage where you get to see your pattern come to life in the hands of other knitters! The primary goal of test knitting is to gather feedback on the user experience—how easy the pattern is to follow and how well it fits—rather than just finding errors.
Test knitters are invaluable in helping you refine your pattern. They may spot areas of confusion that you, as the designer, might overlook. Their feedback can lead to improvements that make your pattern clearer, more accurate, and more enjoyable to knit from.
If your pattern includes multiple sizes, it’s a good idea to find at least two test knitters per size. This ensures that you receive feedback on each size, even if one test knitter has to drop out.
Building strong relationships with your test knitters is important. Clear communication and openness to constructive criticism are key to making the most of the test knitting process. Remember, their feedback is a gift that helps you grow as a designer and make your patterns the best they can be.
I’ve had great success using Yarnpond for finding test knitters and managing the process. It’s particularly useful for new designers, as it takes much of the stress out of organising test knits.
For more insights on the importance of test knitters and tips on handling feedback effectively, check out my blog post called Is Your Knitting Pattern Truly Ready? The Critical Role of Test Knitters in the Design Process.
Take Simple, Attractive Photos
Pattern photos can be a major stumbling block for new designers releasing their first knitting pattern. Let me reassure you: you don’t need to be an amazing photographer or have a fancy camera to take your pattern photos.
Steps for Taking Great Pattern Photos:
Gather Your Resources:
Model: Find a willing model, which could be you, a loved one, or a friend.
Photographer: Have someone willing to take the photos—again, this could be you or someone close to you.
Equipment: Use a smartphone and natural daylight; there’s no need for expensive cameras.
Choose the Right Background:
Opt for a simple, uncluttered, and attractive background that won’t distract from your design.
Capture Key Angles:
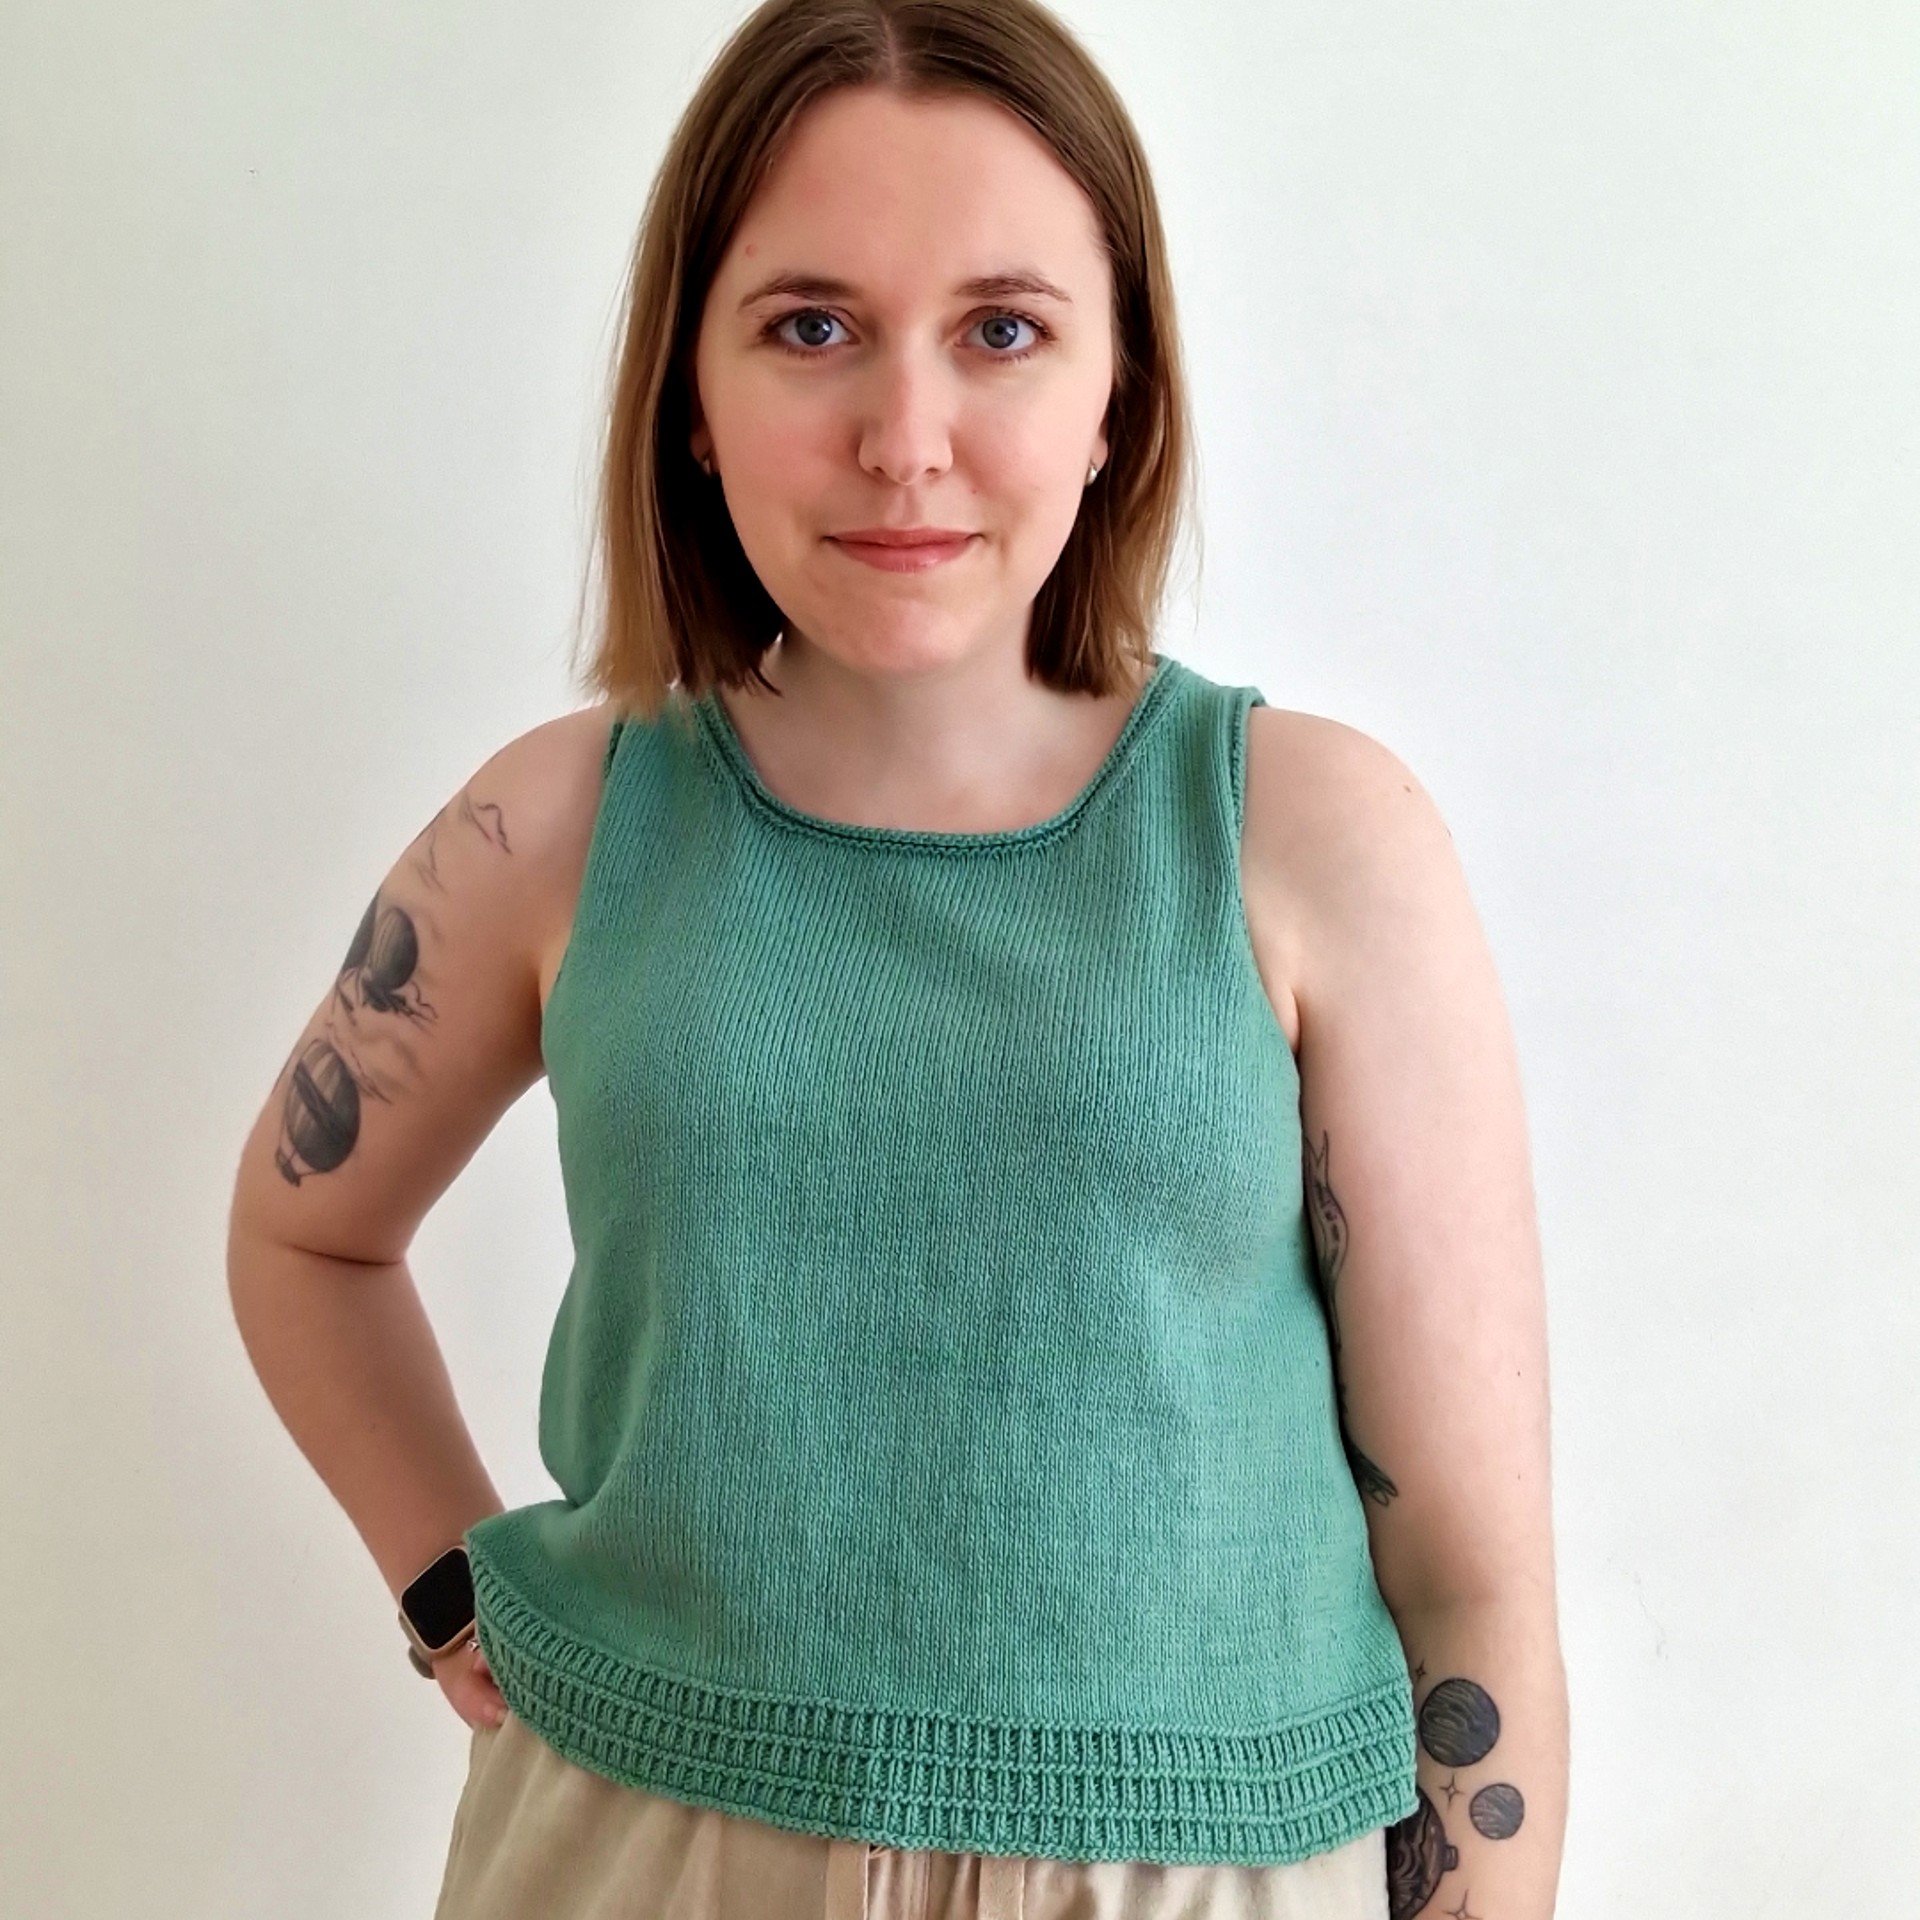
Take front, back, and side shots of your design to give a complete view.
Include extra photos of any details you want to highlight.
Use a Model:
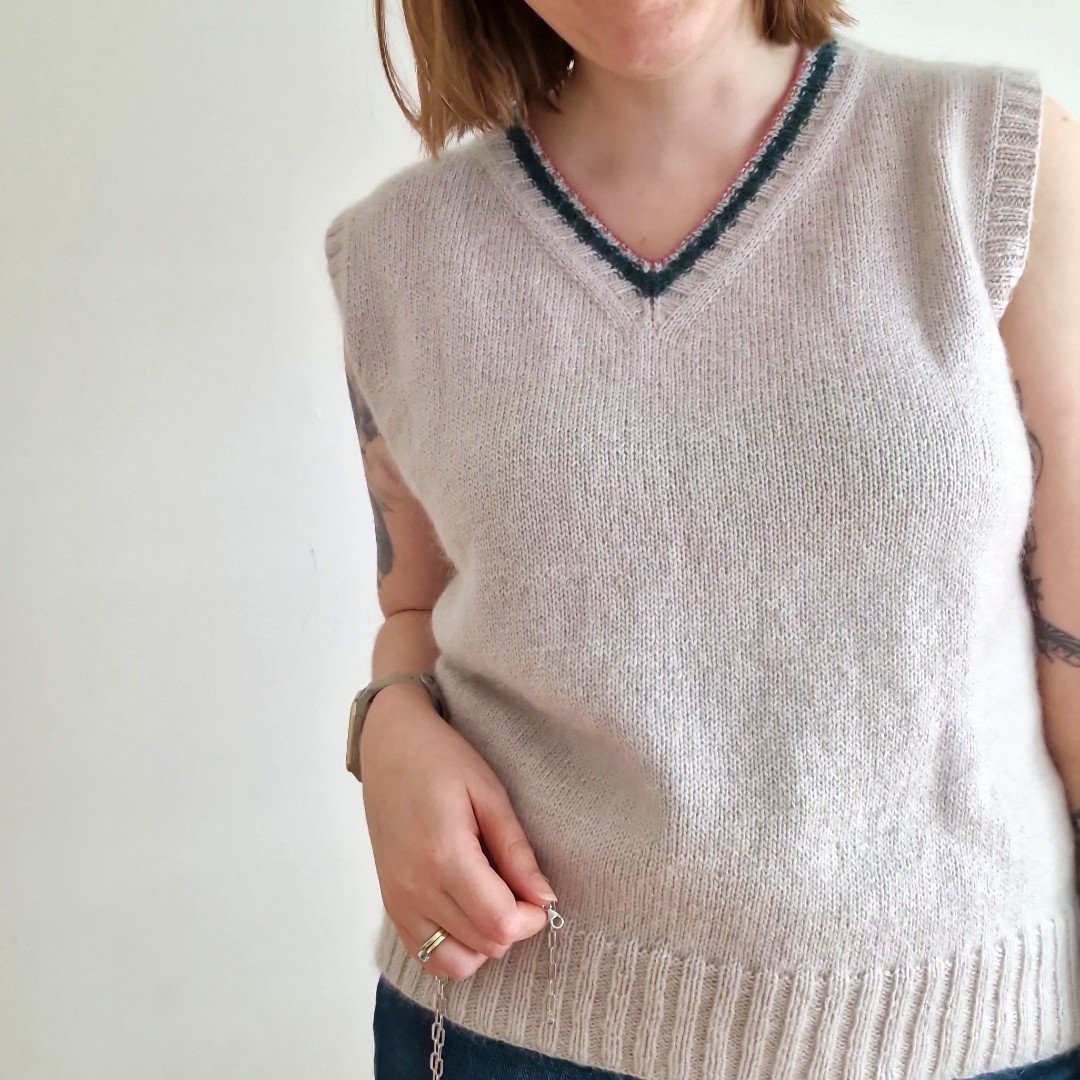
Don’t be tempted to skip photographing your design on a model. Knitters want to see how something looks on the body, as it helps them visualise how they might look in it.
While un-modelled photos can be included, most of the images should be taken on a model to enhance the pattern’s appeal.
Get it Out There!
This is your first knitting pattern, so I imagine you might be dealing with a little bit of self-doubt. Maybe a bit of imposter syndrome, even? If you have followed every step of this design process, I want to reassure you that you are ready.
You’ve put the time and effort into making this knitting pattern the best it can be. Now it’s time to share it with the world!
Places you can consider selling are Etsy, Ravelry, LoveCrafts and your own online shop. The beauty of digital knitting patterns is that, once you’ve put the work in, you can continue to sell the pattern PDF over and over again for as long as you have it up for sale.
Make sure you start talking about your new pattern release as often as you can. If you don’t share it with your community, how will anyone know to buy it? Sure, people might encounter it in searches on Ravelry etc, but you will be directly competing with other designers that way and essentially, relying on chance. By telling your community about it regularly, you will definitely sell more patterns.
well done!
Designing and releasing your first knitting pattern can be hard. Not only is there a lot to learn about the design process, but you are likely to fight all of your insecurities along the way. By pushing through and finally getting that knitting pattern out of your head and into the world, you have already done the hardest part. Well done!
Now, you can use everything you have learned this time and apply it to your next knit pattern. There is always something to be learned from every design process.
I wish you all of the success in the world with your new knitting pattern design. There is no better feeling than bringing your design ideas to life!
FREE, ON-DEMAND VIDEO WORKSHOP
This is the same method I’ve taught to hundreds of knitters inside my course.
I’ll guide you through the beginning of the design process: finding inspiration, sketching your idea, and swatching with purpose.
You’ll walk away with a plan you can actually follow.