3 Ways to Make a Knitting Pattern Design Mood Board in Canva
Creative block. Argh!
We’ve all had that dreaded moment when we sit down to design and… nothing. No ideas. Your mind is blank. Anything that does pop into your head is rubbish.
After five minutes of staring at a blank page, you find yourself with your phone in hand, scrolling Instagram and wishing that you could be as prolific a designer as the ones you admire on social media.
But it doesn’t have to be this way! Mood boards are a fantastic way to start the design process strong and guide your ideas to a fantastic conclusion.
In this blog post, I will show you three ways you can use Canva, a free online graphic design tool, to create mood boards that will kick creative block to the curb.

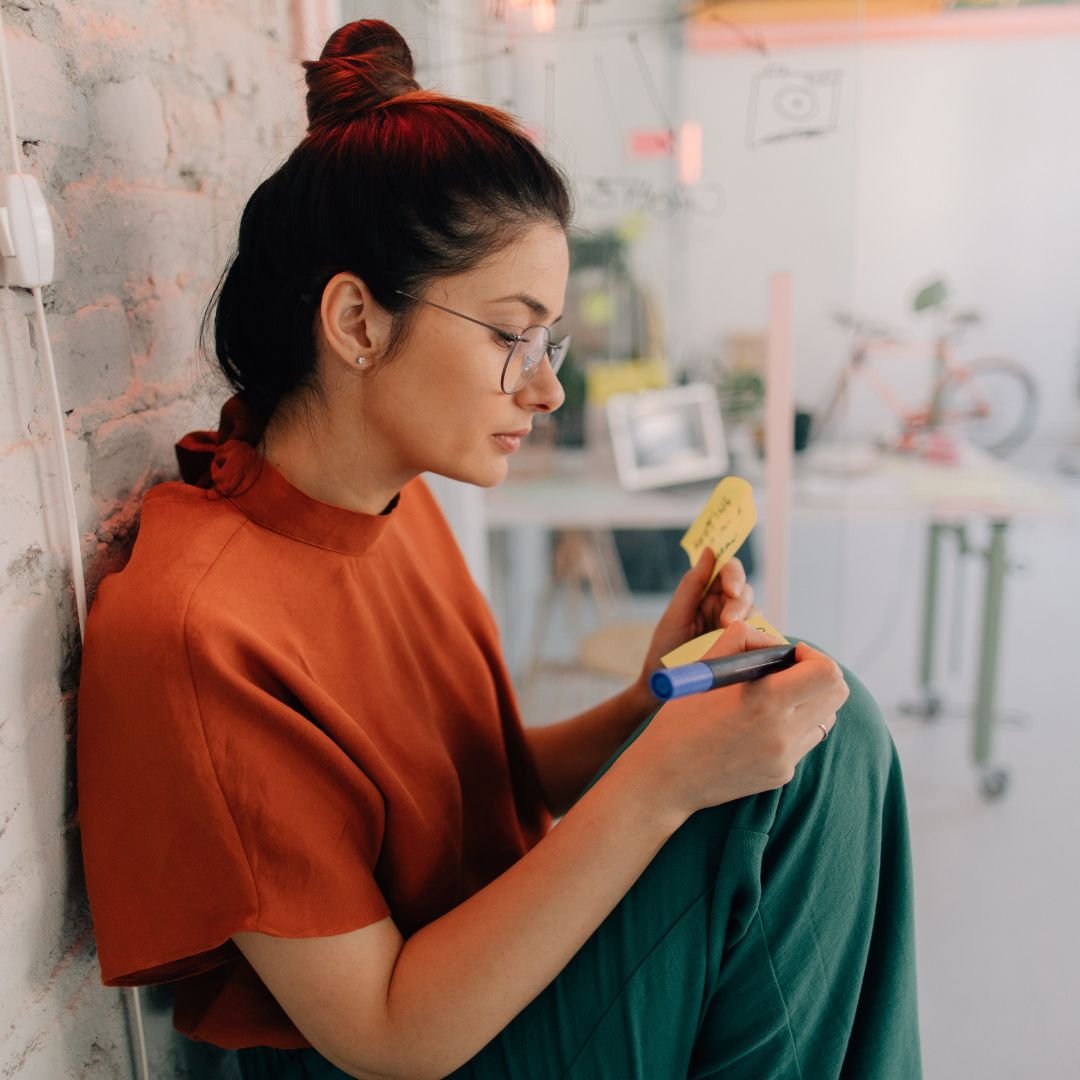
Image description: photo of a woman sticking images to a white brick wall with the words “3 Ways to Make a Knitting Pattern Design Mood Board in Canva” on top of it
Mood Boards Made Easy with Canva
Back when I was a knitwear student, we made mood boards all the time. They were the first step in our design process, and that’s exactly what I teach my students in Sweater Design School too!
But I didn’t have the graphic design knowledge or the skills to create my mood boards digitally, as I saw some of my fellow students do in Adobe Photoshop. I just didn’t know where to start with it!
So instead, I made my mood boards physically, sticking images to big boards and making yarn wrappings. Truthfully, I loved the tactile process of creating these boards at the time.
These days, I don’t have the space to make huge physical mood boards, and thankfully, Canva makes digital mood board making incredibly easy. It can be as simple as dragging your chosen images onto a premade mood board template! And the results are beautiful.
Why You Should Try Using Mood Boards
If you’re wondering why you should even bother with making a mood board, there are several ways they benefit the knitting pattern design process.
Bye, Creative Block!
Firstly, they make creative block a thing of the past. Rather than starting with a blank page and expecting your brain to come up with something spectacular out of thin air, you have a clear visual starting point to get your cogs turning.
Get Clear
Canva cites that, in a study conducted by the Journal of Business Research, it was found that mood boards were effective in setting the scene, directing activities and aligning sub-products by establishing a point of reference.
Making a mood board is like setting a goal. By clarifying your destination, you’ll have a better idea of how to get there. Without it, you’ll likely wander off-track and end up with a design that wasn’t what you envisioned.
Avoid Design Ruts
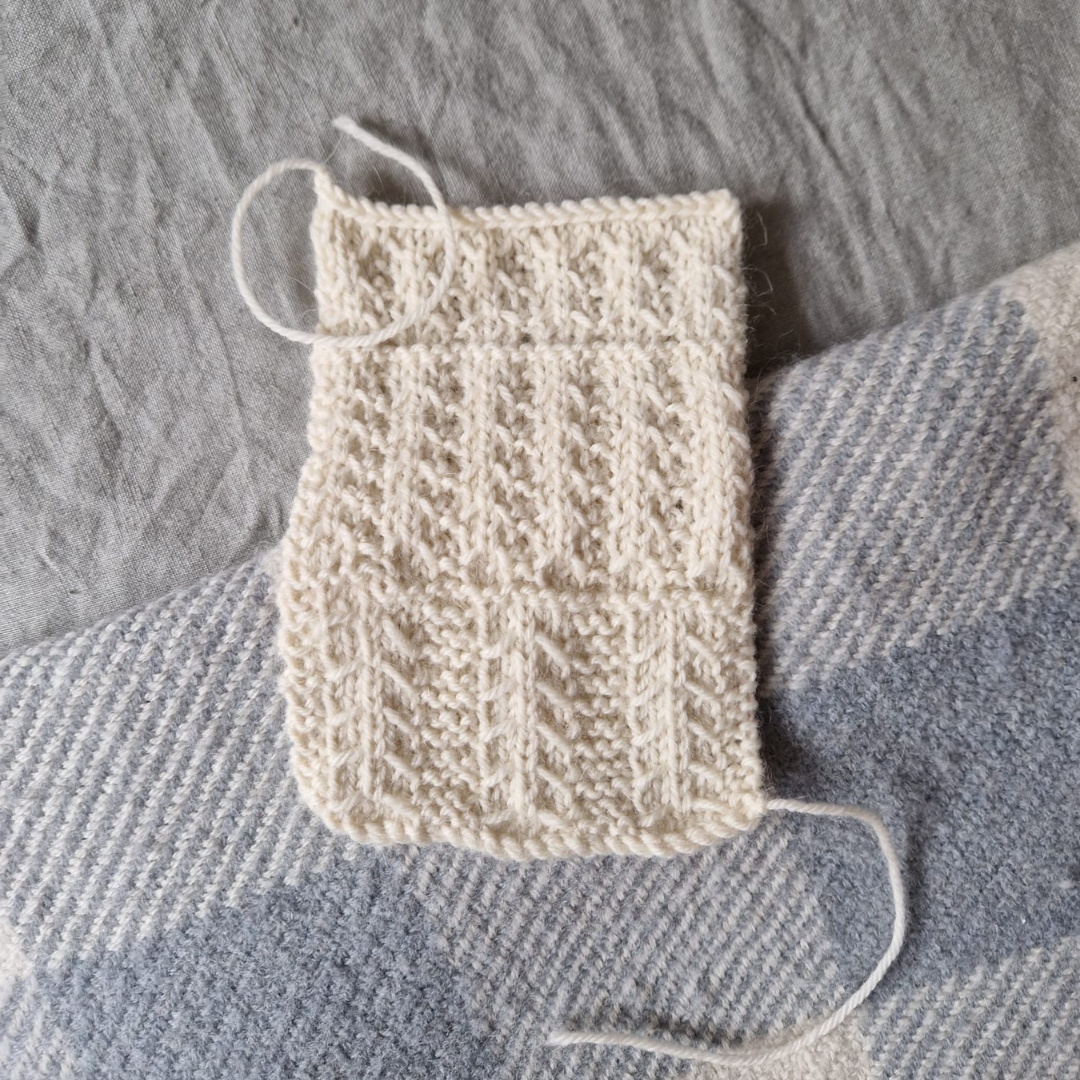
Finally, they stop you from falling into design ruts. If you’re anything like me, you’ll find that you have particular design ideas you default to, whether it’s a classic 2x2 rib trim or a crew-neck raglan. Making mood boards helps open you up to other design options and evaluate what you want to create with your design.
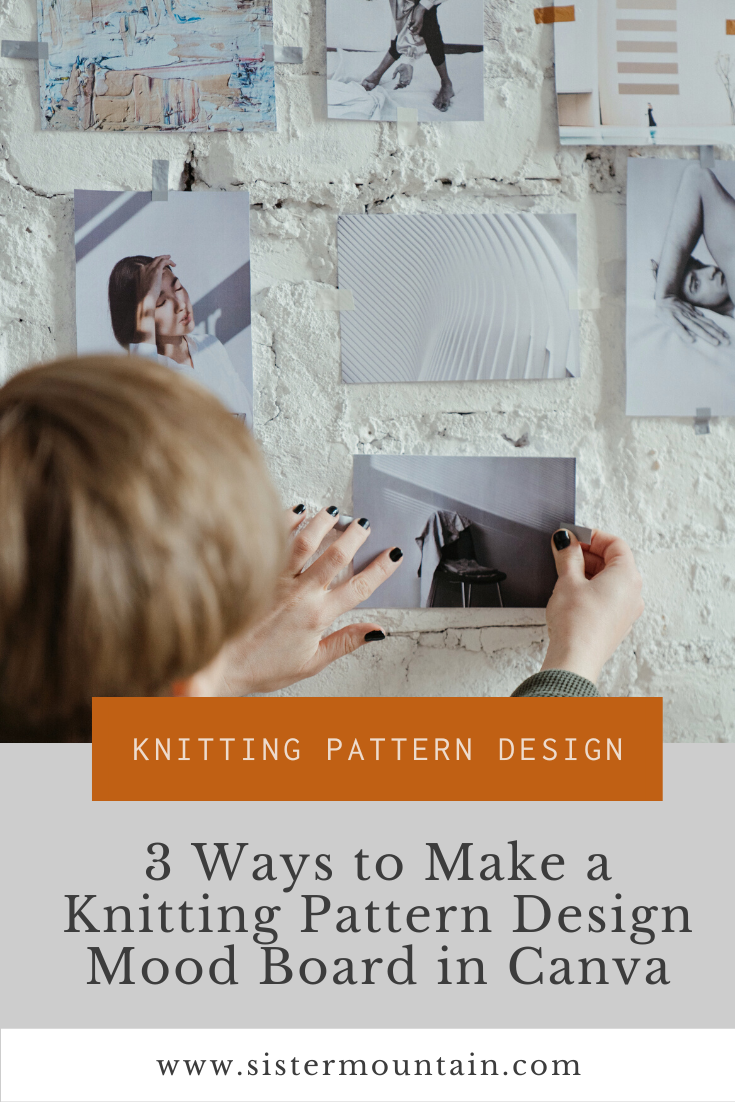
Image description: photo of a woman sticking images to a white brick wall. The text reads: 3 Ways to Make a Knitting Pattern Design Mood Board in Canva
Characteristics of a Useful mood board
Whether you’re designing a digital mood board on Canva or sticking to a simple physical mood board, there are three overarching principles to making a successful mood board.
Only the Best
Don’t just put any old images on your mood board! It’s got to be reserved for the very best. These should be images that immediately excite you, and you feel the ideas starting to flow. If you don’t have strong feelings about something, it doesn’t belong on your board.
Keep it Concise
The whole point of a mood board is to get clarity on your design ideas, so make sure you work with a small selection of key images. Ideally, no more than 10 - otherwise, you will struggle to create a clear theme for your design ideas.
Use Hierarchy
To help you design from your mood board quickly and at a glance, use hierarchy in terms of the image placement and size to help you determine how important the image is to your ideas. The most important images should be more prominent and towards the front of your board (if you are layering images), whereas the least important images should be smaller and towards the back.
How to Create a Knitwear Design Mood Board in Canva
Because Canva is such a flexible graphic design tool, there are several ways you can use it to design your mood boards. Below, I will list three options you can try, whether you’re a complete beginner or very confident with Canva.

Image description: an example of a moodboard created with a Canva template
Use Canva’s Mood Board Templates
One of the wonderful things about Canva is that they offer tons of free templates to help you kickstart the design process, whether you’re designing a flyer or, in our case, a mood board! They are the perfect place to start if you haven’t used Canva before.
At the time of writing, Canva currently offers 334(!!) moodboard templates to choose from, whether you’re looking for something clean and simplistic or a bold, mixed-media approach.
All you need to do is:
Select your chosen template from their mood board selection, and click “customise this selection”. A new window will open, displaying your template.
Click on any element to customise it, including the colour of the background, the font, the wording of the text, and the colours of any design elements.
Drag any of these elements around to move them to a different place on your moodboard.
Replace the images in the template with your own imagery by clicking on “upload” in the left-hand sidebar, then the button that says “upload files”. Once they are uploaded, drag and drop them on top of the images in the template.
Click on “share” in the top-right corner and scroll down to click “download” once you are happy with your finished mood board. Your file is now saved on your computer to reference throughout your design process!

Image description: Example of a photo grid moodboard that could be used to inspire a knitting design project.
Use a Photo Grid
If you’d prefer not to use a ready-made template but would like to use a grid to organise your imagery in a structured layout, Canva offers a great selection of photo grids.
Again, this is an excellent option for someone still getting to grips with Canva and wanting to keep it simple.
To create a photo grid mood board, you can:
Open a blank mood board photo collage by clicking on the button at the top of the mood board template page. A blank page will open in a new window.
Click on “elements” in the left-hand sidebar and scroll down to “grids”.
Click “see all” and select the photo grid you want to use. The blank page will now be replaced with the grid.
Replace the blocks in the grid with your own imagery by clicking on “upload” in the left-hand sidebar, then the button that says “upload files”. Once they are uploaded, drag and drop them on top of the blocks in the grid.
Click on “share” in the top-right corner and scroll down to click “download” once you are happy with your finished mood board. Your file is now saved on your computer to reference throughout your design process!
Freestyle it!
If you enjoy playing around with Canva and would prefer to have total creative freedom when designing your moodboard, you can start with a blank page and freestyle your own mood board layout.
To get started:
Open a blank mood board photo collage by clicking on the button at the top of the mood board template page. A blank page will open in a new window.
Upload your key images to Canva by clicking “uploads” in the left-hand sidebar, then the button that says “upload files”. Once they are uploaded, you can just click on each image, one by one, to add them to the page.
Click and drag each image around to choose its placement.
Resize your images by clicking and dragging the white circles at the corner of each image.
Click on “position” in the taskbar above your moodboard to bring any image forward or backwards when layering images.
Click on the background and then the multi-coloured icon in the taskbar to change the colour of the background.
Click on “elements” in the left-hand sidebar to experiment with adding graphics or shapes to your mood board.
Click on “text” in the left-hand sidebar to add any text you want to include in your mood board. You can customise the font, colour, size and more in the taskbar above the mood board.
Click on “share” in the top-right corner and scroll down to click “download” once you are happy with your finished mood board. Your file is now saved on your computer to reference throughout your design process!
Conclusion: 3 Ways to Make a Knitting Pattern Design Mood Board in Canva
Don’t leave the direction of your next knitting pattern design to chance. Start strong by creating a mood board in Canva to help you beat creative block and design a knitting pattern you can be proud of!
Making a mood board might feel like a waste of time, but what you gain in clarity, motivation, and creativity makes it more than worth it. Sign up for a free account and start experimenting with ideas for your next design.
Have you used Canva before? If so, do you have any tips to share with new users of this fantastic tool? Share in the comments section below!