5 Simple Steps to Designing Your First Hat Knitting Pattern
Question: Are you a knitter who's always loved working from knitting patterns but has been too daunted to try your hand at designing one yourself? You're not alone! Knitting pattern design can seem like a complicated and mysterious process, but I'd love to show you how easy it can be.
When I started as a knitting pattern designer in 2016, the first knitting pattern I designed and released was my Rilo hat pattern. Designing a simple hat was a great way to build my confidence and dip my toe into knitting pattern design.
In this blog post, I will take you through the five simple steps to designing your first hat pattern using a spreadsheet, even if you have never designed a knitting pattern.
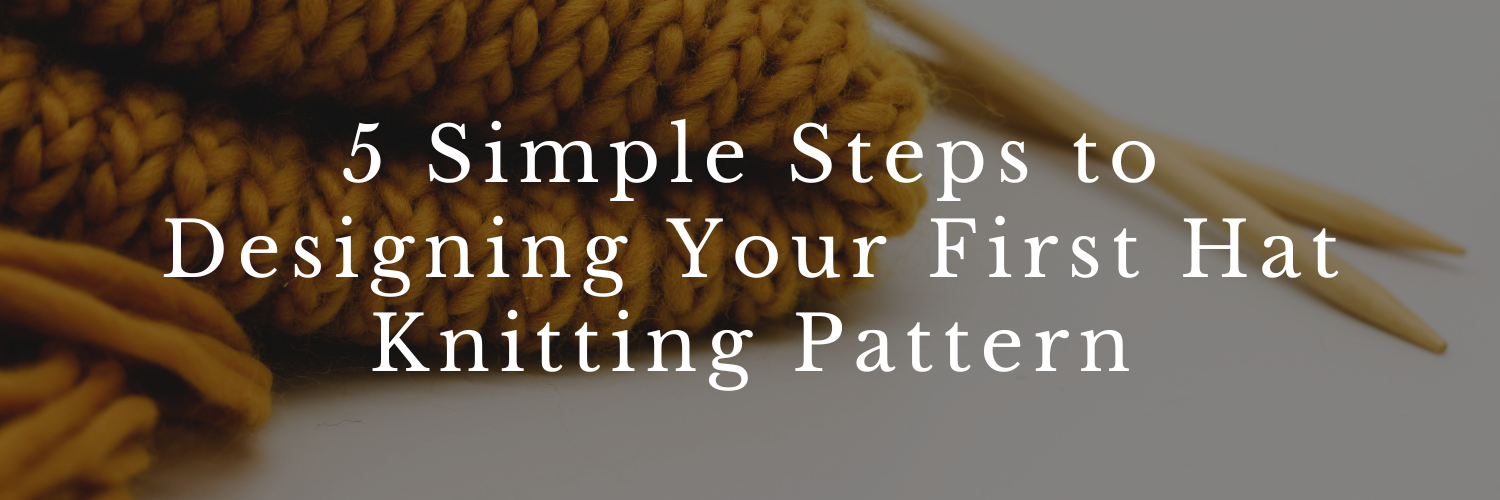
Image description: photo of hat being knitted with mustard coloured yarn and bamboo needles. The words “5 Simple Steps to Designing Your First Hat Knitting Pattern” are overlayed on top of the image.
Before we start, you will need the following:
A sketch of your final hat design
A large swatch, washed and blocked, and knitted in the round using your final yarn
Access to Google Sheets and Google Docs (they're free!)
Step 1: Decide on Your Hat Sizing
Before you jump into calculating the numbers and shaping for your hat pattern, you first have to decide what size(s) your hat pattern will be designed for to ensure it will fit peoples' heads!
Whether you're designing a hat to fit a range of head sizes according to a standard size chart or you're designing one for a specific person, it's well worth the effort to decide on your pattern's sizing if it means you'll eventually see happy, smiling faces sporting a well-fitting hat!
Hat design extraordinaire Woolly Wormhead generously shared a brilliant Guide to Hat Sizing on their blog, which covers everything from measuring a head accurately (if you're designing something bespoke) to a chart of typical head sizes from preemie to a large adult (if you're designing a pattern with a range of sizes).
I offered three sizes for my first hat pattern: child, adult and large adult. This size range was simple enough to achieve as my first knitting pattern but challenging enough to force me to learn more about basic grading.
Once you have decided on the sizing you will offer for your hat, open up Google Sheets and set up a sizing section at the top of your spreadsheet. You should use the columns for the sizes and the rows for the measurements in cm.
Step 2: Choose How Much Negative Ease to Use
When knitting a hat, it is essential to use negative ease. This means that the hat will be smaller than the head measurements it is designed for. When someone wears the hat, it will feel comfortably snug. If you make it too loose, it will probably end up falling off!
I usually design my hats with about 10% negative proportional ease, which is approx. 5-6 cm (2-2.25 in) in traditional ease; however, Woolly Wormhead often uses 12%, so I'm tempted to try that next time since they are hat design experts!
Don't feel like you have to stick to these numbers religiously, though - ease is partially dependent on the style of your design, too. You could use slightly more negative ease for a fitted watch cap or somewhat less for a slouchy beanie.
If I were designing a classic beanie in three sizes with 12% negative ease, just as Woolly Wormhead uses, here is how much ease I'd use for each size.
Child - 50.5 cm (20 in) head circumference: 50.5*0.12=6 cm (2.25 in)
Adult - 56 cm (22 in) head circumference: 56*0.12=6.5 cm (2.5 in)
Large Adult - 61 cm (24 in) head circumference: 61*0.12=7.5 cm (3 in)
Once you have decided how much negative ease you want to use in your hat, set up an ease section in your spreadsheet. You can either fill out the ease percentage here as a decimal number for each size, e.g. 0.12 or just type in the exact measurement in cm, e.g. 6.5.
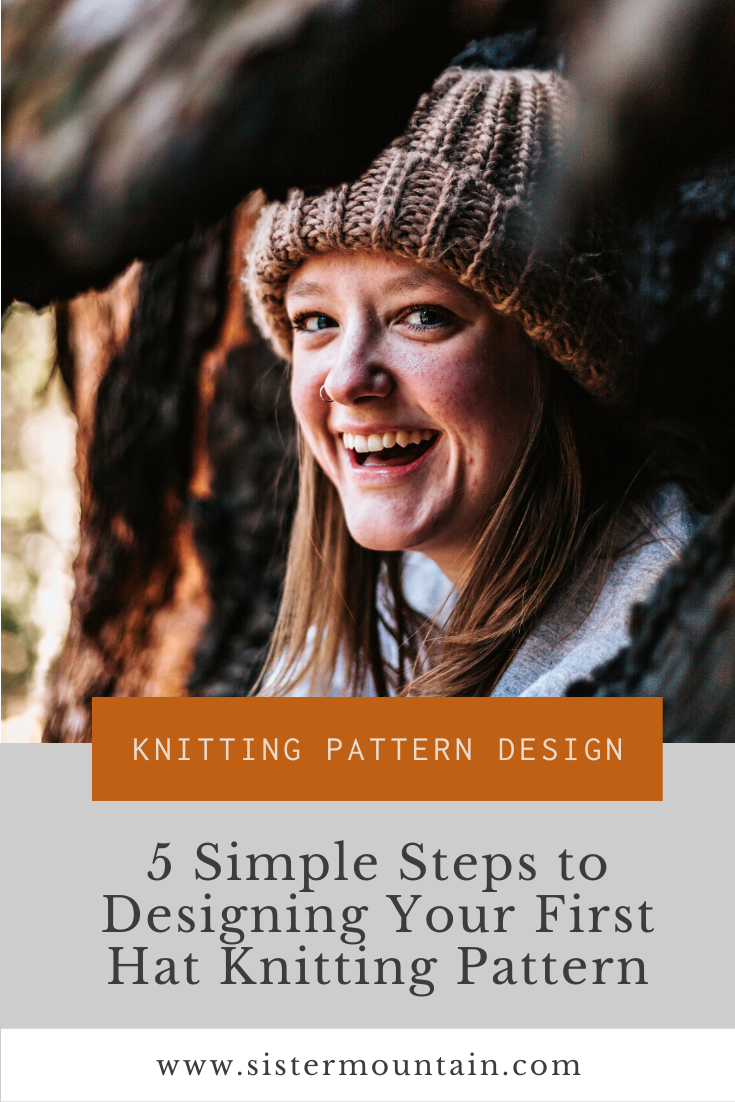
Image description: woman with a nose ring and chunky wool hat is laughing. The text reads, Knitting Pattern Design - 5 Simple Steps to Designing Your Own Hat Knitting Pattern.
Step 3: Calculate Your Hat's Finished Measurements
When you are designing a hat, it is much easier to calculate how many stitches and rounds you need when you know the size of the hat that you want to end up with. You only need the ease and size chart to figure out the finished measurements.
Thankfully, when you are designing a simple beanie, there are only three measurements you need to think about: the circumference of your hat, the length and the trim depth.
Hat Circumference
You can calculate the hat circumference by taking the head circumference measurement and subtracting the negative ease.
If you are using Proportional Ease
If my head circumference is 56 cm (22 in) and I'm using 12% negative ease, I'd calculate it like this: 56-(56*0.12)=49.5 cm (19.5 in) hat circumference.
If you are using Traditional Ease
If my head circumference is 56 cm (22 in) and I'm using 6.5 cm negative ease, I'd calculate it like this: 56-6.5=49.5 cm (19.25 in) hat circumference.
Hat Length
You can decide the hat length based on the Crown to Base of Ear measurement in the size chart. You might want to make your hat precisely that long to cover the ears, or you may wish to make it slightly shorter. I like my hats to cover half of the ear, so I subtract about 2.5 cm (1 in) from the length in the size chart.
Trim Depth
The depth of your trim is entirely up to you. I often go for about 2.5-5 cm (1-2 in). You can also calculate a measurement called Crown to Top of Trim Length, which is the Hat Length minus the Trim Depth.
Set up a finished measurements section in your spreadsheet and fill them out for every size you are designing for. Now, you are ready to start calculating your pattern numbers!
Step 4: Fill Out Your Pattern Spreadsheet
When calculating the numbers in your knitting pattern, it is important first to consider how you will construct the hat. This will allow you to methodically calculate the stitch and round counts and shaping that your pattern requires.
Add Your Gauge to the Spreadsheet
Your gauge is crucial to achieving your desired finished measurements, so create a section in your spreadsheet for gauge and fill out the stitches and rounds per cm for the main fabric of your hat.
Calculate Rough Stitch & Round Counts
Before calculating the final stitch and round counts, I like to generate rough stitch and round counts based on my finished measurements. I do this by multiplying my measurements in cm by the stitch or round gauge, depending on the measurement, in a row beneath each measurement. You will likely end up with numbers with multiple decimal places, but they're just a rough starting point.
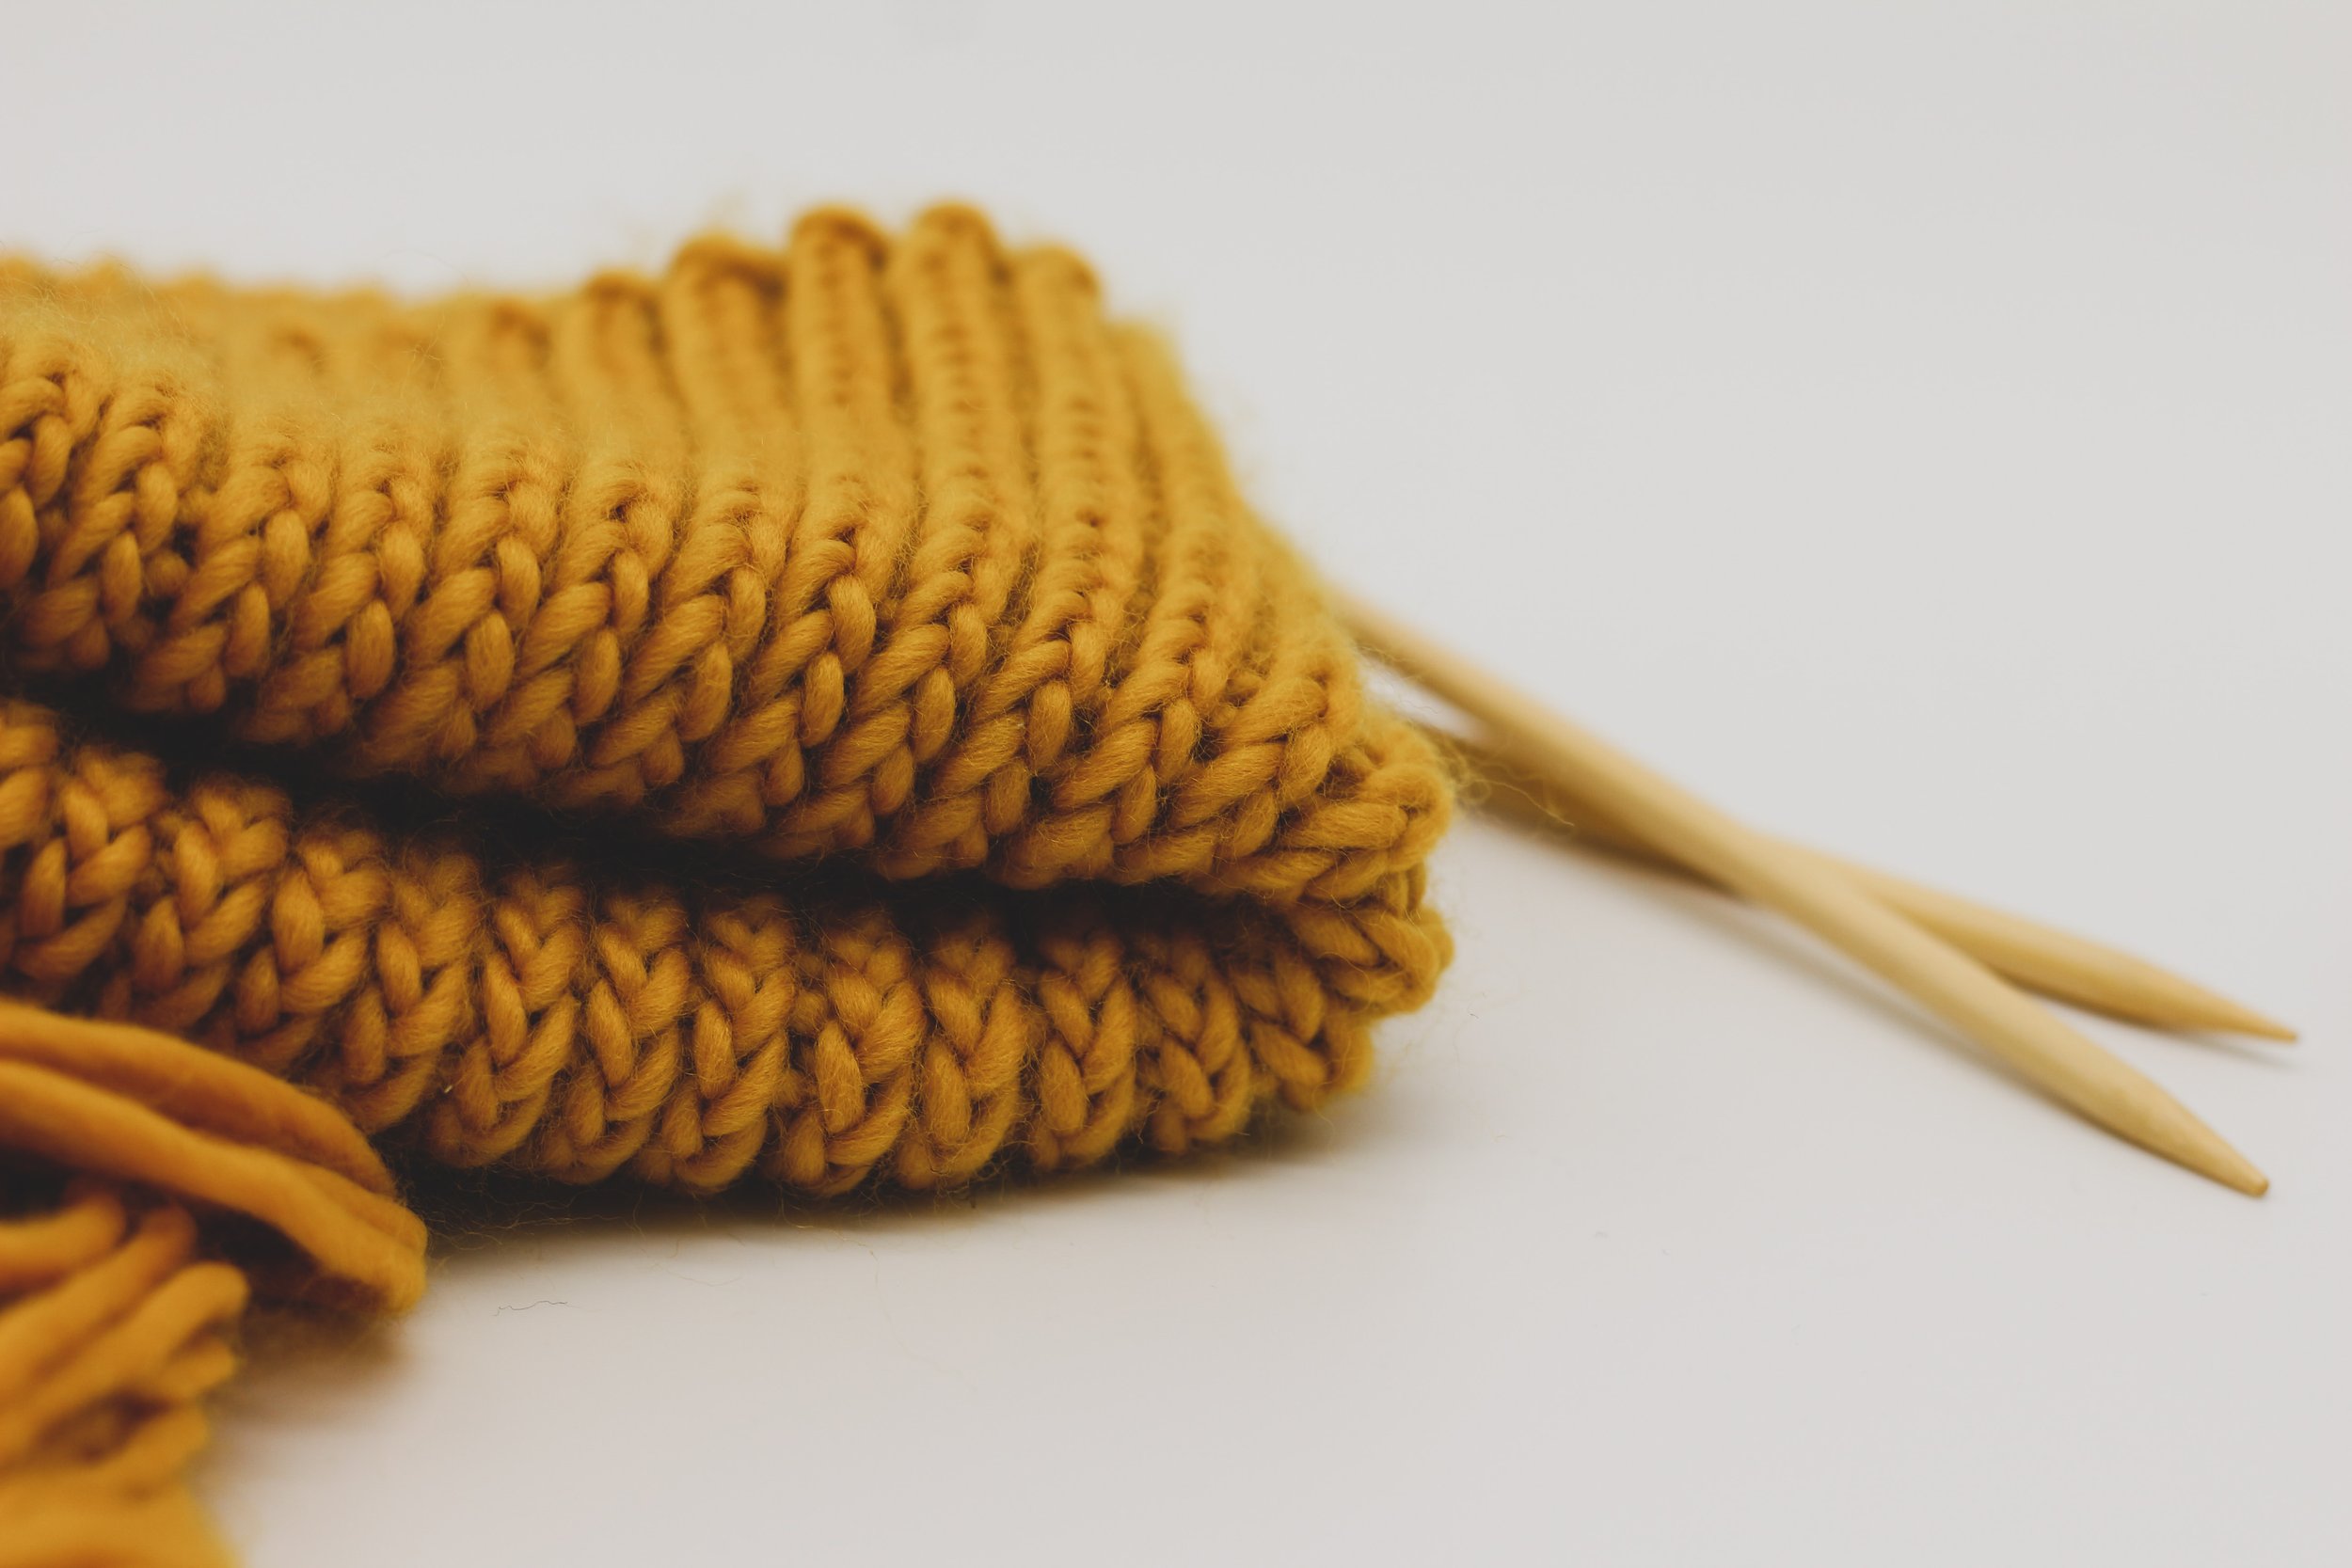
Image description: A hat is being knitted with mustard coloured yarn and bamboo needles.
Add Construction Steps to Spreadsheet
Add a Pattern Outline section to your spreadsheet, and then start listing your construction steps on the left-hand side, using one cell per step. It should look something like this, with x signifying the number you are calculating:
Using smaller needles, cast on x sts for hat circumference
Work trim until it measures x cm
Switch to larger needles and work main body of hat until it measures x cm
Work crown shaping over x rnds
Break yarn, draw yarn through x rem sts and weave in
You will likely add to this as you generate your pattern numbers and spot information you're missing, but this is a good starting point.
Calculate Your Pattern Numbers
Now that you have your construction steps listed in the spreadsheet, you are ready to start calculating the numbers in your knitting pattern. I'll go through each step and how to calculate it below.
Work crown shaping over x rnds
You might have noticed I have skipped straight to the fourth step in our hat construction. This is because we can't finalise the pattern numbers in the previous steps without first establishing the crown shaping.
When shaping the crown, you'll want to pay attention to your decrease rates. More rapid decrease rates will result in a flatter crown, whilst slower decrease rates will result in a pointer crown.
For a simple beanie, I like to use four evenly spaced decreases per round, initially working them every second row until I have approximately halved the stitch count, then every row until I have eight sts left and then draw the yarn through the remaining stitches to finish.
I usually add a few extra steps to my construction in the spreadsheet to get specific about my crown shaping. Here's how I would do it for my simple beanie example:
Hat circumference in sts: =MROUND(hat circumference rough stitch count,4)
This tells my spreadsheet to round the rough stitch count for the hat circumference to the nearest multiple of 4 sts so that I can evenly space my decreases across each shaping round. If this doesn't work with a pattern repeat you want to use on the main body of the hat, you may need to adjust your pattern repeat or select a different number of decreases per round.
Approx number of sts to dec first: =hat circumference in sts/2
This tells my spreadsheet to divide the hat circumference in sts by 2, as we initially want to halve the stitch count with this first set of decreases.
Dec 4 sts every second round x times: =MROUND(approx number of sts to dec first/4,1)
This tells my spreadsheet to divide the approximate number of sts to decrease initially by 4 to find out how many times the decrease round is worked every second row. It also rounds the result to the nearest whole number, as you can't work the round 0.5 times.
St count after first set of decs: =hat circumference in sts-(number of times the dec row is worked every second row*4)
This tells my spreadsheet to subtract the number of sts decreased over the first set of decreases from the hat's initial stitch count. I calculate it this way because if I just used the approximate number of stitches to decrease first, it wouldn't necessarily be the same due to the rounded stitch count.
Approx number of sts to dec second: =stitch count after first set of decs-number of stitches to draw yarn through at the end
This is simple enough to understand. I want the spreadsheet to tell me how many stitches to decrease in this second set of decreases so that I'm eventually left with the desired number of stitches that I can draw the yarn through at the end - for this example, eight stitches.
Dec 4 sts every round x times: =approx number of sts to dec second/4
Now that I know how many stitches I need to decrease in this second set, I can tell the spreadsheet to divide it by 4 (the number of decs per round) to tell me how many times the dec round is worked.
Now, I can finally fill out the numbers for one of the initial steps in our construction summary, Work crown shaping over x rnds. I'll do this by multiplying the number of times the first set of decreases are worked by two since they're worked every second round and then adding it to the number of times the second set of decreases is worked.
The formula for this would be: =(number of times first set of decs worked*2)+number of times second set of decs worked.
And now, I can go back to the first few steps in the construction!
Using smaller needles, cast on x sts for hat circumference
You have already calculated the hat circumference in sts, so you just need to verify that it will work with the pattern repeat for your trim. For example, if you use a 1x1 rib as the trim, your pattern repeat has two sts, so your hat circumference in sts will still accommodate that repeat.
Work trim until it measures x cm.
This is super easy. Just click on the trim depth in cm in your finished measurements. You can include the depth in inches when you're writing your pattern.
The formula would be: =trim depth in cm.
Switch to larger needles and work main body of hat until it measures x cm
To calculate how long you need to work the main body of the hat straight before starting the crown shaping, you'll need to know how long the crown shaping is in cm. This is easy to work out now since we have already calculated how many rows the crown shaping uses.
Add a row to your spreadsheet and call it Crown shaping length in cm. Then, divide the number of rounds in the crown shaping by the round gauge per cm. The formula would be: =crown shaping in rnds/row gauge per cm.
Your result will likely be a decimal number, which is totally fine. Now, you can calculate how long the hat should be before you start the crown shaping by subtracting the crown shaping length from the hat length and rounding the result to the nearest 0.5 cm to keep the final number tidy.
The formula is: =MROUND(hat length in cm-crown length in cm,0.5)
Break yarn, draw yarn through x rem sts and weave in
Now, you can just fill this out with the number of remaining stitches you decided upon earlier. For me, this is 8.
I have everything I need to write up my hat's knitting pattern draft!
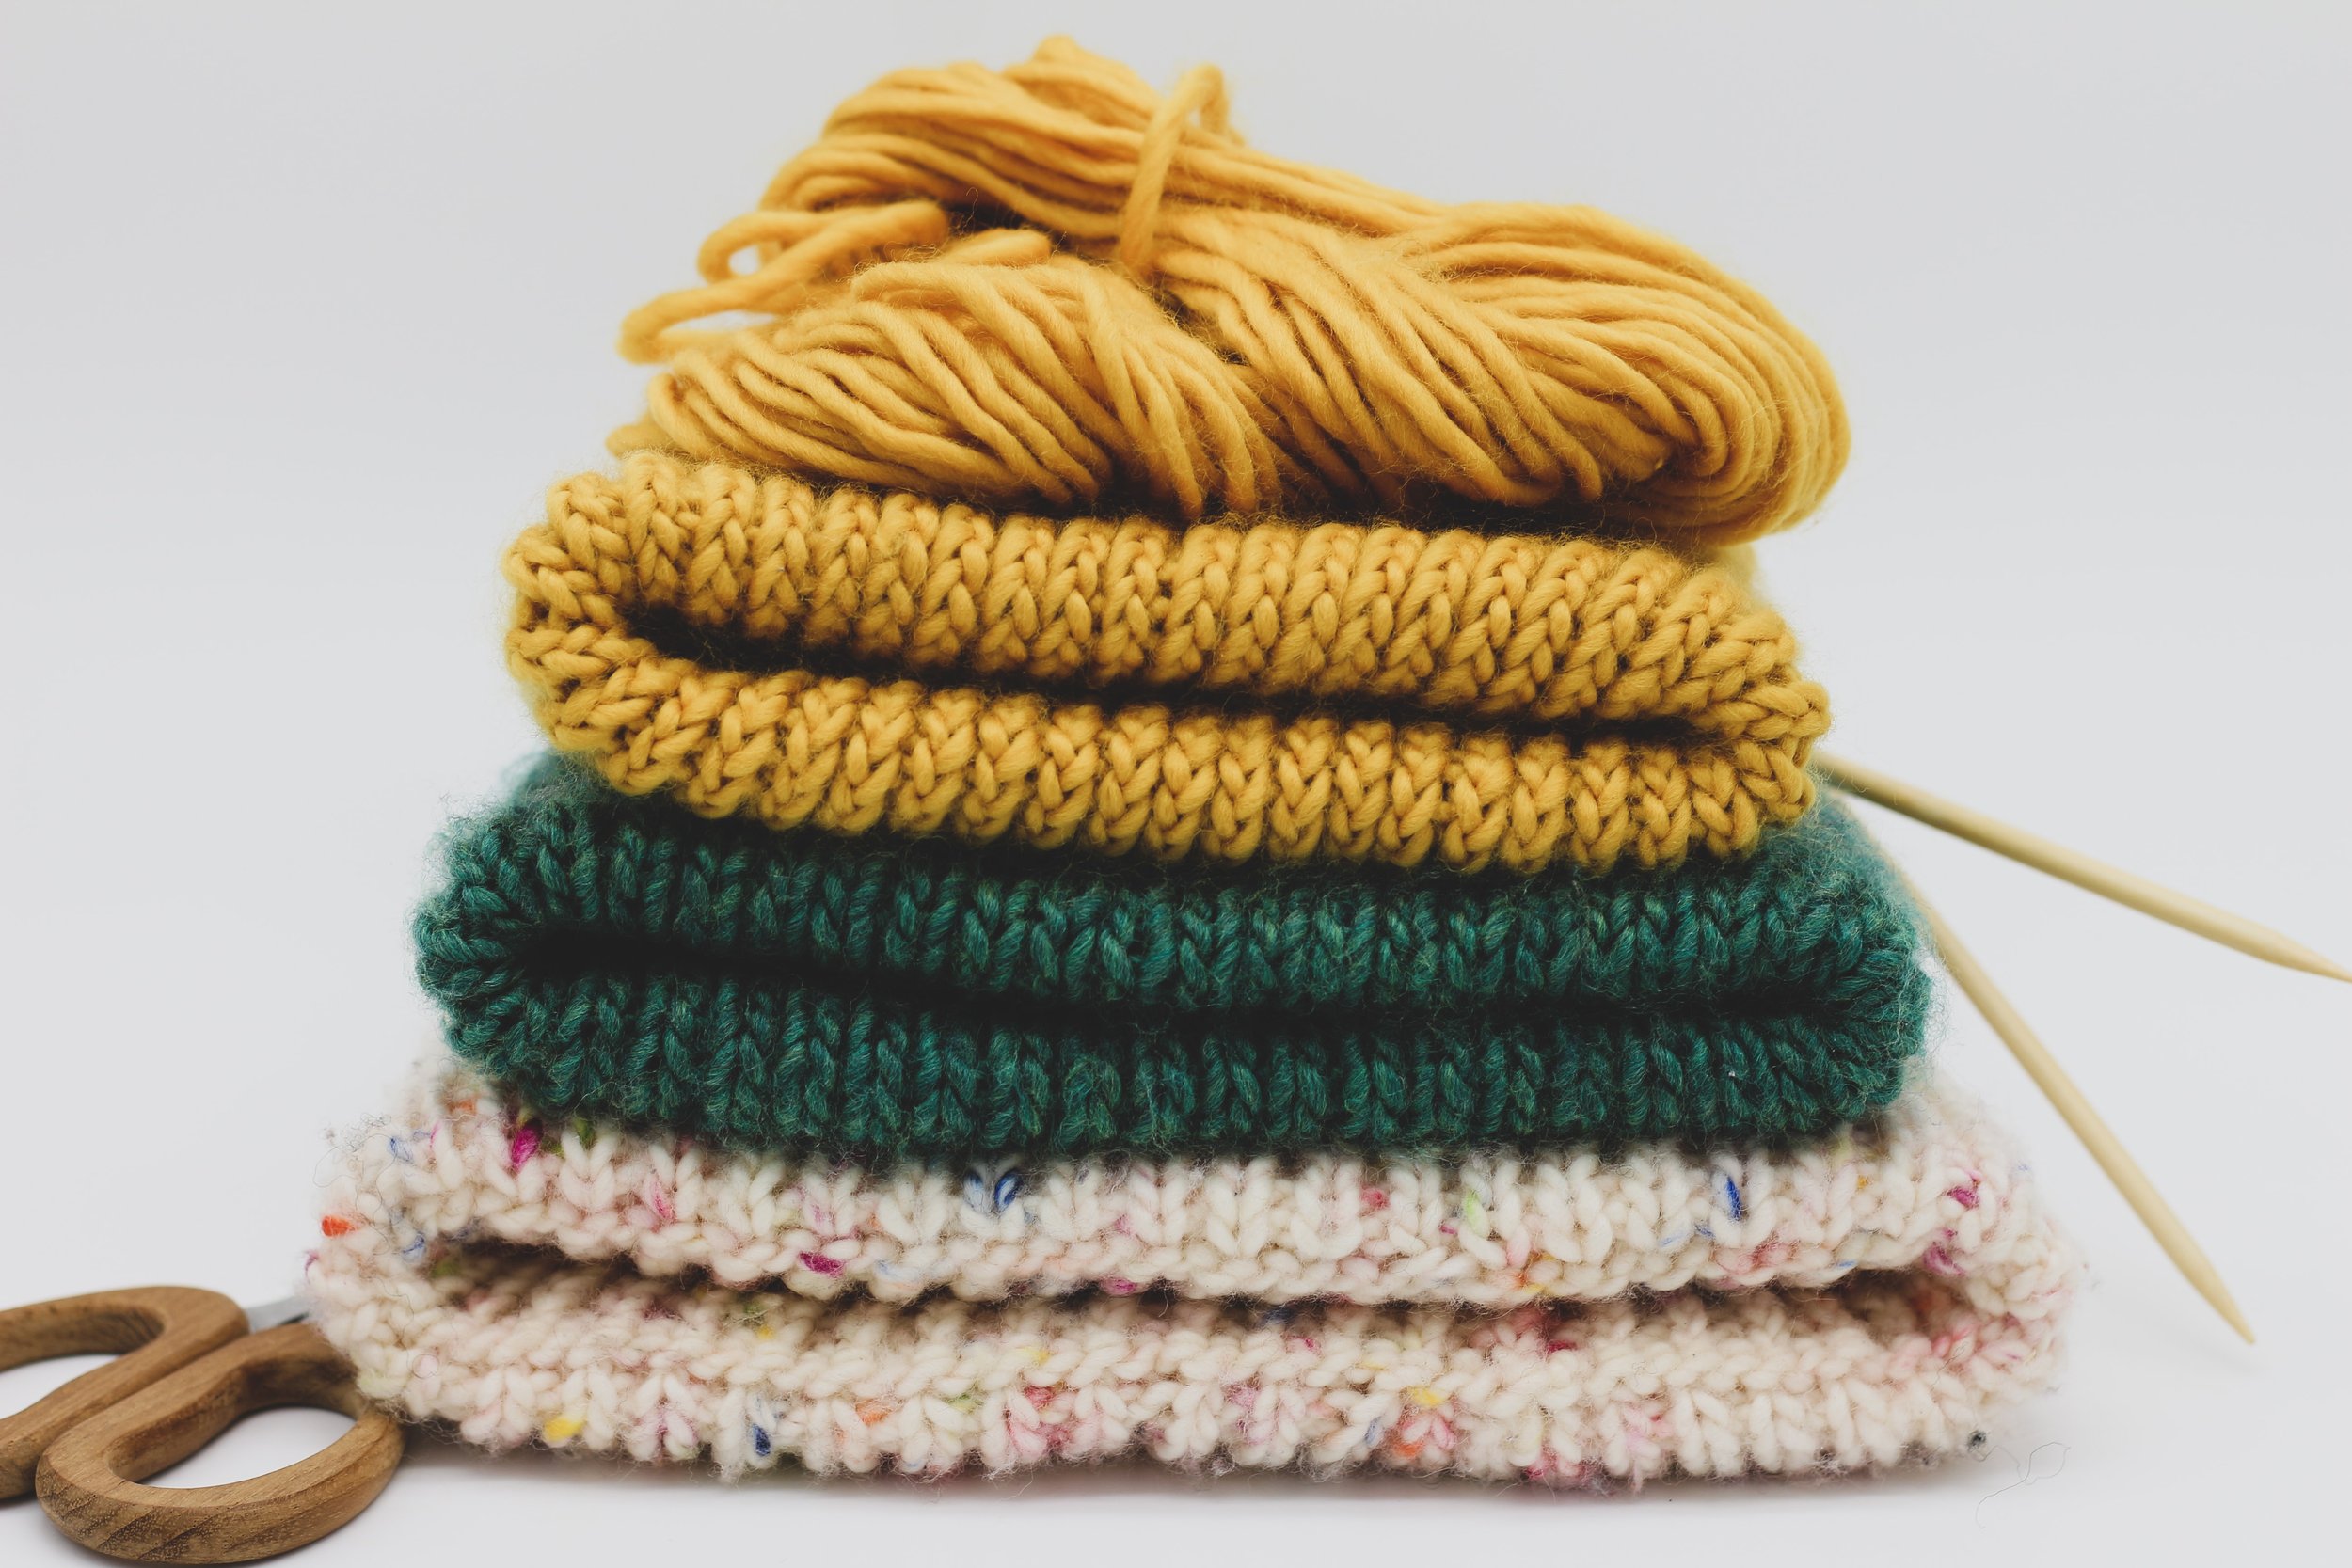
Image description: A pile of hand knit hats in a pale pink, forest green and mustard yellow. The left over yellow yarn and bamboo needles are on top.
Step 5: Write Up the Hat Pattern Draft
Before you start knitting your sample, I highly recommend you write up the first draft of your hat pattern so that you can be your first "test knitter". It will help you to spot any potential problems with your pattern before it goes through tech editing and test knitting. This will save you time and money in the long run!
If you're new to writing knitting patterns, I recommend reading my blog post about How to Write a Knitting Pattern. This will teach you the basics of drafting your knitting pattern, including the structure of a good knitting pattern, the language you should use, and more.
You don't have to worry about making this draft perfect - just open a simple Google Doc, do the best you can manage and move on. You'll have the opportunity to clean it up when the pattern is tech edited and test-knitted.
Conclusion: How to Design a Hat Pattern
Designing your own knitting pattern is a fun and creative way to express yourself as a knitter. It can also be a great way to learn more about knitting and to challenge yourself as a designer.
If you're new to knitting pattern design, I highly recommend you do as I did and start by designing a simple hat. You'll find that designing a hat is easier than you might think, and it's a lot of fun, too!
So what are you waiting for? Use the easy techniques outlined in this blog article to begin working on your first hat design right now!
Do you have any questions about hat design? If so, please feel free to ask in the comments below, and I'll do my best to answer them.