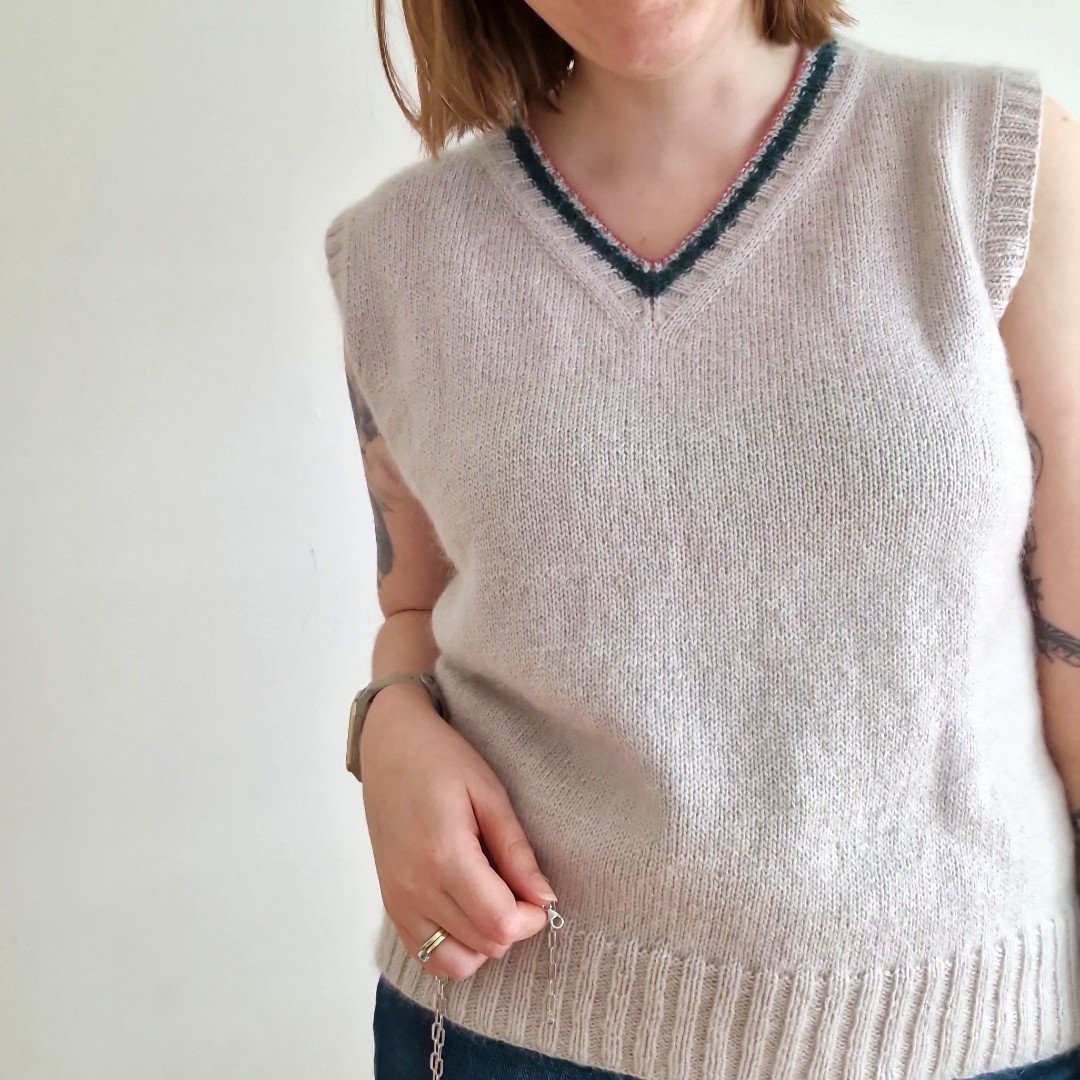
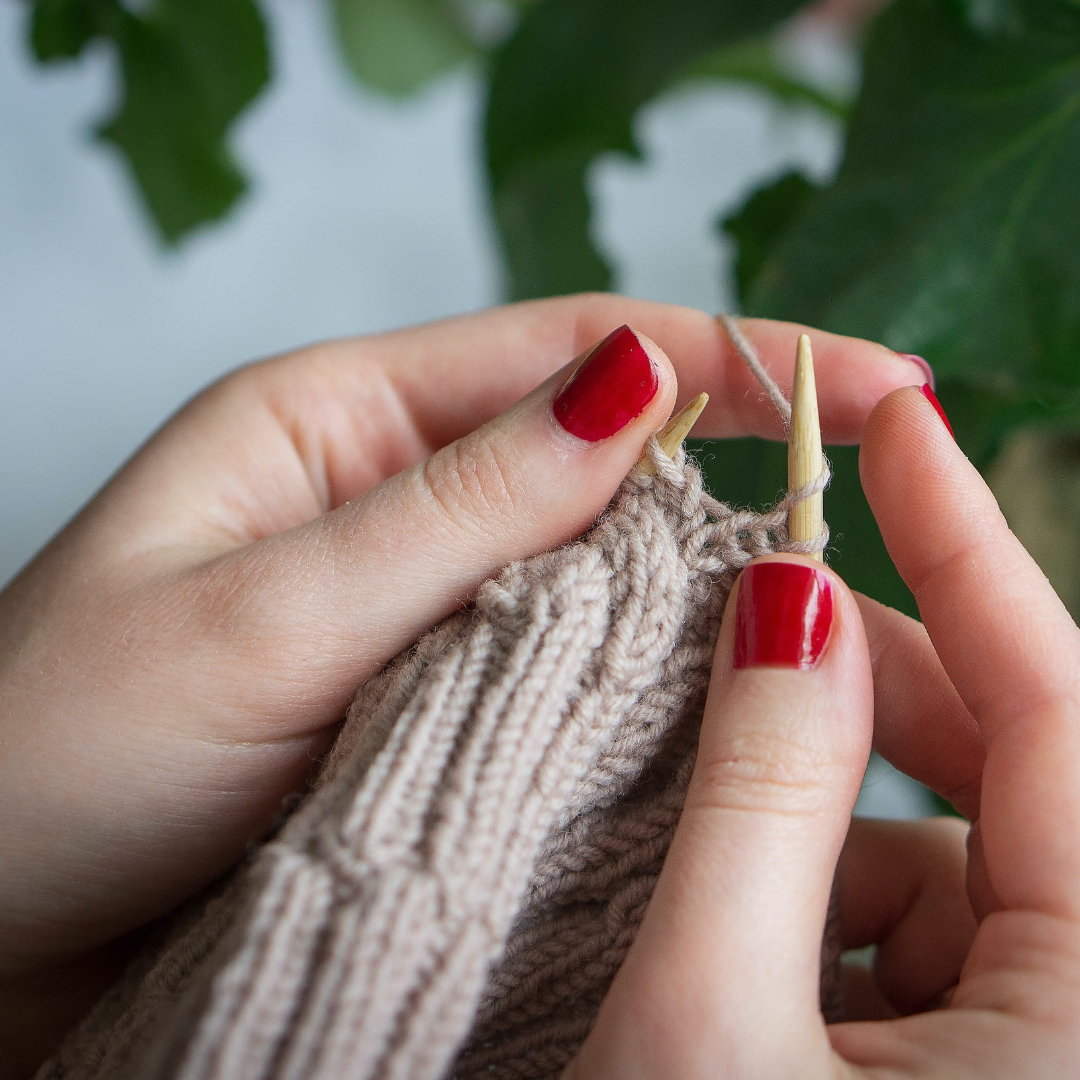
How to Turn an Improvised Design into a Knitting Pattern
Readers of this blog will know that I always recommend that designers write their first knitting pattern draft before they start knitting their sample, but what if you have already improvised your design?
Perhaps you freestyled a shawl or knitted yourself a sweater, and now, other makers are asking for the pattern! How do you work backwards and figure out the pattern based on what you knitted?
Well, that’s what I will teach you in this blog post. Whether you took notes whilst knitting (which is ideal!) or didn’t track anything, there is always a way of writing your pattern based on your improvised sample. Let’s jump in!
Image description: photo of a sweater hanging from a peg board with the words “How to Write a Knitting Pattern When You’ve Already Knitted the Sample” on top of it
Measure Your Gauge
Measure the gauge of the washed and blocked sample, noting the stitches and rows/round per cm or inch in your pattern spreadsheet.
Calculate the Ease
Ease may not be relevant if you designed something such as a shawl or a blanket, but if you created a garment or accessory that is sized to fit, you would need to calculate how much positive or negative ease you used in the sample.
You can do this by comparing the finished measurements of the sample to the body measurements, whether it’s your own or the person you knitted it for. The difference between these measurements is the amount of positive or negative ease you used, and you should track it in your pattern spreadsheet.
You can then use the same amount of ease to your entire range of sizes if you are using traditional ease (where the ease stays the same across all sizes) or if you are using proportional ease (where the ease is calculated as a proportion of the body measurement), you can work out the ease percentage and use it on the other sizes in your range.
For example, if I knitted myself a sweater and the finished bust circumference is 106 cm (42 in), it would be 14.5 cm (6 in) bigger than my body’s bust circumference of 91.5 cm (36 in). Using traditional ease, I’d add 14.5 cm (6 in) of positive ease to the bust circumference of each size in my range to get each sweater’s finished bust circumference.

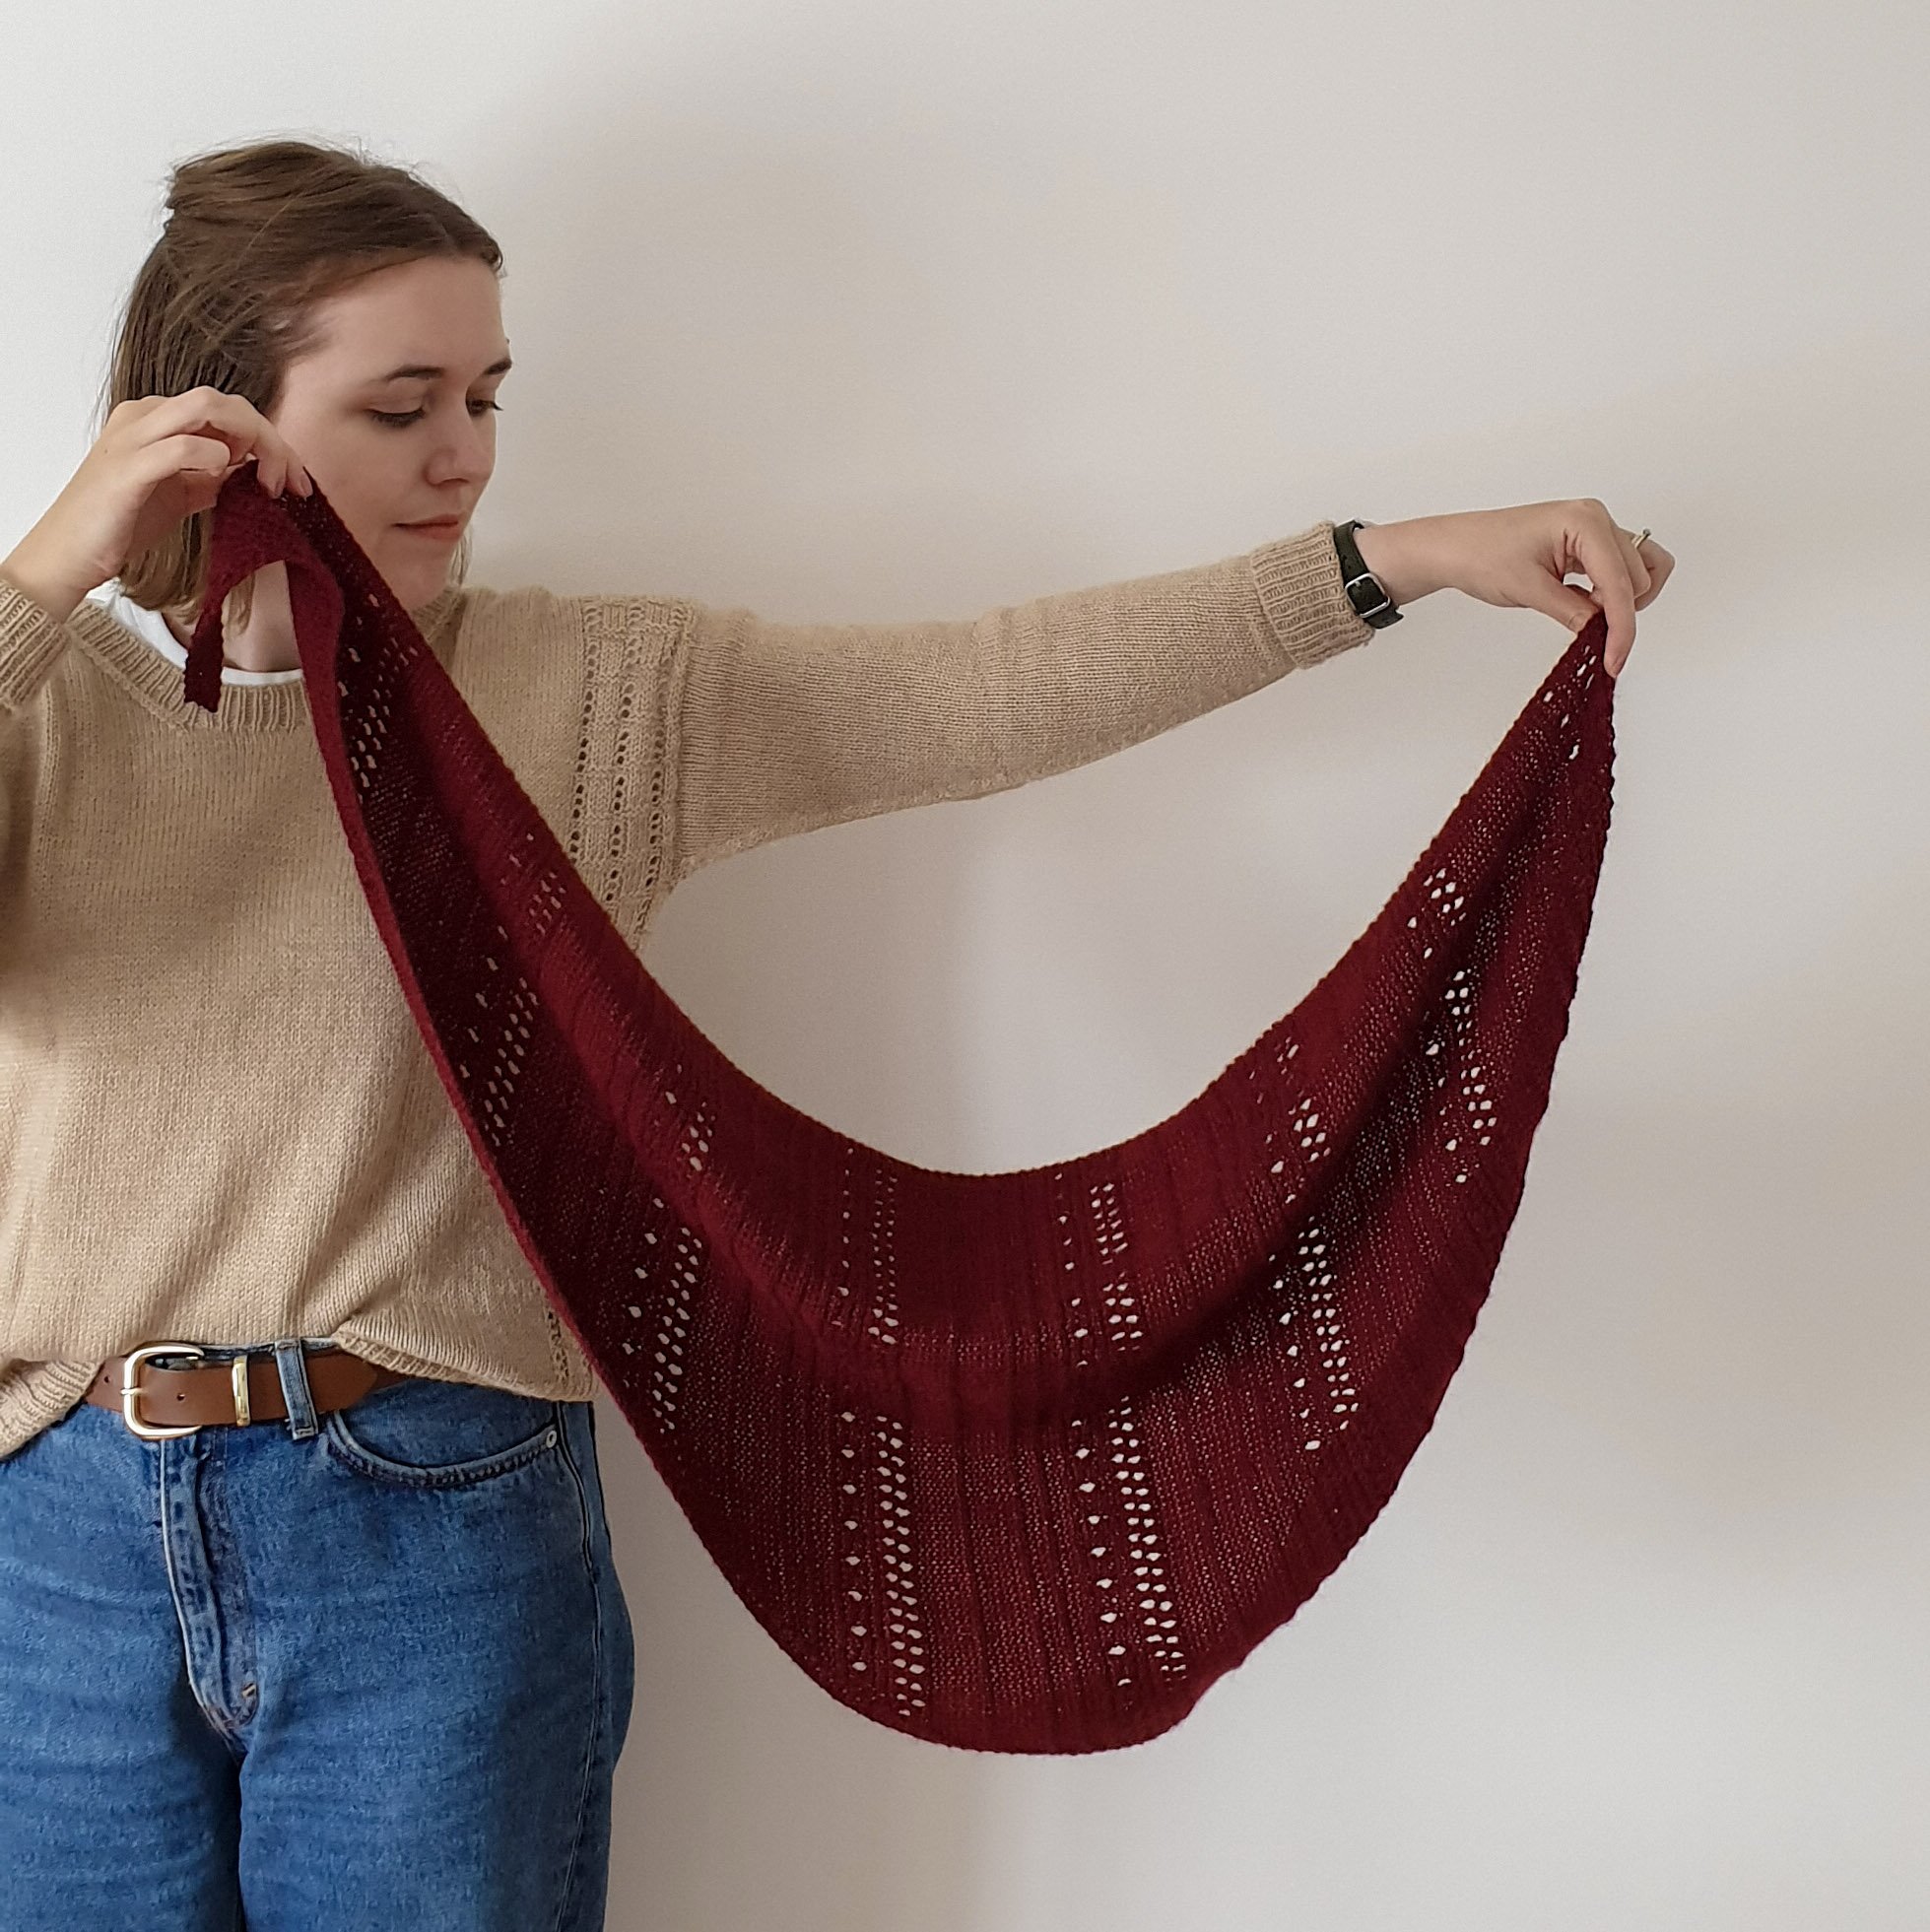
Image description: A woman smiles wearing a ribbed sweater with the sea behind her. The text overlay reads: How to Turn an Improvised Design into a Knitting Pattern.
Calculate Your Desired Finished Measurements
For patterns that only have a single size, you can just list your sample’s finished measurements here, but in many cases, you will be designing patterns that offer multiple sizes.
You will need a size chart and the ease you calculated earlier to work out the finished measurements for each size in your range. Depending on how you want the design to fit, you will either add or subtract the ease from the appropriate measurement in the size chart to get your desired finish measurement for that part of the design.
Other measurements that aren’t impacted by ease will need to be chosen based on the size chart. For example, you can calculate the length of a full-length sleeve based on the body measurements in the size chart.
List your complete set of desired finished measurements in your pattern spreadsheet. You will use this to calculate all the numbers in your pattern.
List Your Construction Steps
Consider each step you took when constructing your sample, and list them in your spreadsheet. You will use these steps to help you figure out which stitch and row/round counts you need to calculate for your pattern, as well as the shaping rates.
For example, if I knitted a simple, bottom-up beanie, the steps would be:
Cast on the total circumference of the hat
Knit the trim
Work main body of hat straight
Shape the crown
Draw in the remaining stitches at the top of the crown and weave in the ends
Fill Out Stitch and Row/Round Counts
Beneath each of the construction steps you just listed in your spreadsheet, start calculating the stitch and row/round counts you will need for each size in your range. You can do this by multiplying your desired finished measurements by your gauge.
For example, if my gauge is 2.2 sts per cm and I need to cast on 48 cm for my hat circumference, I’ll multiply 48 by 2.2 to get roughly 106 sts.
If you took good notes, you might already know the counts for your sample, but if not, you can try to count stitches and rows/rounds to verify that your calculations are accurate.
Calculate the Shaping
You will come to steps in your construction where you need to calculate shaping. You can calculate the number of stitches you need to increase or decrease by calculating the difference between your current stitch count and your desired stitch count.
Then, you can work out the number of rows/rounds you have to make the shaping within using your gauge and finished measurements. In most cases, you will want to space your shaping evenly across the rows/rounds, so use the Magic Formula.
Finalise Your Finished Measurements
Your desired finished measurements will not necessarily end up being your finalised ones. This is because you might need to tweak stitch and row/round counts to accommodate pattern repeats.
Before you list them in your knitting pattern, use your stitch, row/round counts, and gauge to verify your finished measurements for each size in your range.
Calculate Yarn Requirements
Your finished sample and finalised measurements will help you calculate the yarn requirements for the rest of the sizes in your range. To learn how to do this, read my blog post about estimating yarn usage.

Image description: A woman sat typing on a laptop with a notepad and a cup of tea next to her
Write the Pattern Draft
The final step in turning your improvised design into a knitting pattern that others can work from is to write it up into a pattern draft. Using the numbers and shaping you calculated in your spreadsheet, plus your knowledge of constructing the sample, write your pattern instructions step-by-step.
As you’re working through the pattern, you may discover numbers that you are missing. In that case, just go back to your spreadsheet to work them out, and then continue writing your draft.
There is More Than One Way to Write a Knitting Pattern
Whilst I still believe that writing your knitting pattern before you start on the sample is the easiest and most efficient way to design knitting patterns, it’s not the only way. Some designers will knit their sample first, whether by choice or by circumstance, and it works out just fine.