How to Recreate an Old Sweater You Love
Have you ever had a sweater that you loved, but after many years of wear, it finally fell apart?
Or did the dreaded moths get to it whilst you were storing it?
Whatever the reason, if there's an old sweater out there that you're mourning, don't despair! With careful measurements, swatching and a little bit of patience, you can knit yourself a brand-new version of that old favourite.
In this blog post, I will share my top tips for recreating an old sweater you love. Bonus: It's a great way to practice the skills you need to design a sweater from scratch!

Image description: A woman wearing a textured white sweater with the text "How to Recreate an Old Sweater You Love" on top.
How to Knit a Brand New Version of Your Old Favourite Sweater
Measure Your Old Sweater
To reproduce your old sweater, you first need to know its size. It's not just a matter of using a size chart and knitting from that - you will need to know the exact measurements of your old sweater and base your new sweater on that.
To ensure your sweater measurements are as accurate as possible, lay the sweater flat on a hard surface. Use a tape measure and take measurements in cm to be extra precise. Taking the time to get exact measurements will ensure that your new version of the sweater fits just like the original.
Depending on the style of your old sweater, you will need different measurements to recreate it, but here's an essential list to get you started:
Neckband Depth
Back Neck Width
Bust Width
Shoulder Width
Armhole Depth
Front Neck Depth
Back Neck Depth
Shoulder Drop
Underarm to Hem Length
Hem Trim Depth
Upper Arm Circumference
Cuff Circumference
Sleeve Length
Cuff Trim Depth
To help you track all those measurements, write them down in a spreadsheet as you're measuring. You'll use this later when calculating your stitch and row or round counts.
Choose a Sweater Construction Method That Matches Your Old Sweater
While it can be hard to create an exact match for your favourite old sweater, choosing the correct construction method will help you get very close.
If your old sweater has drop-shoulder sleeves, using a drop-shoulder construction method will bring you the closest to your original sweater. Or, if it used a raglan sleeve, creating a new sweater using the raglan construction method will recreate its look and feel. Likewise, for a set-in sleeve sweater.
You may have a preferred construction method for creating these styles of sweaters, but if you're looking to knit yours from the top down, I share the construction methods I teach in this blog post, all about 3 Sweater Styles to Design from the Top Down.
Whichever construction method you choose, make sure you familiarise yourself with it before you start recreating your sweater. You'll need a strong understanding of your chosen construction method before you begin calculating your pattern numbers.

Image description: Image shows three skeins of yarn in mustard, cream and brown, have been caked up and piled on a white table.
Select a Yarn Based on the Old Sweater's Fabric
If you want your new sweater to look and feel just like the original, try to find a yarn similar to the one used in the old garment.
When looking for a suitable yarn, it’s important to consider the following characteristics: fibre content, weight and colour. The fibre content will determine how soft or drapey the fabric will be, while the weight will affect how bulky the finished sweater will be. If matching the colour is important to you, select a yarn with the same or similar colour as the old sweater, too.
It can be hard to find a perfect match for the original yarn, especially if you are trying to recreate a machine-knitted sweater, so don't worry if you're struggling – you can still have great results with a similar yarn! Different yarns will give you a range of fabrics when knitted up, so aiming for one that complements the fabric of your old sweater will likely be enough.
Through trial and error and a little imagination, you can come up with something lovely that rivals – maybe even surpasses – your original sweater!
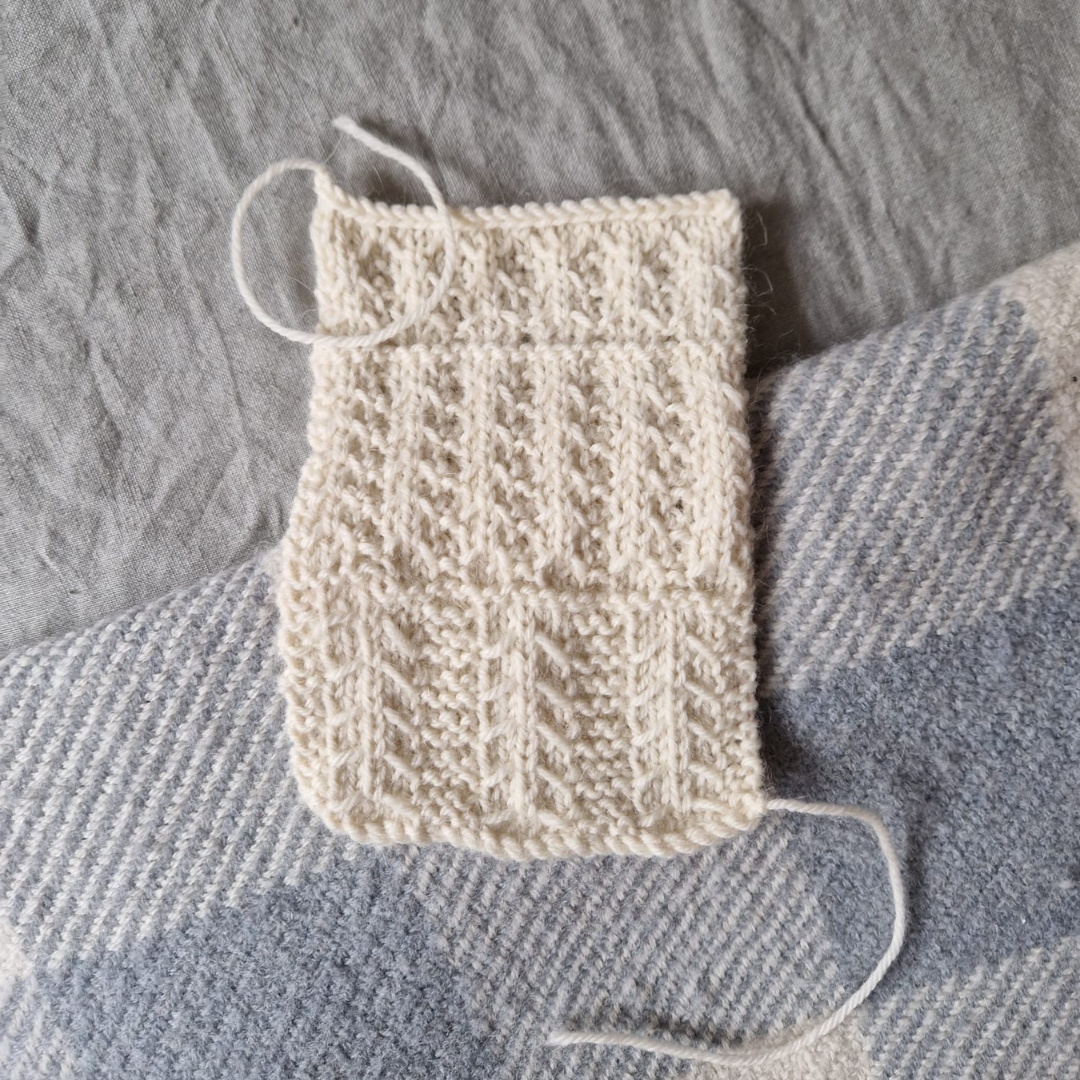
Knit a Swatch to Measure Your Gauge
When it comes to knitting, whether you're using a pattern or designing your own, one of the most essential steps before you cast on is to knit a swatch. A swatch helps you measure the gauge of your fabric so that your project turns out the correct size.
Knitting an accurate gauge swatch is easy and doesn't take long. Here's how you do it:
Choose the yarn and needles that you will use for your sweater.
Look at the yarn's ball band to see roughly how many stitches will achieve 10 cm (4 in) and then cast on double that amount.
Begin working in the stitch pattern you will use in the main body of the sweater. If your sweater is knitted in the round, make sure you knit your swatch in the round too.
Keep knitting until your swatch is approximately 20 cm (8 in) long, then bind off.
Wash and dry the swatch using the method you will use for the final sweater.
Once you have confirmed that you're happy with the fabric, measure your swatch using a ruler to determine the number of stitches and rows or rounds per 10 cm.
Divide the gauge by 10 to get the number of stitches and rows or rounds per cm, then add it to the spreadsheet where you wrote down the sweater's measurements earlier.
Calculate the approximate stitch and row or round counts
Calculating the stitch and row or round counts can be intimidating when you’ve never done it before, but it’s also an excellent skill that will help you if you decide to design your own knitting patterns in the future!
Some length measurements, such as the trim depths, don't often need row or round counts since you will be knitting to a certain length rather than knitting a certain number of rows. However, if you're knitting a raglan, for example, you will need to know the armhole depth in rows or rounds to calculate your shaping.
Here's how to generate the rough stitch and row or round counts for your new sweater in 2 easy steps:
Go back to your spreadsheet and assign the column next to each of the sweater measurements for calculating your stitch and row or round counts.
Work your way down the list and multiply the measurement in cm by the appropriate gauge (stitch/row/round) in cm to get a rough count. The formula would be =measurement in cm*gauge in cm.
You will end up with decimal numbers in your results, but that's fine, as you will tidy those numbers up later.

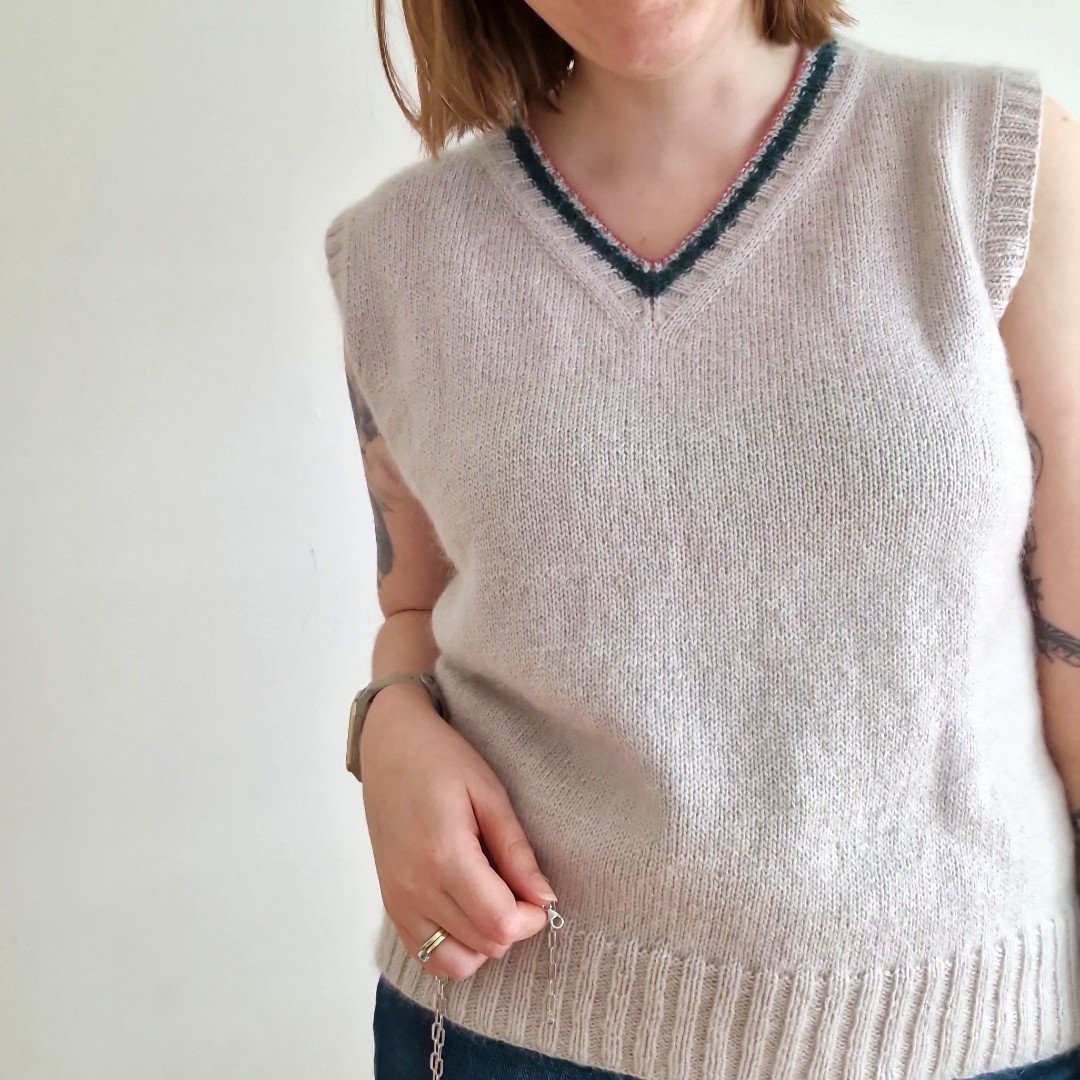
Image description: Woman smiling at the camera wearing a white textured sweater she loves. The text say, Knitting Pattern Design. How to recreate an old sweater you love.
Write up your basic pattern instructions
You now have everything you need to start writing up some basic pattern instructions for you to follow. They can be very simple, as you're creating the sweater for yourself and not writing a pattern for someone else to follow, but they should have the information you need to get knitting.
Start by listing out all of the construction steps you will need to do to knit your sweater, for example:
Cast on for the back shoulders.
Knit straight until you achieve the depth of the armhole, and put the stitches on hold.
Pick up stitches for the front shoulders, and shape each side of the front neck separately until you reach the front neck depth.
Cast on for the bottom of the front neck and join to knit the chest straight until the armhole depth is achieved.
Join the front and back body and knit in the round until your desired sweater length is reached.
Pick up the sleeve stitches around each armhole and knit the sleeves for the required length.
Pick up and knit the neckband.
Then, return to your spreadsheet and start filling out the stitch and row or round counts in those basic construction steps.
For example, if my shoulder width is approximately 131.18 stitches, then I can round it up to an even number and cast on 132 stitches for the back shoulders. If my upper arm circumference is roughly 140.45 stitches, I can pick up and knit 140 sleeve stitches around each armhole.
There will be times in your pattern when you need to calculate shaping to achieve specific stitch counts over a certain number of rows. In those cases, I recommend using the Magic Formula I share in my blog post about How to Work Out the Shaping Rates for Your Knitting Pattern in 4 Easy Steps.
Additionally, you must be mindful of your stitch counts when using stitches with a pattern repeat so that they flow and are not interrupted when working in the round or seaming. For example, if I am working with a motif with a pattern repeat of 4 stitches, I need to ensure that my body's stitch count is a multiple of 4 stitches.
Start Knitting
You are now ready to start recreating your beloved sweater! Remember that your project might require more yarn than anticipated, so make sure you have extra on hand, just in case.
Because you are replicating a garment, the knitting process might feel a bit more "organic" than you are used to working. Whilst you will have all the construction and pattern numbers you need, you won't be working with a detailed pattern.
Therefore, keep checking your work as you go, measuring your project and trying it on if possible. Feel free to make tweaks along the way, and be open to ripping sections out if you're not happy with how they're working up. Your attention to detail will be worth it when you're finally enjoying your new replica of an old favourite.
Conclusion: How to Recreate an Old Sweater You Love
If you plan to recreate one of your old favourite sweaters, the steps I shared in this blog post will help you succeed.
Measuring your old sweater, choosing a matching construction style, and selecting a similar yarn are all critical factors in ensuring your new sweater turns out exactly how you want it to. Knitting a gauge swatch is also crucial in ensuring that your new sweater has the exact dimensions of the old one. Once you’ve worked out your pattern numbers and basic instructions, you can start knitting!
By diligently following this process, you can have a brand-new version of an old favourite sooner than you think.
What tips do you have for recreating an old sweater you love? Did you make any changes to improve the original? Share in the comments section below!