How to Lay Out a Knitting Pattern PDF Using Google Docs
I’ve spent the last few months knitting extensively from other designer’s patterns and it has been such a pleasurable experience.
Not only have I enjoyed the process of relatively mindless knitting, but I have also been really inspired by their pattern layouts. I’ve had the same pattern layout ever since I started designing three years ago and whilst it does the job, I think it’s time for a makeover.
When you’re just starting out, it’s very easy to just lay out your patterns however you feel, but there are some best practices that are worth following to ensure that your patterns are clear and enjoyable to work with.
Clarity is Key
You can’t just write up your pattern in a Word document and then sell it as is. It needs to be saved in a format that can be uploaded to Ravelry. A PDF is the standard choice because this type of file can’t be edited easily. The pattern will remain exactly as you have written it.
A beautifully designed pattern PDF is always lovely to work from, however, the main goal should always be clarity and ease of use for the maker.
Software for Knitting Pattern Layouts
You can have amazing results with software such as InDesign, however, for those of us who don’t have access to tools like that nor the understanding of how to use them, a simple word processor, such as Google Docs, is an easy solution that can look very good too!
All of my self-published patterns so far have been formatted using Google Docs. They’re not the fanciest looking PDFs in the world, but they are attractive, clear and easy to understand. One big plus is that Google Docs is free, so making your own pattern PDFs is very accessible.
In this blog post, I’m going to set up my new and improved pattern template using Google Docs and walk you through the whole process.
Select Your Fonts
Your font choice is a big part of your branding. I highly recommend that you use the same fonts in all of your pattern PDFs and ideally, match them to your website fonts (if you have one!) This will give your brand a cohesive look.
I suggest that you keep your font choices very simple. Perhaps select one font for your headers and one for the rest of your text. Readability is very important, so avoid using any fancy fonts, as tempting as they may be.
I actually use three fonts in my patterns: one serif font called Headland One in lowercase for my main headers, a sans serif called Inconsalata in bold and all caps for my sub-headers and a serif font called Gentium Book Basic for the rest of my text. I chose them because they look very similar to my website fonts.
Here are some free fonts you can find in Google Docs that are attractive and very easy to read:
Georgia
PT Sans
PT Serif
Open Sans
Karla
Roboto
Lato
Use Headers
It is important to differentiate the size of your text throughout the pattern to help the maker find what they are looking for.
The main headers should be the largest size, the sub-headers should be smaller and the rest of the text should be the smallest. All of the text should be easy to read when printed, so don’t go too small (size 12 minimum).
Take a look at a professional knitting pattern - you’ll see that the headers show that the sub-headers belong in that section, whilst the sub-headers show that the main body of text belongs in that section. It creates a hierarchy.
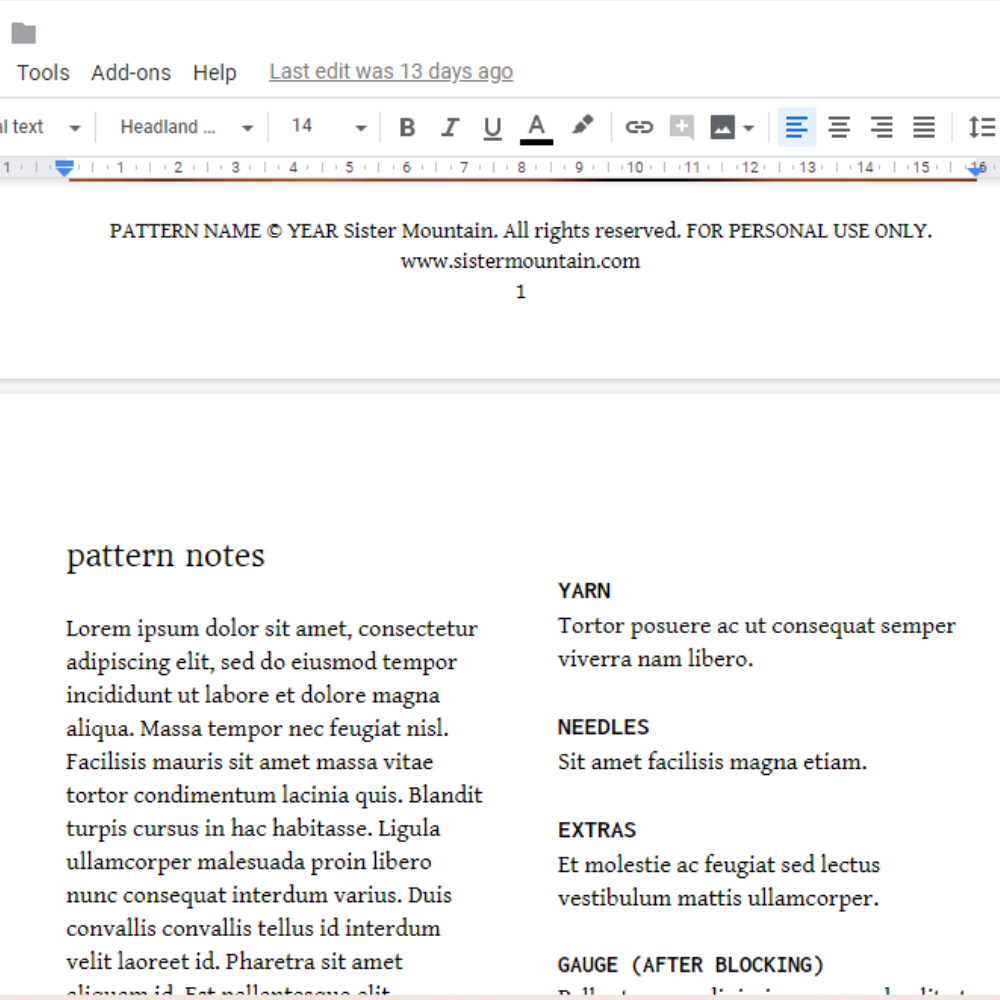
Header and Footers
I want the name of my brand as well as the name of my knitting pattern to be at the very top of the first page, so I will create a header to put them in.
To create a header, click Insert, then Header & page number, and finally Header.
I used to use the same header on all pages, but I don’t think that’s necessary in hindsight. I only want this header to be visible on the first page.
To make this happen, I click on the Options link in my header and then under Layout, I select Different First Page.
At the footer, I want to display some copyright information, my website, the pattern version number and a page count.
To create a footer, click Insert, then Header & page number, and finally Footer.
I want the same footer on all pages, but because I’ve already selected to have a different first page for my header, I have to put my footer information in the “First page footer” and also in the “Footer” which can be found on your second page. This will now be visible on all pages.
Choose Your Layout
I have always used a single-column layout in my self-published patterns, however this time, I am going to use a double-column layout. They save space, are easier to read and look more professional.
To change the column setting on your Google Doc, click Format, then Columns and then click on the column layout you want.
If you want to go from a single-column layout to a double-column layout in the same document, click Insert, then Break and then Section break (next page). On the new page, you can change the column setting without affecting the previous pages in the document. You can use the same method to go back to a single-column layout.
Segment Your Pattern
If you’ve knitted from a lot of patterns, it might be obvious to keep all your sizing info, finished measurements and yarn requirements in one section, but you might not have noticed that it applies to other parts of your pattern too.
I’ve been knitting from a Brooklyn Tweed pattern recently and I have noticed that the pattern instructions start at the top of a new page and end at the bottom of a page. They are not interrupted by any photos or tutorials. These pages just show the instructions.
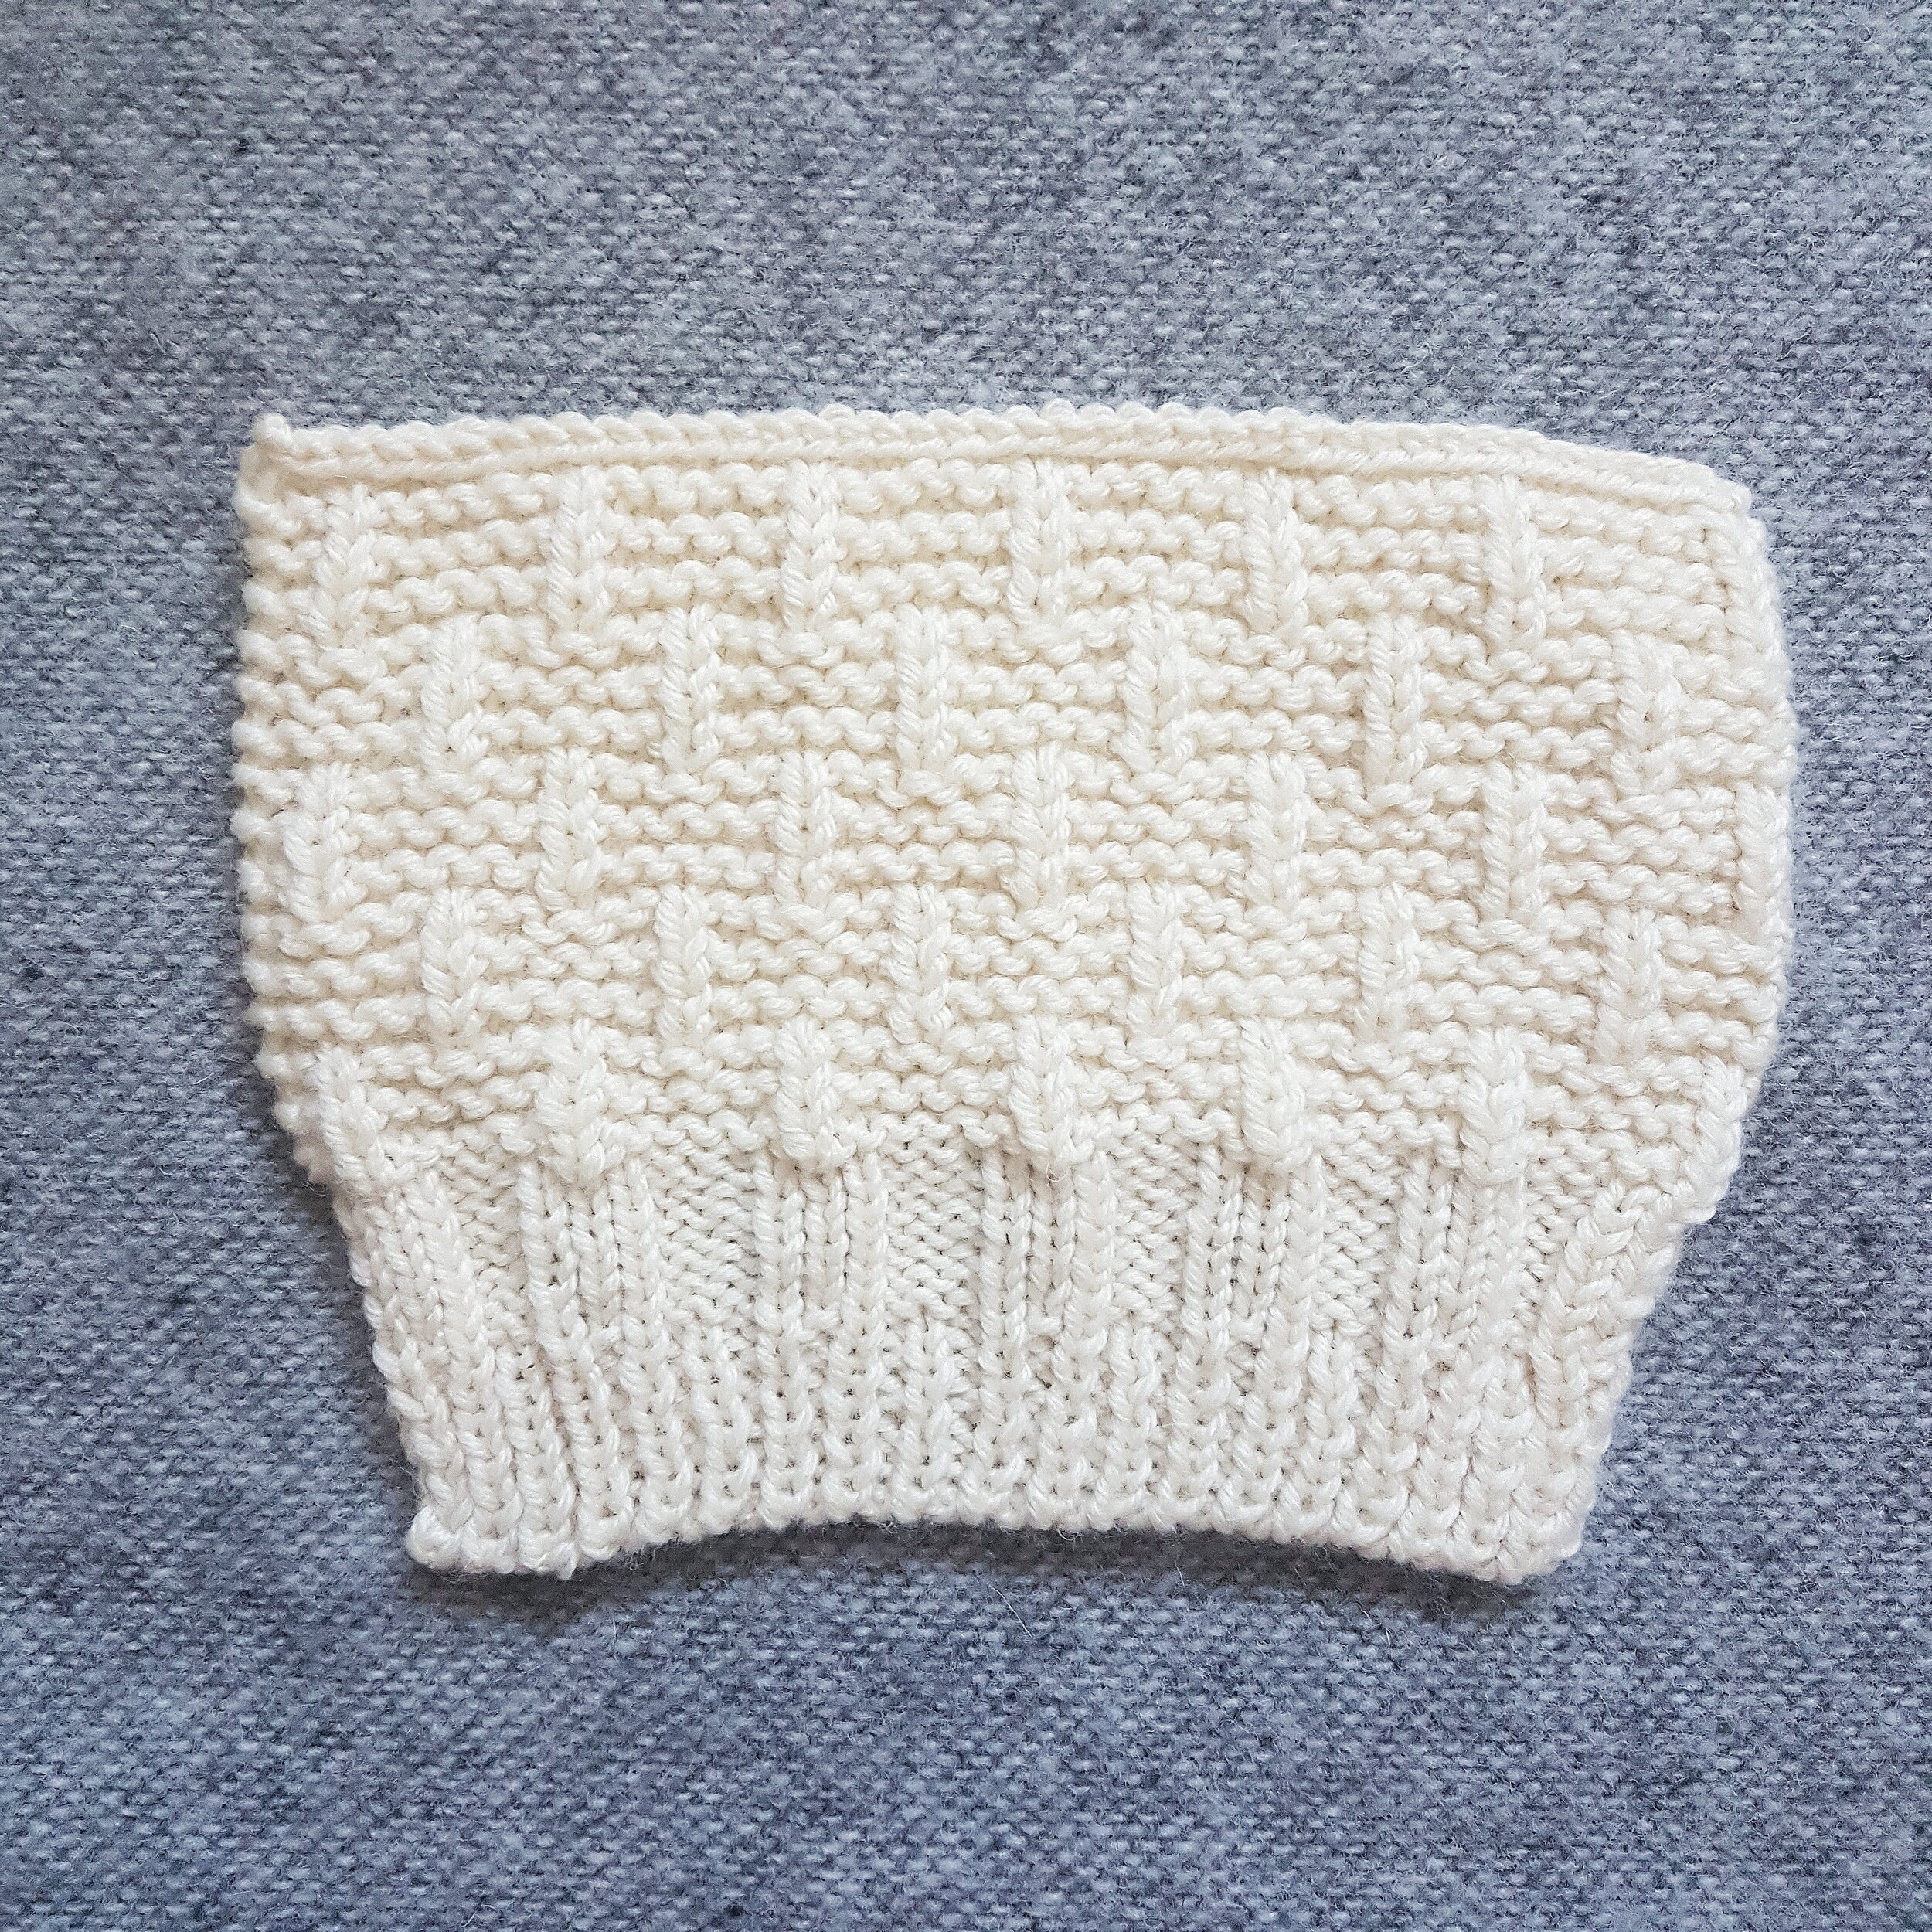
In the past, I’ve sometimes embedded charts within my pattern instructions, but after taking notice of other designer’s patterns, I think it’s better to show them at the end of the pattern to make them bigger and easier to refer to at the same time as the instructions.
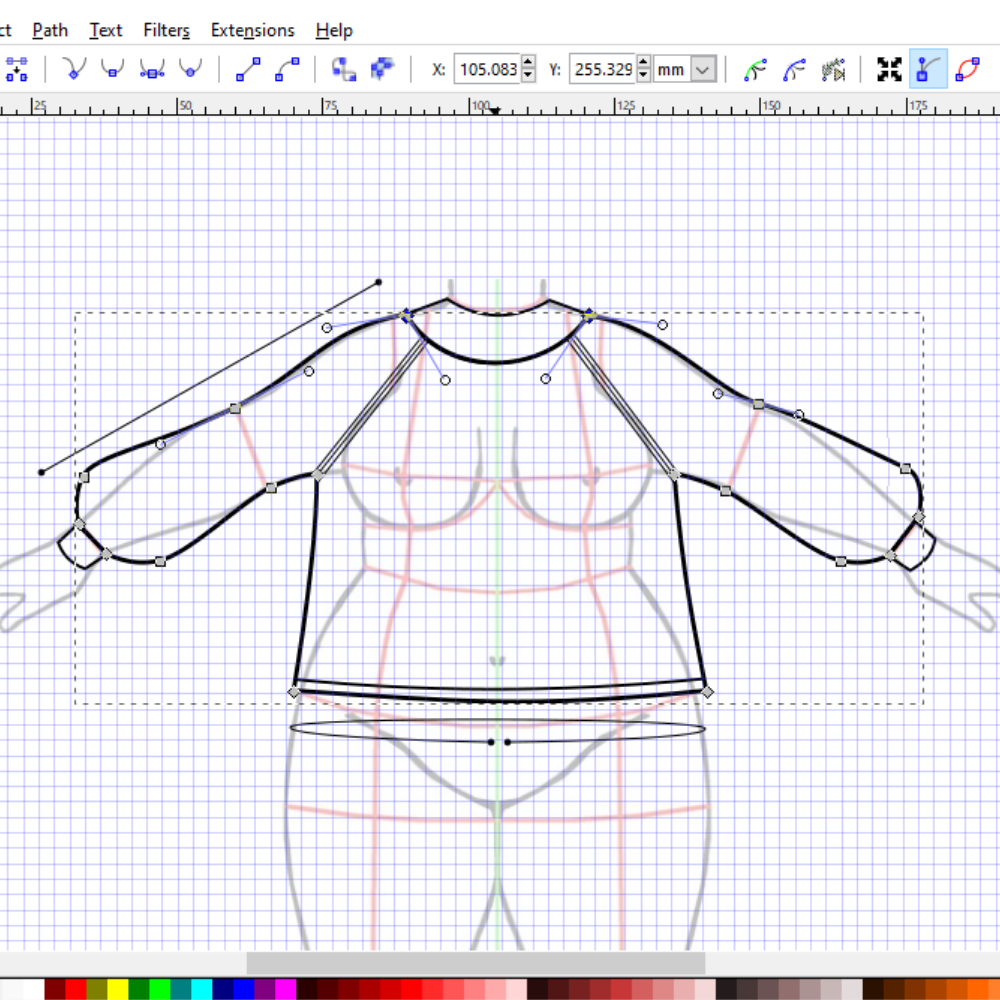
Photos can be added before and after the pattern instructions, but not during them. The schematics are typically added at the end of the pattern, along with any charts. Keep all of your charts together and make them as large as possible. They should all use the same key, displayed once on every page of charts.
That way, if someone wanted to print the pattern instructions, they could just select those pages and it would save them paper and ink - very pleasing from a maker’s point of view!
Adding Photos, Charts, Schematics and Other Graphics
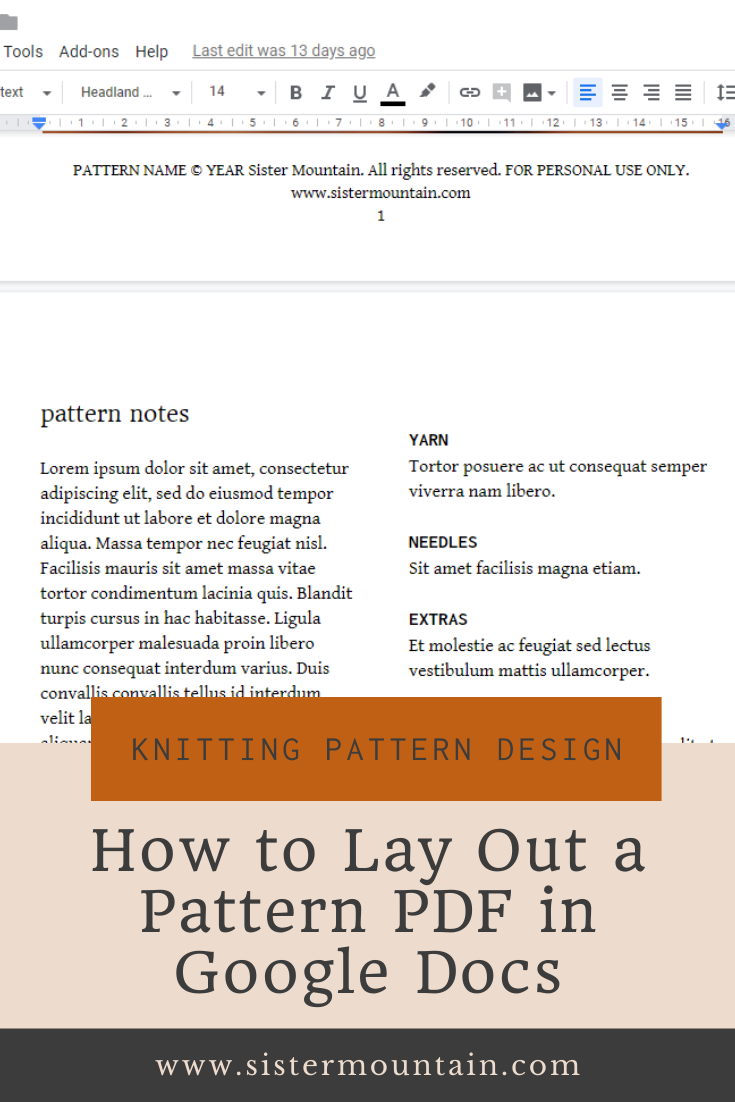
Images and graphics can be placed in your document by clicking Insert, then Image and then Upload from computer.
You can resize the image by dragging the corner and move it wherever you want by clicking and holding the photo to drag it.
The default format for images is In line however, I prefer to use either Wrap text when I want my text to wrap around the image or, more often, Break text when I want the image to be on its own line with no text either side of it.
Make it a Template
Once you’ve got a nice pattern layout set up in Google Docs, give it a filename that indicates that this is your master pattern template. Then, when you’re ready to lay out your next pattern, you can make a copy of that file and use it for your pattern.
To make a copy of the file, find it inside Google Drive. Right-click on the file and click Make a copy. You will now see another version of the file in your Google Drive that is called Copy of ORIGINAL FILE NAME which you can rename and move to the relevant pattern folder, ready to be used.
Make it a PDF
When you have a fully formatted, finished pattern that has been test-knitted and tech-edited, it’s ready to be turned into the final pattern PDF.
Open the pattern’s Google Doc and click on File, then Download and finally PDF Document (.pdf). The PDF will automatically download to your computer.
Make sure you move the pattern PDF to a folder on your computer where you can easily find it and give it an appropriate name. Remember, this is the exact file that your customers will be working from, so the file name should be relevant to them too.
Discussion
What do you use to format your knitting pattern PDFs? Will you be using Google Docs to create your next knitting pattern? Let me know in the comments section below - I’d love to hear from you!