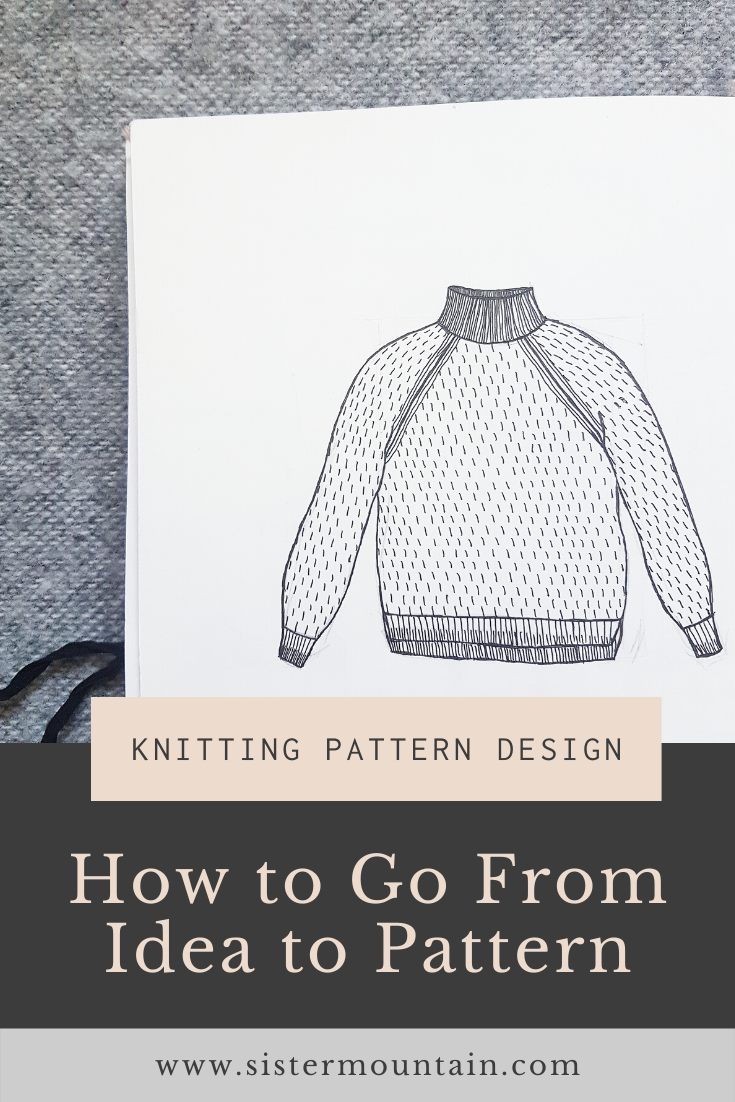
How to Go From Design Idea to Knitting Pattern

Where do you struggle most in the knitting pattern design process?
I’m willing to bet that, most of the time, it’s not in the idea generation stage of the process. Instead, the challenge is in turning those design ideas into an actual knitting pattern.
The more I speak to aspiring knitting pattern designers, the more I hear about the stashes of design ideas they have. Sweaters sketched on the backs of envelopes…pages of pattern ideas on spare scraps of paper.
But sadly, most of these ideas have remained on paper, simply because many aspiring knitting pattern designers aren’t sure how to take them any further.
“I am full of ideas but how do I actually translate them?”
I get this question a lot in emails from The Sisterhood and for a long time, I wasn’t quite sure how to answer it.
I’ve shared a lot of information detailing the knitting pattern design process on the blog and, to my mind, I felt like that explained everything. But after lots of email conversations with this community, I have realised that the process needs to be broken down further and that there is one step, in particular, where many designers get stuck.
In this blog post, I share how you can go from design idea to knitting pattern, breaking down each step. After reading this, you will have a clear path to follow whenever you’re feeling a bit stuck.
1. Finalise your design idea
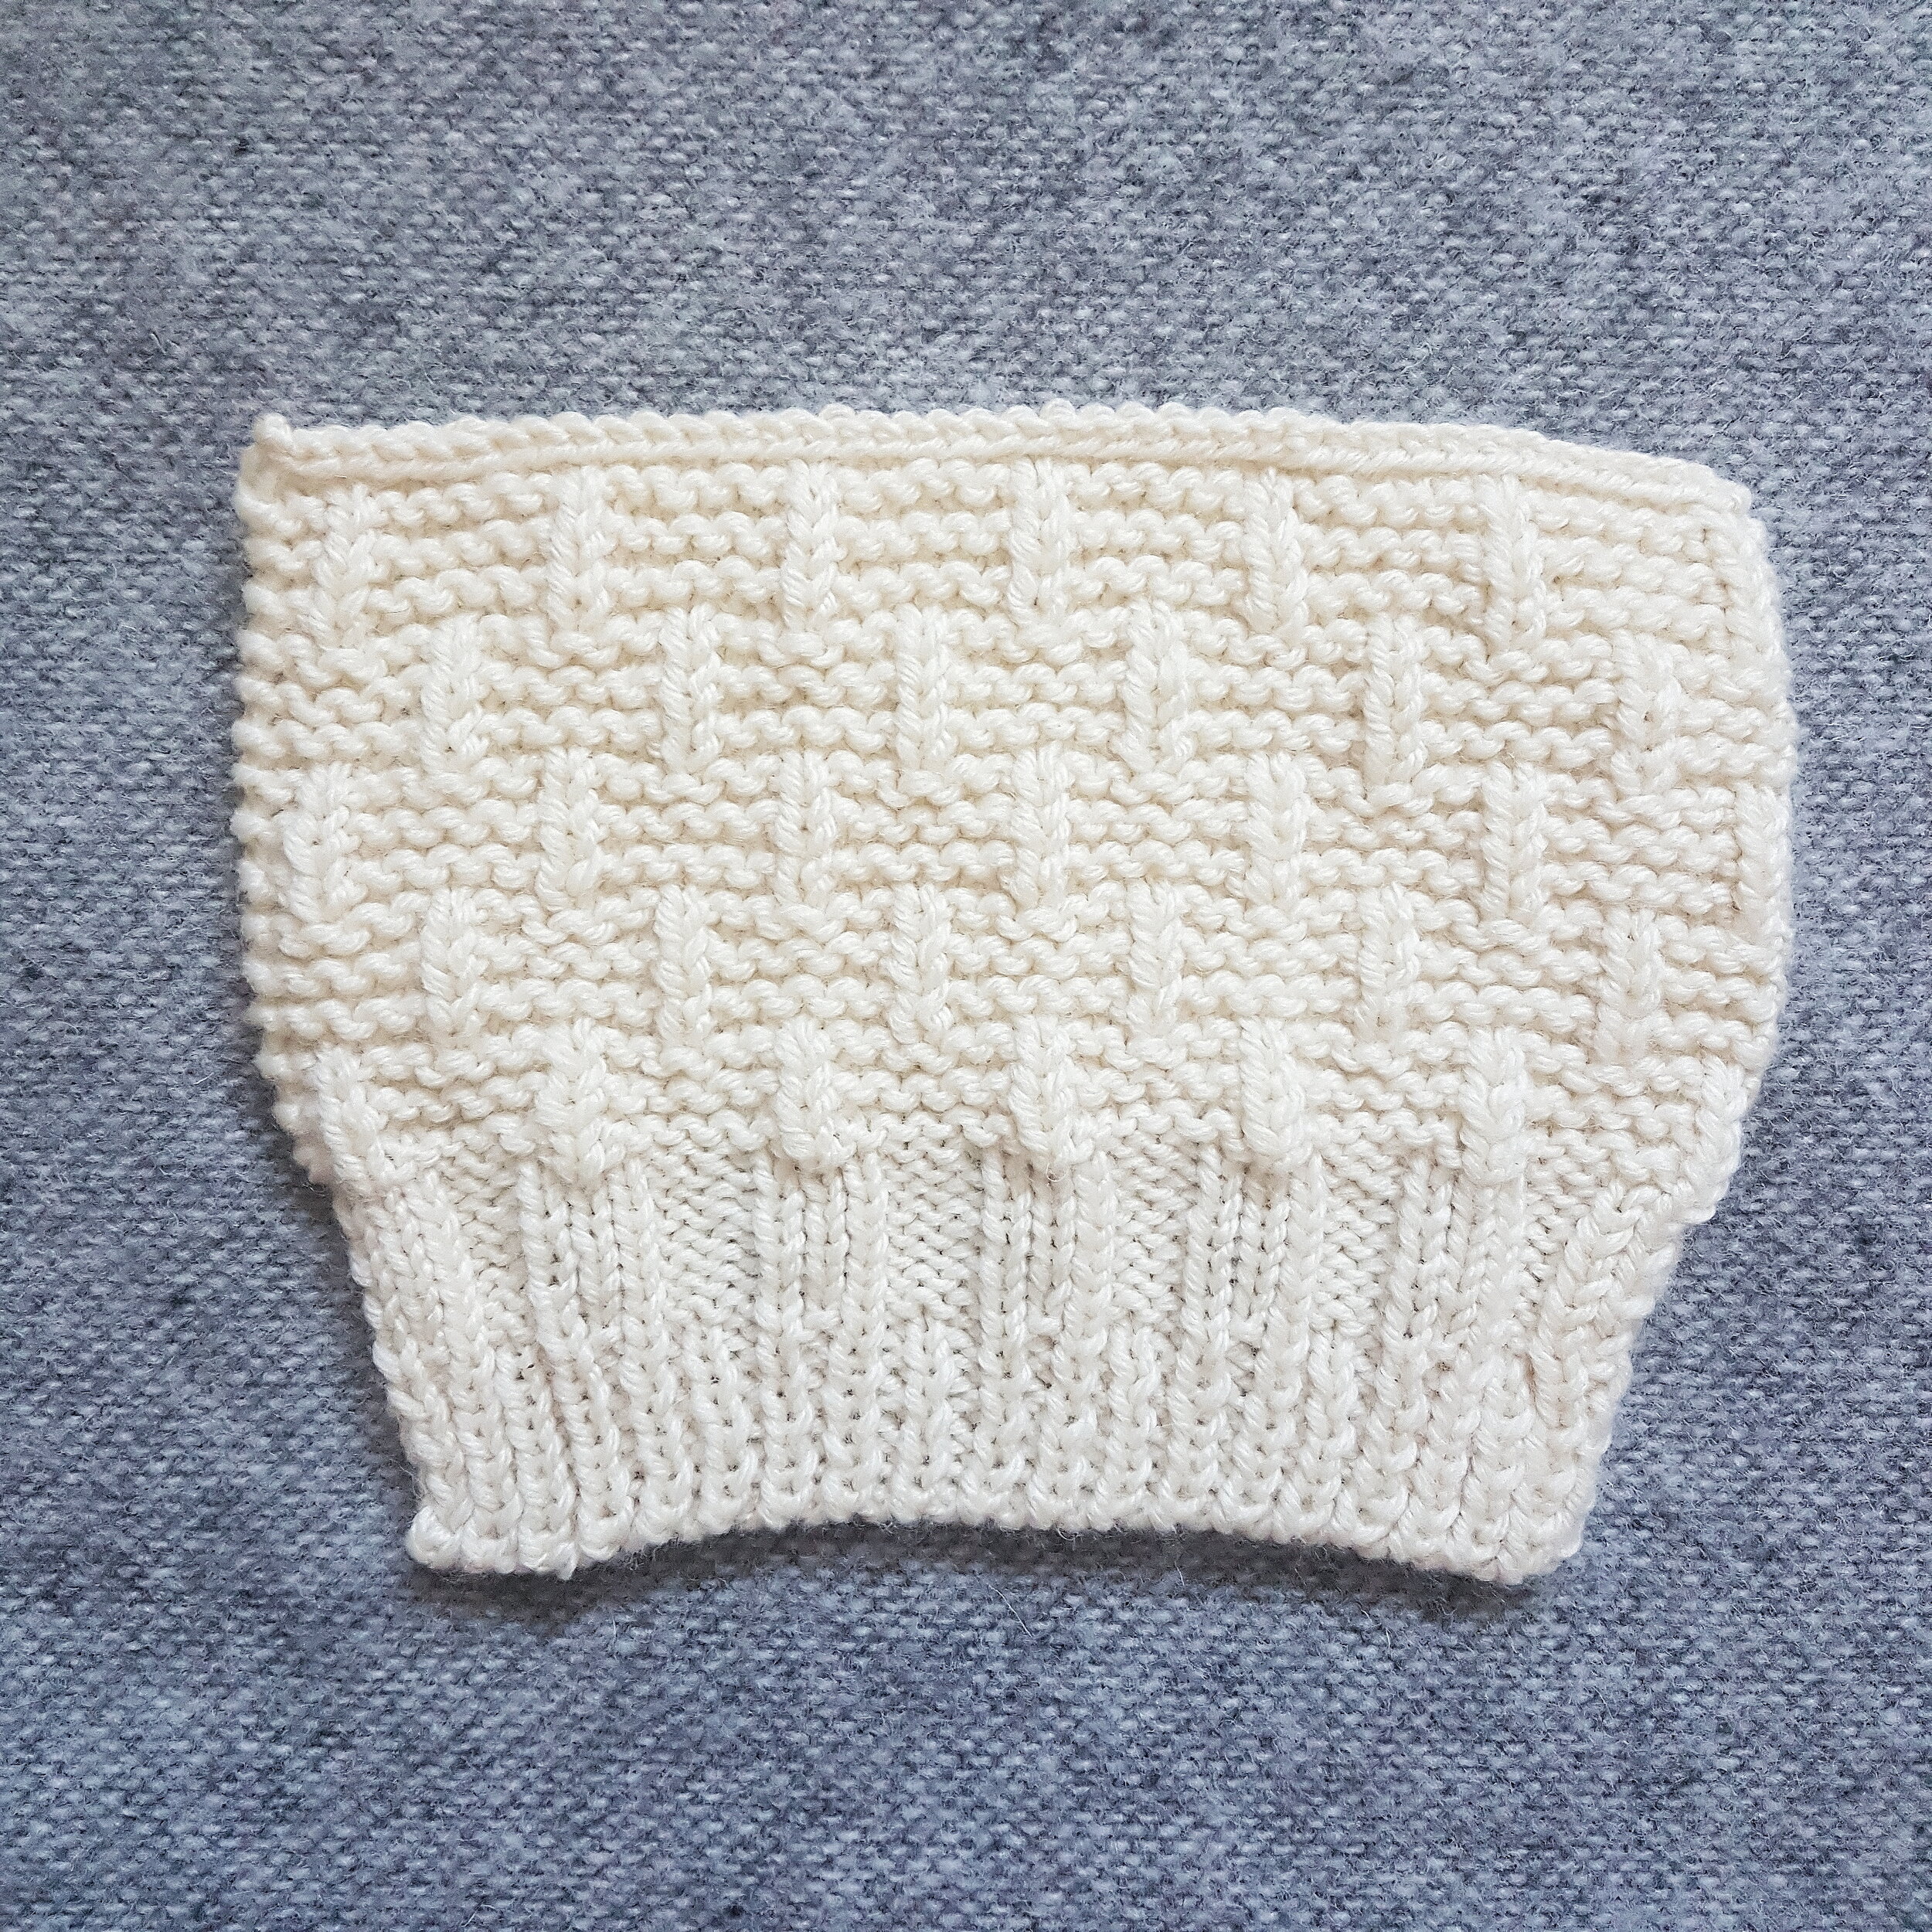
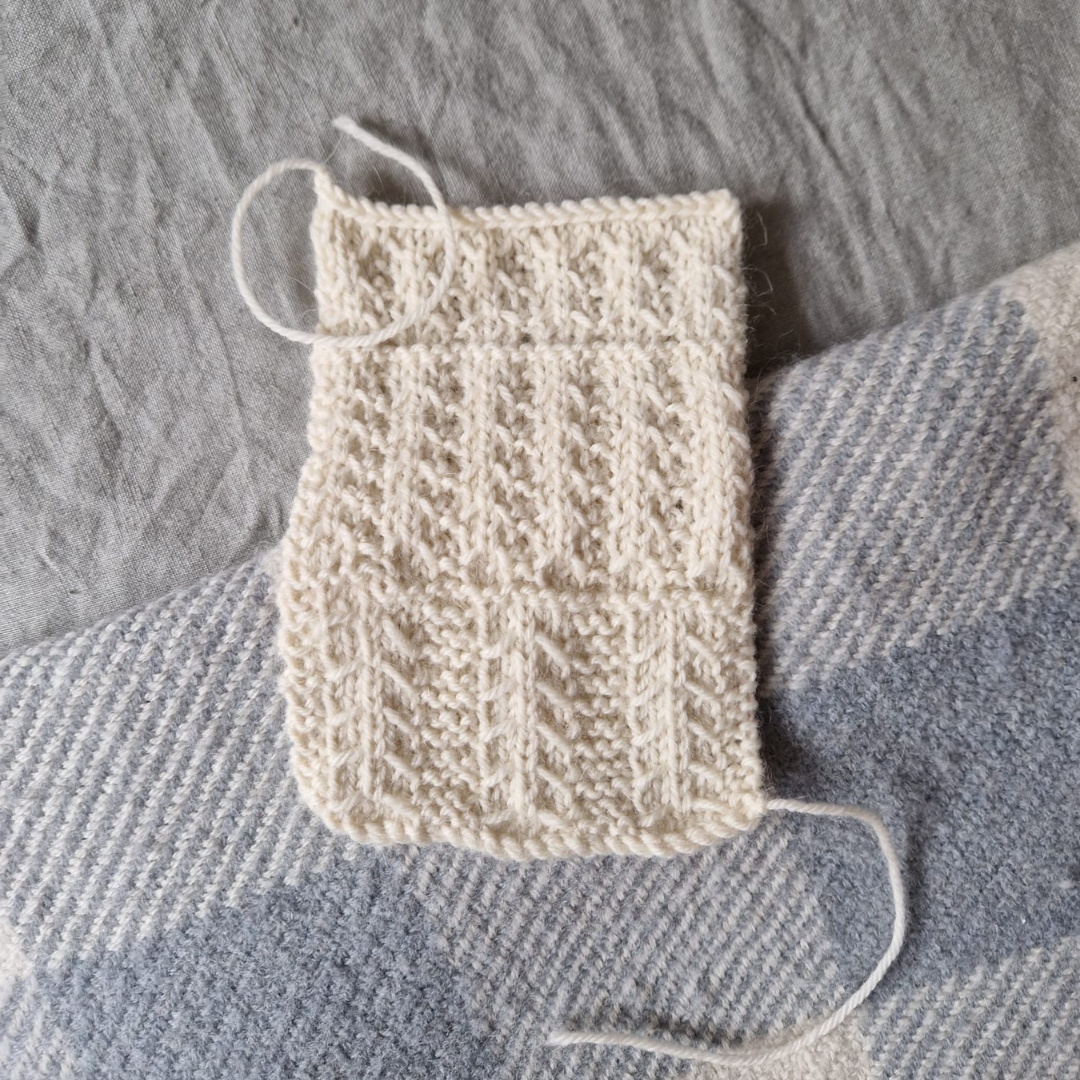
When finalising your design idea, I’d like you to prepare a sketch and at least one large swatch in your chosen yarn. The swatch needs to be blocked because you’ll be using this to calculate your pattern’s gauge.
2. Decide on how your design will be constructed
This is the step where I think a lot of aspiring designers get stuck. They know they need a design idea and they know that they need to create a pattern spreadsheet, but they’re not sure how to get from one to the other. That’s where thinking about the construction really helps.
Whatever you’re designing, you need to have a strong understanding of how it will be constructed. Without knowledge of the construction, you have nothing to base your pattern spreadsheet on.
For some knitters, this will be simple. They’ve knitted from enough patterns that they understand garment/accessory construction really well.
For others, this will be a real challenge. If this is you, you need to find resources that walk you through how patterns can be constructed, such as my top-down sweater construction guide. Alternatively, think back on patterns you’ve knitted from in the past. Consider each step in their construction, thinking about the shapes and measurements the designer was trying to create.
If this feels hard, it’s because it is! Take it slow and start with simpler constructions first.
Side note: this is why I think it’s so important for new (and all!) designers to knit from other designers’ knitting patterns. You can learn SO much about construction, just from following a pattern.
3. Set up your pattern spreadsheet
Before you start calculating your stitch and row counts, set up your sizing, ease, finished garment measurements and gauge.
I walk you through my process of doing this in my first blog post all about grading knitting patterns using a spreadsheet.
4. Complete your pattern spreadsheet
Once your pattern spreadsheet is set up, it’s time to start calculating stitch/row counts and shaping. This is where you’ll be using your understanding of construction.
Make a list of every single step you will take when constructing your design. Then, starting from the top of the list, start calculating the stitch and row counts needed for every step using your finished garment measurements and your gauge.
Once you’ve got all of your stitch and row counts, you can start calculating your shaping rates for each step.
I walk you through this process in my second blog post all about grading knitting patterns using a spreadsheet.
5. Use the numbers from your pattern spreadsheet to write your knitting pattern
Once you have finished off your pattern spreadsheet, you can use all of the stitch/row counts and your shaping rates to write the pattern from start to finish. Again, you will need to refer to your construction method throughout this process.
I often find that my pattern spreadsheet is not as “finished” as I thought it was at this stage! Inevitably, I need to go back in to adjust or add more calculations to help me write my pattern. This is completely normal, so don’t be frustrated if this happens to you too.
From Design Idea to Knitting Pattern
As you can see, an understanding of pattern construction plays a huge part in the design process and for many aspiring knitting pattern designers, I believe it is the missing link.
Once you’ve grasped how to construct a certain garment or accessory, you’ll be well on your way to designing it.