How to Calculate Short Row Shaping in a Spreadsheet
Short row shaping is a brilliant way of discreetly adding 3D shaping to your knitting pattern designs, but it can be a bit of a brain teaser to figure out how to actually calculate it. In this blog post, I’m going to show you a simple way of calculating your short row shaping using a spreadsheet.
What is short row shaping?
Short row shaping uses partially knitted rows to seamlessly shape knitted fabric. Usually, you would work part of the way across a row, turn before you reach the end, and work your way back, using a variety of techniques to prevent holes or gaps where you turned.
This style of shaping usually forms a wedge or a curve, building height at one end and not at the other. The angle of the shaping depends on the number of stitches in your short row wedge, as well as the number of rows you’re working the shaping over. More stitches with fewer rows will create a shallower angle, whilst fewer stitches with more rows will create a steeper angle.
Where to use short row shaping?
Some of the most common places that you might have encountered short row shaping are a sock heel, bust dart or even the humble bobble!
You can also use them to raise sections of a garment, such as the back neck in a yoke or raglan sweater, which uses one short row wedge at each side of the back neck.
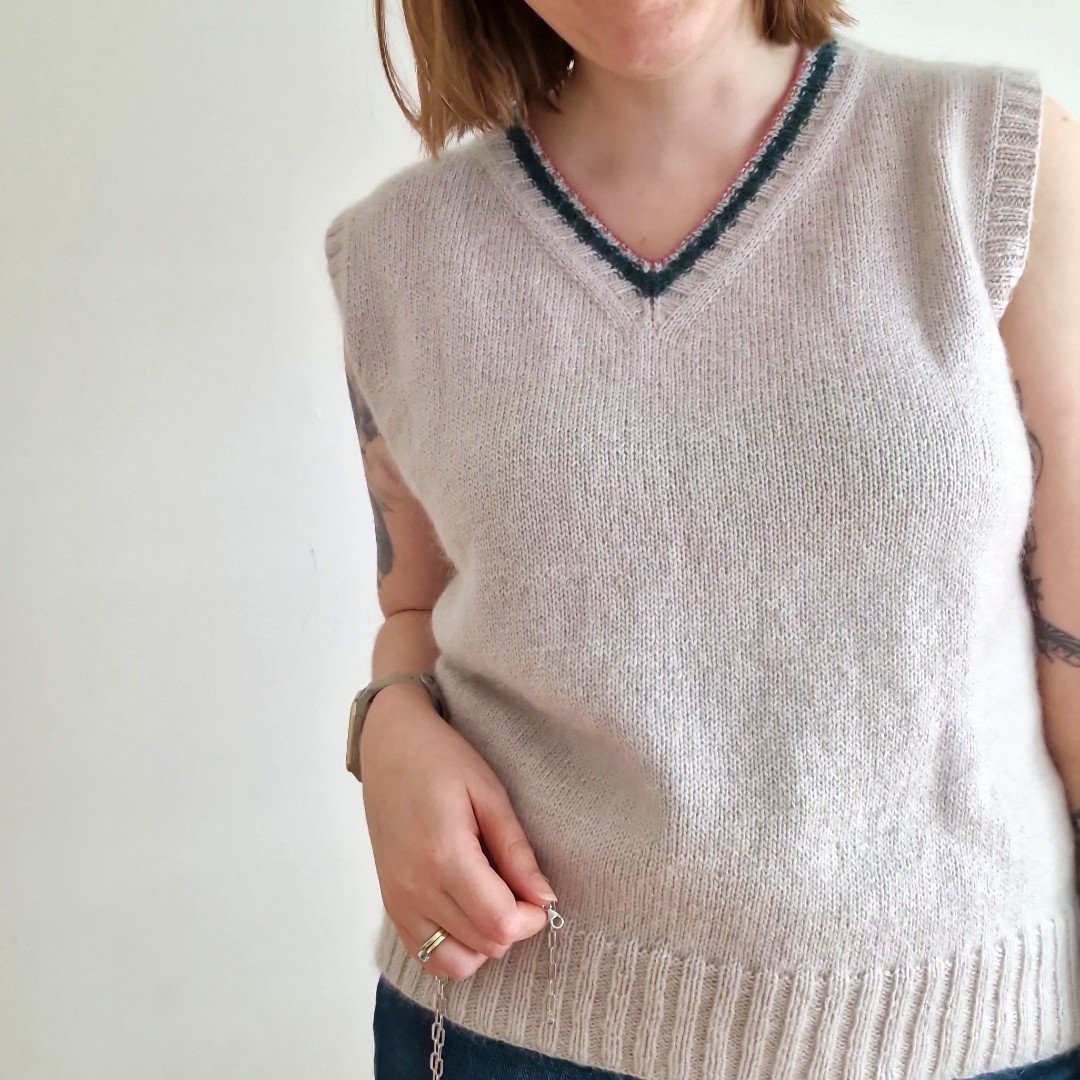
I also love to use them to create sloped shoulders in bottom-up sweaters as an alternative to using a traditional stair-step bind-off. In that case, I use one short row wedge at each shoulder.
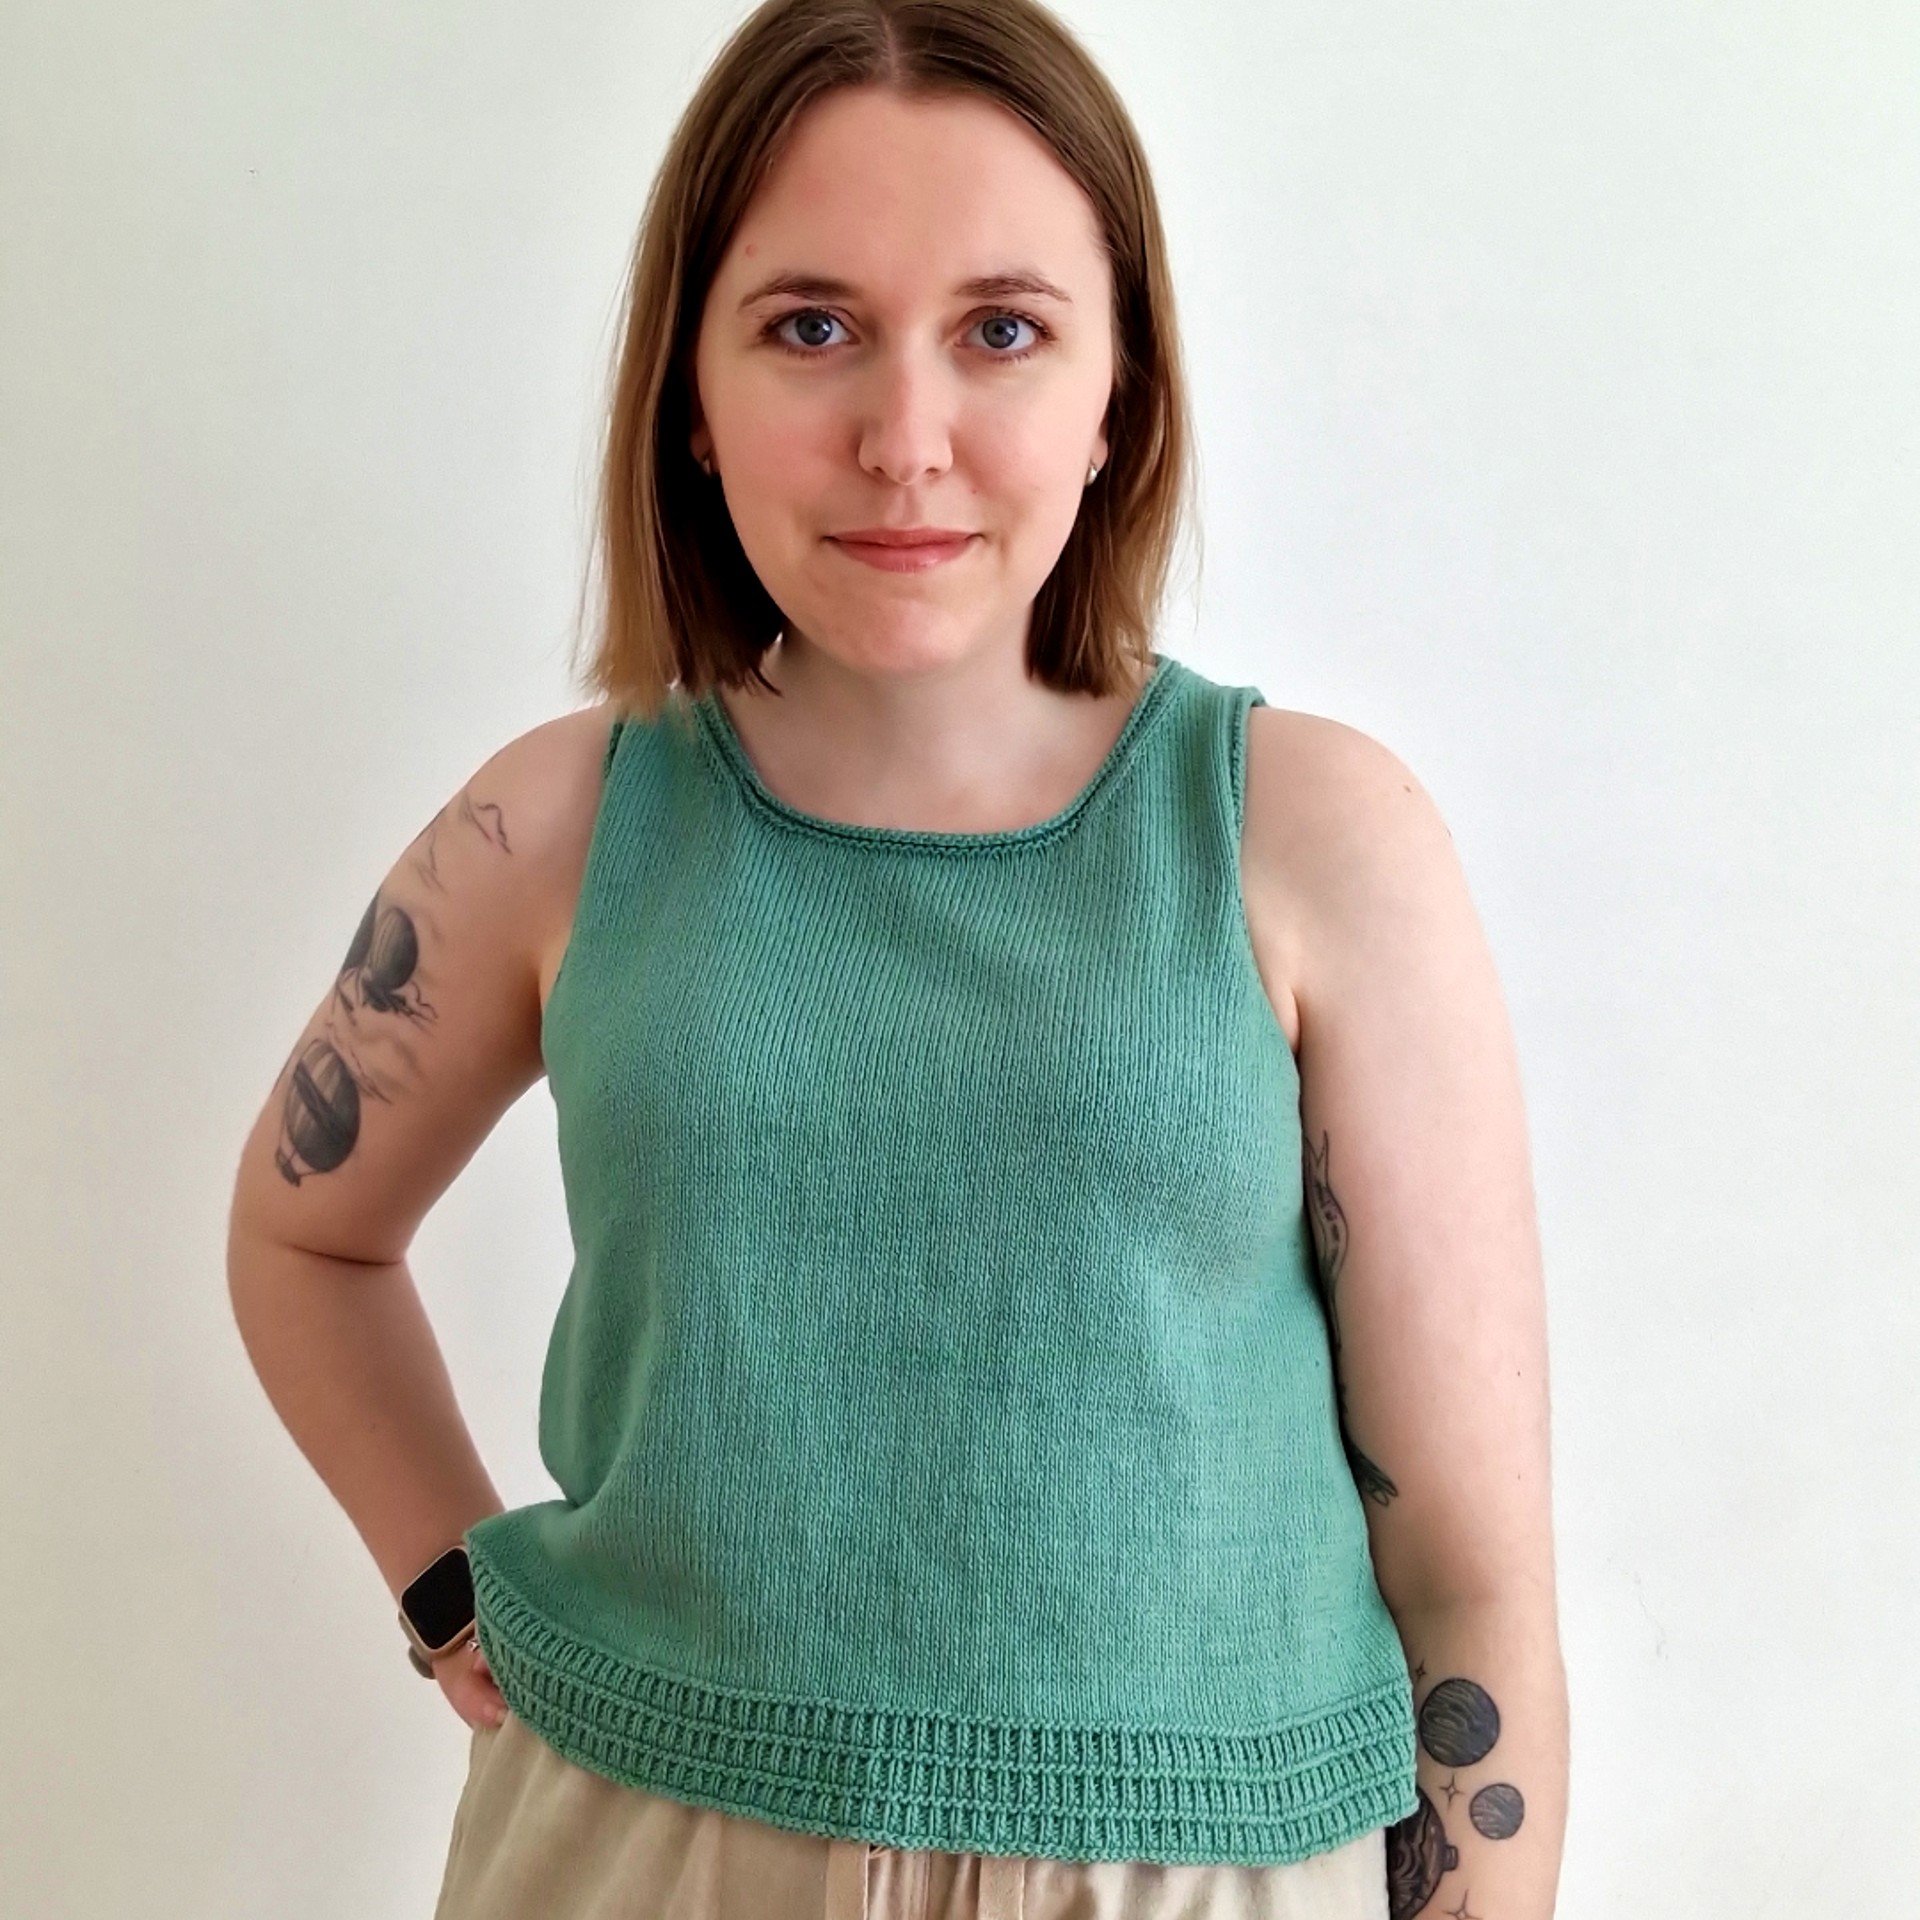
Finally, they can be used at the hem of a sweater to create a high-low hem.
You will need:
To calculate your short row shaping, you will first need to know the total number of stitches that you wish to use in your short row wedge, as well as the number of rows that the shaping will be worked over.
If you don’t know the stitch or row count for your short row shaping, you can work this out by noting down how wide and tall you want your short row wedge to be, then using your fabric’s gauge, calculate the number of stitches and rows needed to achieve those measurements.
The number of rows that your short row shaping is worked over should be a multiple of 2, as you will be working back and forth in order to complete each short row.
Example: My short row wedge will be worked over 46 stitches and 12 rows.
Break the Stitches into Segments
In order to plan the placement of your short row turns, I recommend breaking down the number of stitches in your short rows into segments. With each new turn in your short rows, each segment builds in height from the previous segment, like steps.
To calculate how many segments you will have in your short row shaping, divide the total number of rows in your short row shaping by 2, then add 1.
The spreadsheet formula for that is:
=(Rows in short rows/2)+1
Example: =(12/2)+1 gives me a result of 7 segments in my short rows.
Calculate the Stitch Counts for Each Segment
Across your short row segments, you will often have two different stitch counts; some segments with larger stitch counts and some with smaller. Occasionally, you might end up with the same stitch count across all segments, but two different stitch counts is more common.
To calculate the number of stitches in the larger short row segments, divide the number of stitches in the short rows by the total number of segments, rounding the result up to a whole number.
The spreadsheet formula for that is:
=ROUNDUP(Sts in short rows/Total number of segments,0)
Example: =ROUNDUP(46/7,0) gives a result of 7 stitches in the larger segments of my short rows.
To calculate the number of stitches in the smaller short row segments, divide the number of stitches in the short rows by the total number of segments, rounding the result down to a whole number.
The spreadsheet formula for that is:
=ROUNDDOWN(Sts in short rows/Total number of segments,0)
Example: =ROUNDDOWN(46/7,0) gives a result of 6 stitches in the smaller segments of my short rows.
If you end up with the same stitch count for the larger and smaller segments, that just means you have the same number of stitches in all of your segments. In that case, you don’t have larger and smaller segments!
Calculate the Number of Sets of Each Segment
Once you know how many stitches are in both your larger and smaller segments (or all of your segments, if you only have one stitch count for all of them), you need to calculate how many sets you will work of each segment.
To calculate the number of sets of larger segments, divide the total number of stitches in your short rows by the total number of segments and note down the remainder. The remainder is the number of larger segments.
The spreadsheet formula for that is:
=MOD(Sts in short rows,Total number of segments)
Example: =MOD(46,7) gives a result of 4 out of the 7 total segments worked at the larger stitch count.
If you get a remainder of zero for this formula, it is because you only have one stitch count for all of your segments. This just means that you should work all of your short row segments at the same stitch count.
To calculate the number of sets of smaller segments, subtract the number of larger segments from the total number of segments in your short rows.
The spreadsheet formula for that is:
=Total number of segments-Number of larger segments
Example: =7-4 gives a result of 3 out of the 7 total segments worked at the smaller stitch count.
How to Interpret the Spreadsheet Results of Your Short Row Shaping
Once you’ve calculated your short row shaping inside of your spreadsheet, you need to know how to interpret those results so that you can actually write them into your pattern instructions.
Larger or Smaller First?
In order to write up your short row shaping, you need to decide in which order you will work your segments. Will you work your larger segments first or your smaller segments? This decision is personal preference and depends on the shape you intend to create. The larger segments will create a slightly shallower angle, whilst the smaller segments will create a slightly steeper angle.
Example: I will work my 4 larger segments first, followed by my 3 smaller segments.
How many turns?
The number of turns you will make in your short rows is simply half the number of rows that you are working in your short rows.
Example: My short rows are worked over 12 rows, so I will have 6 turns.
Where to place the turns?
Now that you know how many short row turns you will be making, you need to understand where to place them. In your short rows, you will make one turn per segment, except for either the first or the last segments (it’s your choice which one), which will be worked without any turns.
If you decide to skip the turn on the last segment, the last stitch of the other segments will be the wrapped or double stitch, depending on what style of short rows you are working.
If you decide to skip the turn on the first segment, the first stitch of the other segments will be the wrapped or double stitch.
Example: I am using German short rows, and will skip the turn on the first segment, working the double stitch on the first stitch of the other segments. Here’s how it will all come together in my instructions:
Show Row 1 (RS): Knit to last 7 sts, turn.
Short Row 2, 4, 6, 8, 10 and 12 (WS): Mds, purl to end.
Short Row 3, 5 and 7: Knit to 6 sts before ds, turn.
Short Row 9 and 11: Knit to 5 sts before ds, turn.
Next row (RS): Knit to end, working each ds through both legs.
Not so bad, right?
Whilst calculating and writing short row shaping can be confusing initially, it’s not so bad when you know the steps you need to take to get there!
If you’re struggling to visualise the placement of your turns or how you will write your instructions, I highly recommend that you chart out your short rows. I always do this whenever I can’t get my head around short row shaping and it always brings me clarity.