How to Shape Top-Down Necklines
Using short rows is a popular way to raise the back neck of a sweater when shaping top-down necklines. It’s convenient to be able to cast on the whole neckline with no need to pick up and knit the neckband at the end.
However, this method of shaping top-down necklines is pretty limiting in terms of the neck shapes you can create. For example, you couldn’t create a scoop or v-neck using this method.
That’s why I teach my students in Sweater Design School to design and knit their necklines flat until they join at the bottom of the front neck. It might seem counterintuitive when you’re knitting top-down in the round, however, this method is far more flexible and can be used to create any neckline, no matter what shape or depth.
In this blog post, I’ll explain how to use this method to shape necklines on a drop-shoulder, raglan and set-in sleeve pullover. I’m specifically referencing these 3 constructions in this article, so if you don’t understand how I construct them, I have a blog post all about these 3 top-down sweater styles you can read beforehand.
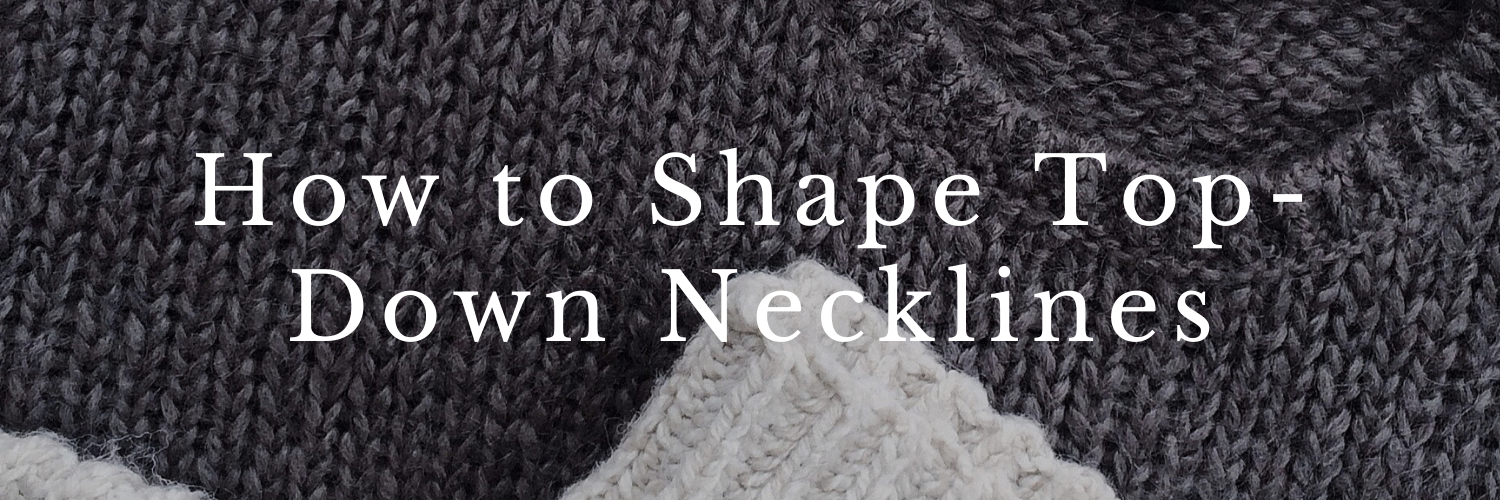
Image Description: Graphic saying, “How to Shape Top-Down Necklines” on top of an image of a grey knitted neckline with a cream funnel neck peeking out at the bottom
Important Note on Shaping Necklines
In this method, the neckline is shaped and then the neckband is picked up and knitted at the end. For this reason, you should shape the pullover’s neckline to be wider and deeper than your desired finished neck measurements, otherwise, the neck will be too narrow and shallow once you add the neckband.
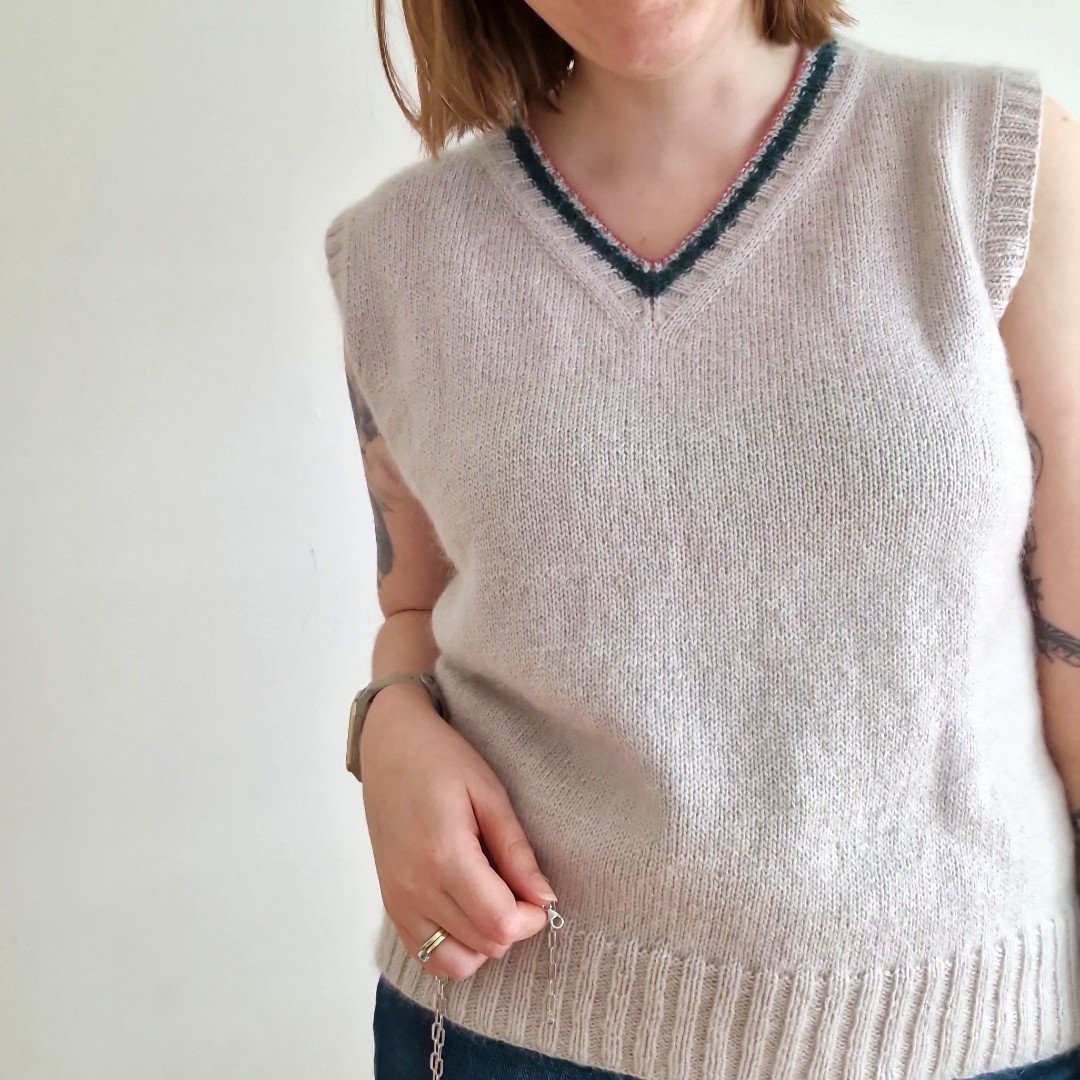
Drop-Shoulder Necklines
When I construct a simple drop-shoulder pullover, I usually cast on the full width of the pullover’s shoulders and knit flat to the bottom of the armhole, before putting the stitches on hold. This forms the upper back.
Then, I pick up stitches for each shoulder, one at a time, leaving enough space in between for the front neck. The front shoulder pieces are knitted flat, leaving the armhole edge straight and shaping the neckline as desired.
For round, scoop and V-necks, I recommend working straight for a bit at the top of the front neck to help smooth the transition from the back neck to the front.

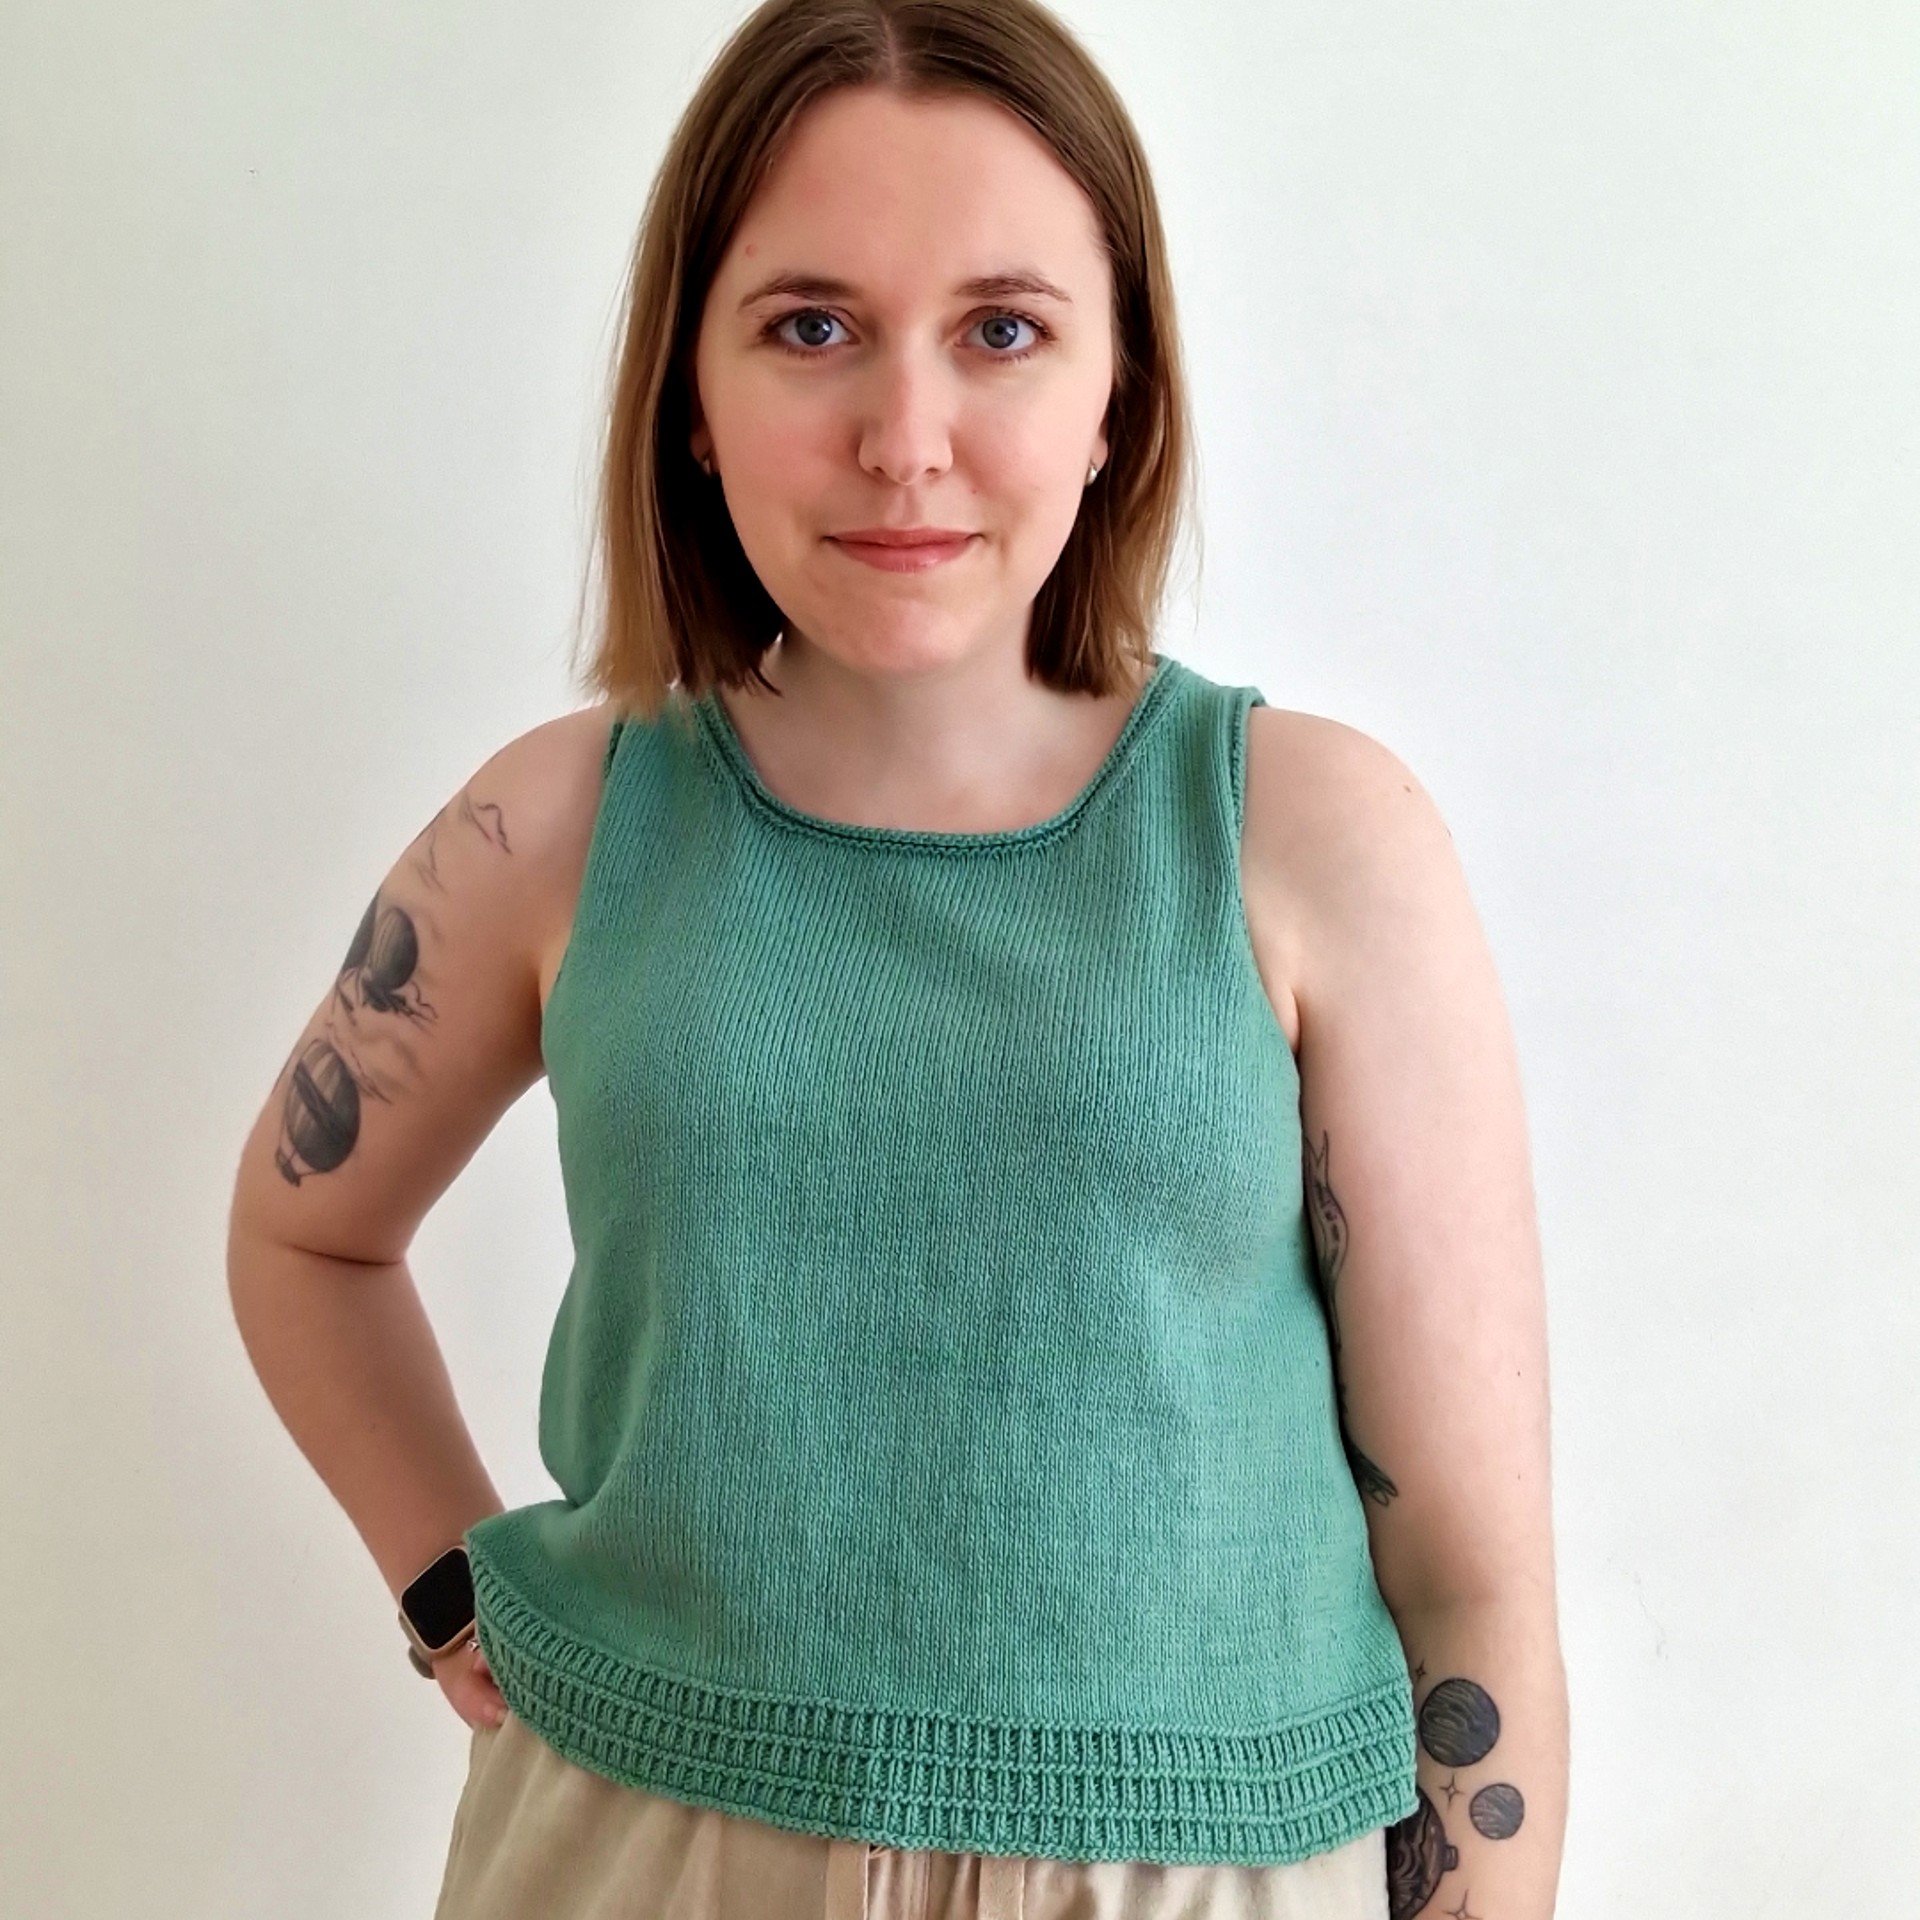
Image Description: Graphic that has a close up of a crew neckline knitted from the top-down on a teal drop-shoulder pullover. Beneath it says, “Knitting Pattern Design. How to Shape Top-Down Necklines. www.sistermountain.com”
Once you start increasing at the neck edge to shape the front neck, the shaping rate will depend on your desired neckline as well as the front neck depth you are trying to achieve. You will also need to make sure that your finished front neck will have the same stitch count as the back neck.
When shaping a V-neck, in many cases, there is no need to cast on any stitches at the bottom of the front neck. You can just increase at each side of the neck using your calculated shaping rate until you’ve worked enough rows and increased enough stitches. The total number of stitches that you increase for the front neck will be the same as the stitch count for the back neck width.
For round or scoop necks, the number of stitches that you need to increase is impacted by how wide you want the cast-on at the bottom of the front neck to be. Wider cast-ons will result in fewer stitches to increase at each side, whilst narrower cast-ons will result in more. Either way, the cast-on at the bottom of the front neck plus the two sets of neck increases should result in the same stitch count as the back neck width.
Raglan Necklines
When I construct a raglan, I cast on for the back neck width as well as the two tops of the sleeve caps and a couple of stitches for each side of the front neck. Then, I work the whole upper body at once, increasing at the raglans at the same time as shaping the front neck edge before it is joined to work in the round at the bottom of the front neck.
The process of shaping a raglan’s front neck is similar to how you’d shape the drop-shoulder’s neck, however, there is no need to work straight at the top of the neck. This is because the top of the sleeve caps already smooth the transition from back neck to the front.
When calculating the number of rows to work to achieve your desired front neck depth, remember that half of the width at the top of the sleeve cap actually contributes to the depth of the neck, so you don’t need to work as many rows in order to achieve your desired front neck depth.
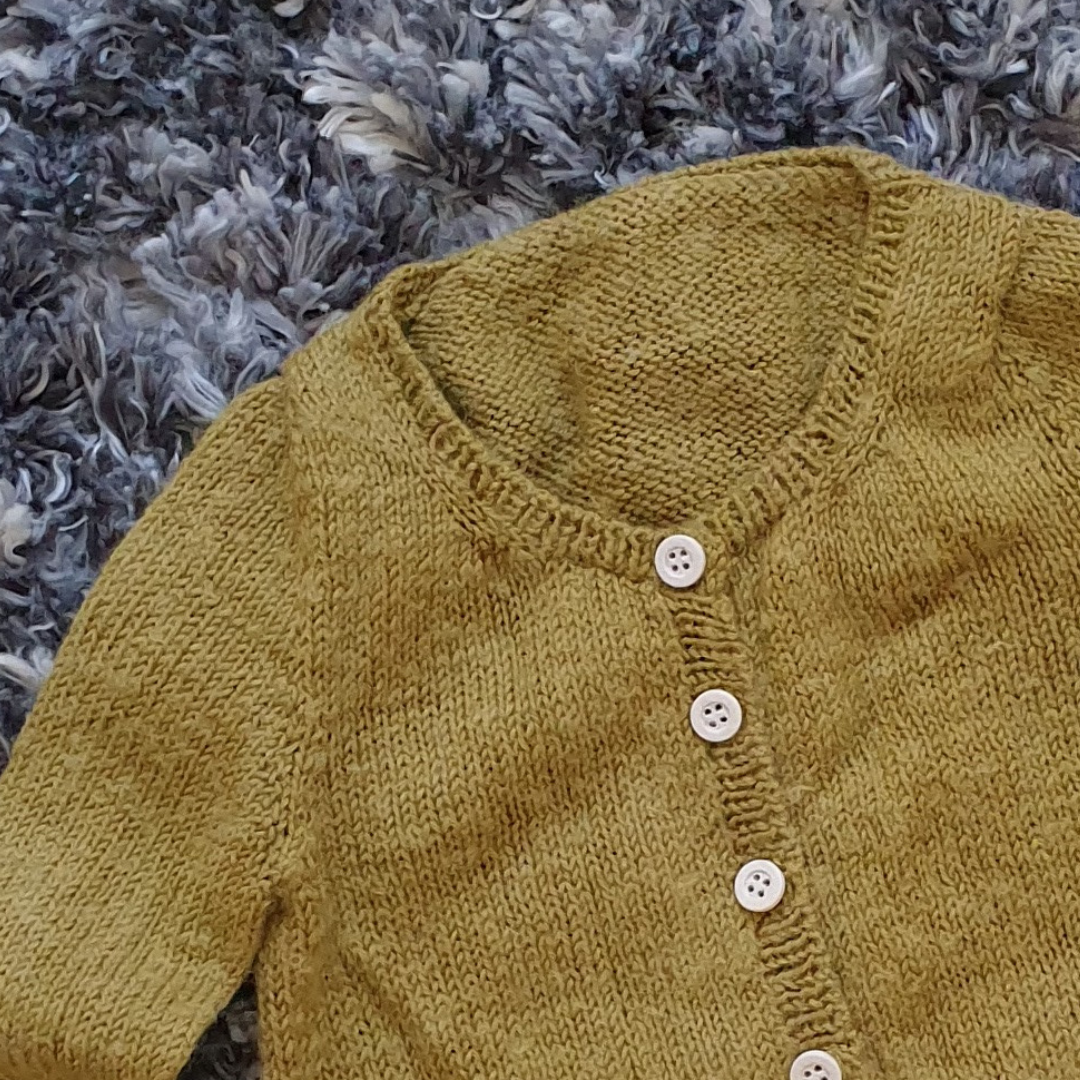
Image Description: Close up of a scoop neckline knitted from the top-down on a green set-in sleeve cardigan with white buttons.
Set-In Sleeve Necklines
I use the Cocoknits method for shaping my top-down, set-in sleeve pullovers. In this construction, I cast on for the back neck and then increase at each edge until I reach the desired stitch count for the shoulder width (from tip to tip), before putting the stitches on hold. This forms the upper back.
Then, I pick up stitches along the shaped edge for each front shoulder and knit the shoulder piece as long as the width of the top of the sleeve cap.
Once I’ve completed both shoulder pieces, I knit across one shoulder piece, then pick up stitches along the edge of it for the top of the sleeve cap. I continue knitting across the upper back stitches that were previously on hold, then pick up stitches for the other top of the sleeve cap before finishing up by knitting across the other shoulder piece. Now, the whole upper body is worked in one piece.
The front neck shaping can start as soon as you start knitting the front shoulder pieces and can continue as you start to work the whole upper body at once, shaping the sleeves and armholes as you go.
As I recommended in the drop-shoulder section, I encourage you to work the top of the neck straight for a bit before starting to increase at the front neck. The method for shaping the rest of the front neck is the same.
Give Flat Necklines a Try
There is often an element of compromise when trying to bring your design ideas to life, however, the shape of your neckline is something you don’t need to compromise on.
Whilst short row necklines can be convenient, it’s worth the extra finishing to have total flexibility with the shape of your neckline. Try a flat neckline on your next pullover design and see how much design freedom it gives you!
FREE, ON-DEMAND VIDEO WORKSHOP
How to Confidently Design Multi-Size Sweater Patterns
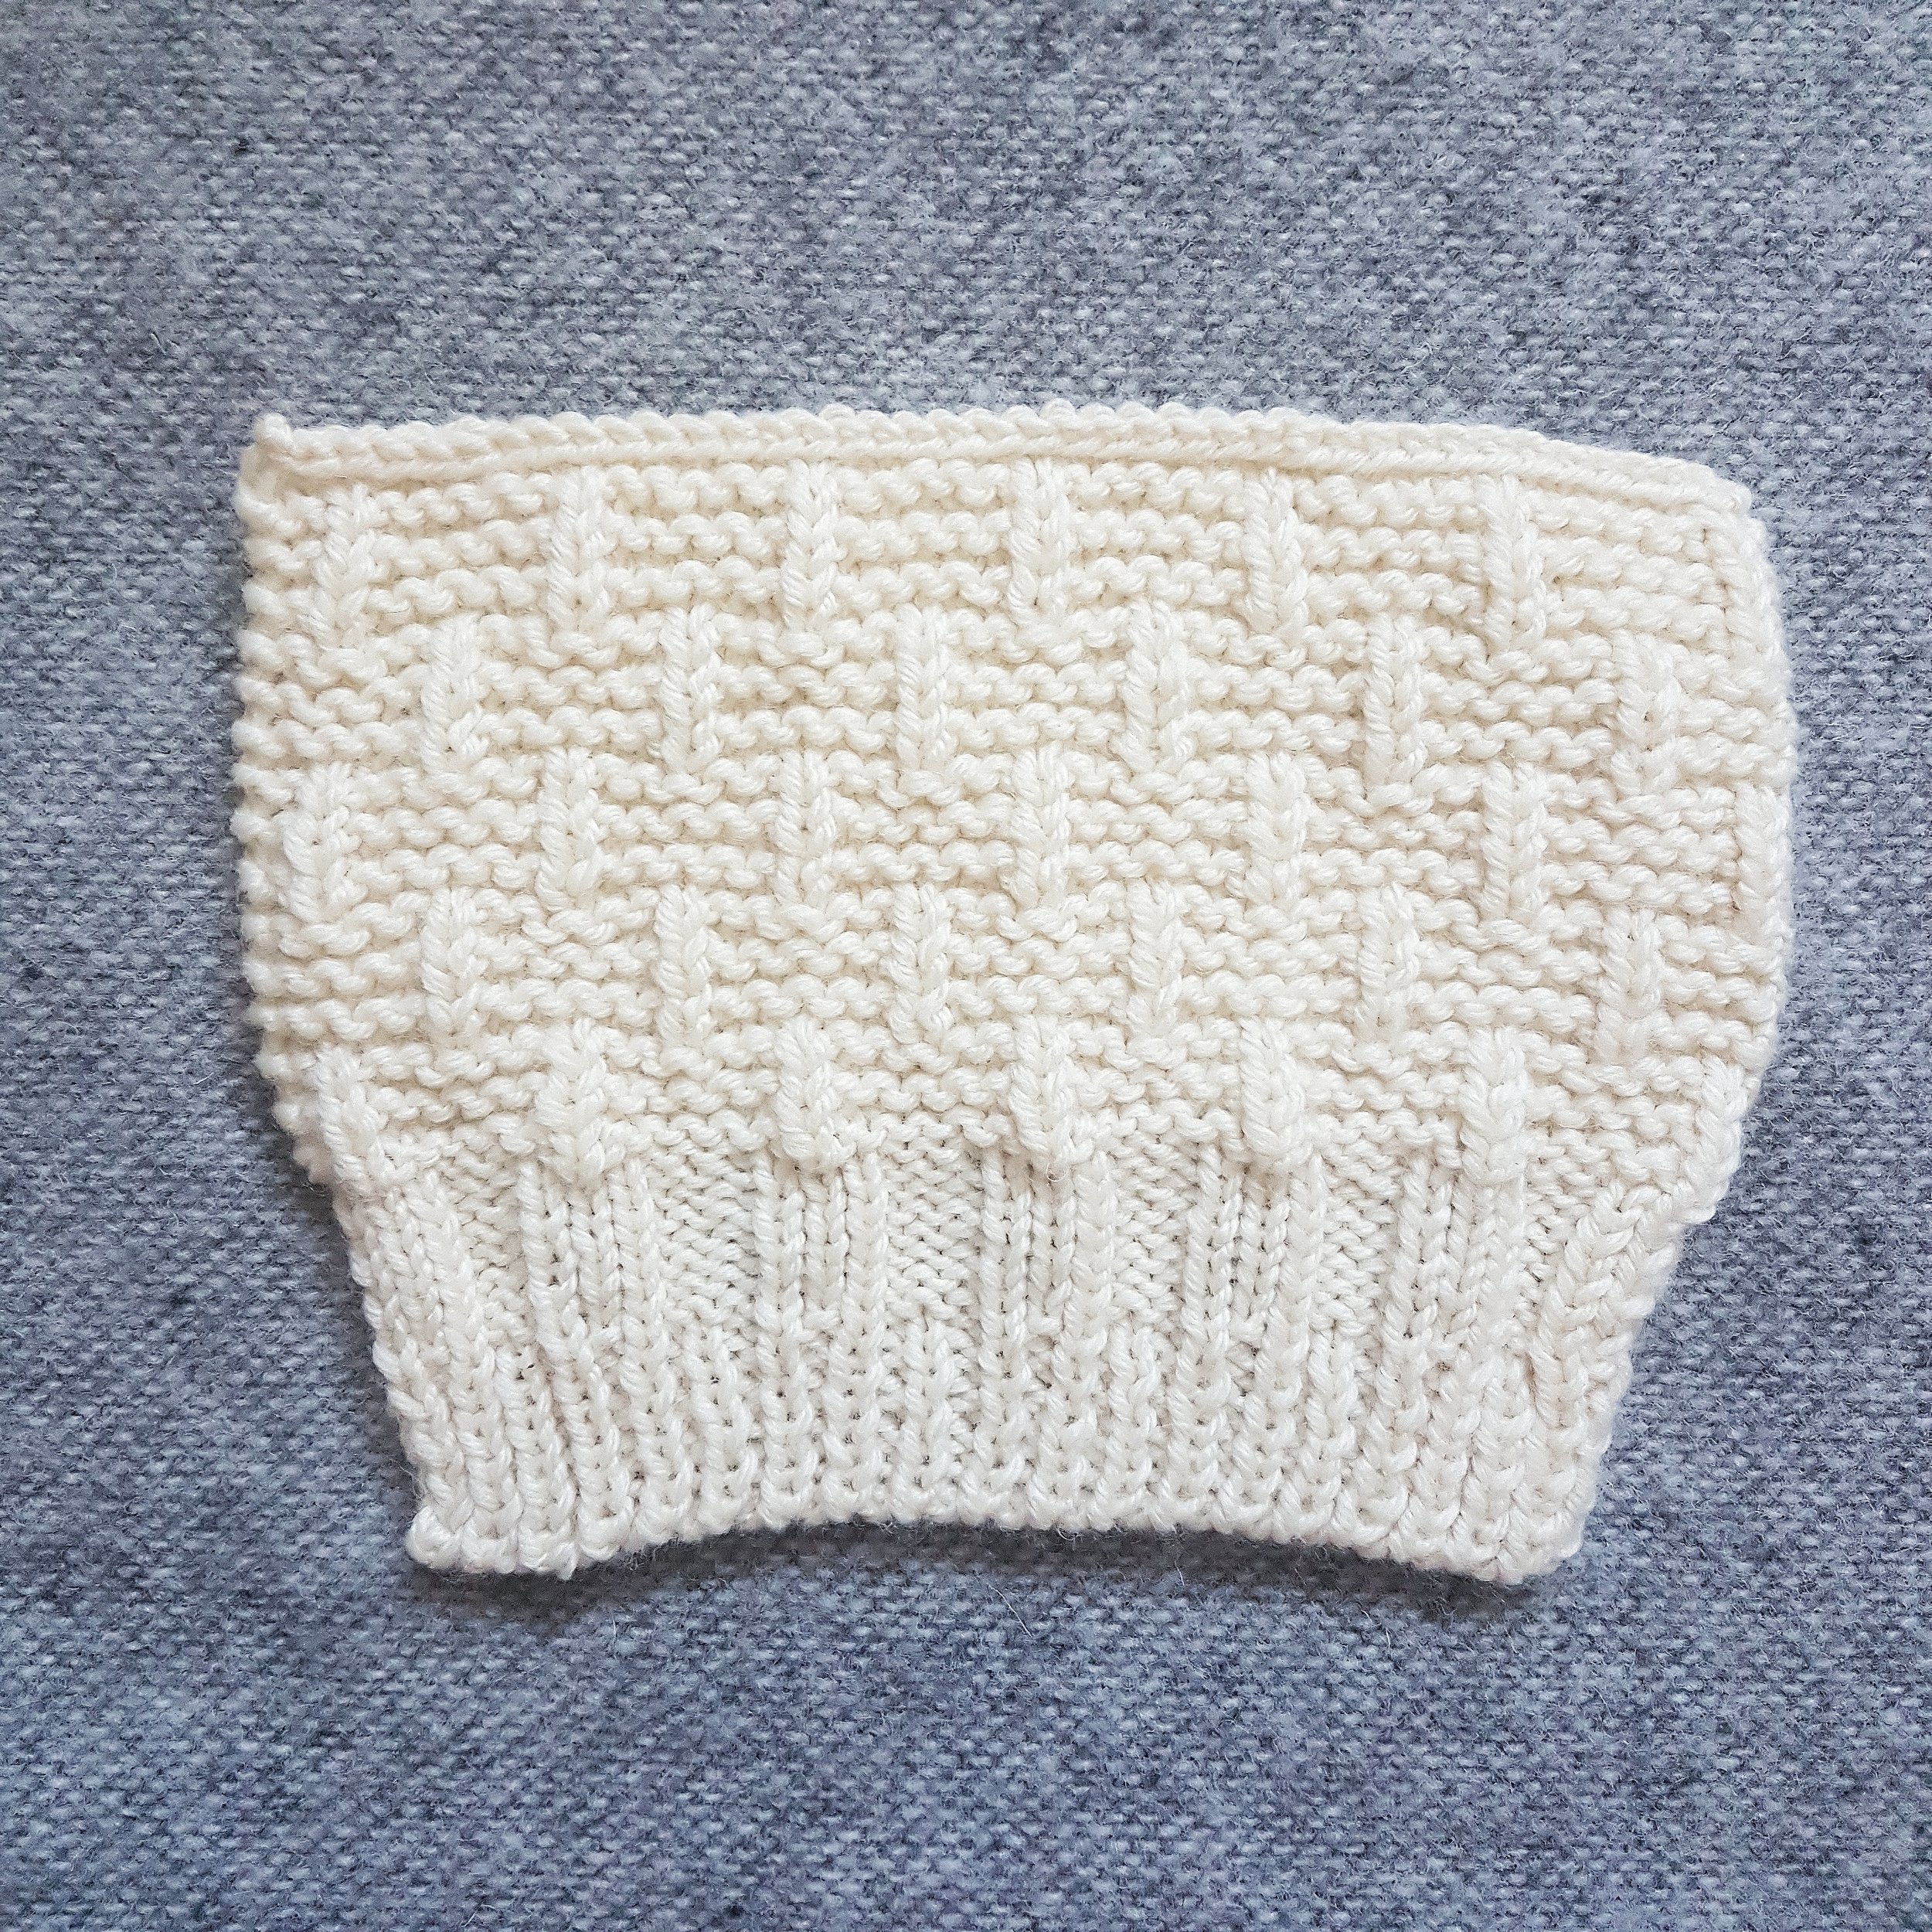
Image Description: White chunky swatch with garter basket weave stitch and two types of ribbing, on a grey woollen background.