How to Design a Sweater Pattern
Would you love to design a sweater pattern, but you’re not sure how to go about it? Designing a sweater pattern can be quite complex, and as soon as you bring grading for multiple sizes into the equation, it can all feel a bit overwhelming!
Whilst there are a lot of tasks and moving parts in the sweater design process, it doesn’t have to be overwhelming. When you take it step-by-step, focusing on the stage you’re currently in, you can make it to the end, relatively stress-free, and get that sweater pattern published!
Today, I’m going to walk you through the sweater design process, from start to finish, in 5 stages. By the end of this blog post, you will have a good overview of exactly what goes into designing a knitting pattern for a sweater. Let’s do this!

Stage 1: Inspiration
Not sure what you want your sweater design to look like? It’s impossible to reach your end goal (a beautiful, high-quality sweater pattern) without a clear idea of what you’re working towards.
In the inspiration stage of the design process, you will work through several exercises that will help you to dream up and problem-solve your final design idea before you even start outlining the pattern.
First, I highly recommend that you create a moodboard. Whether you make it digital or physical, this will give you crystal-clear inspiration for your sweater and help you to generate design ideas.
Based on this moodboard, you can start sketching to see how your design ideas look in a more tangible form and eventually select the idea that you want to move forward with.
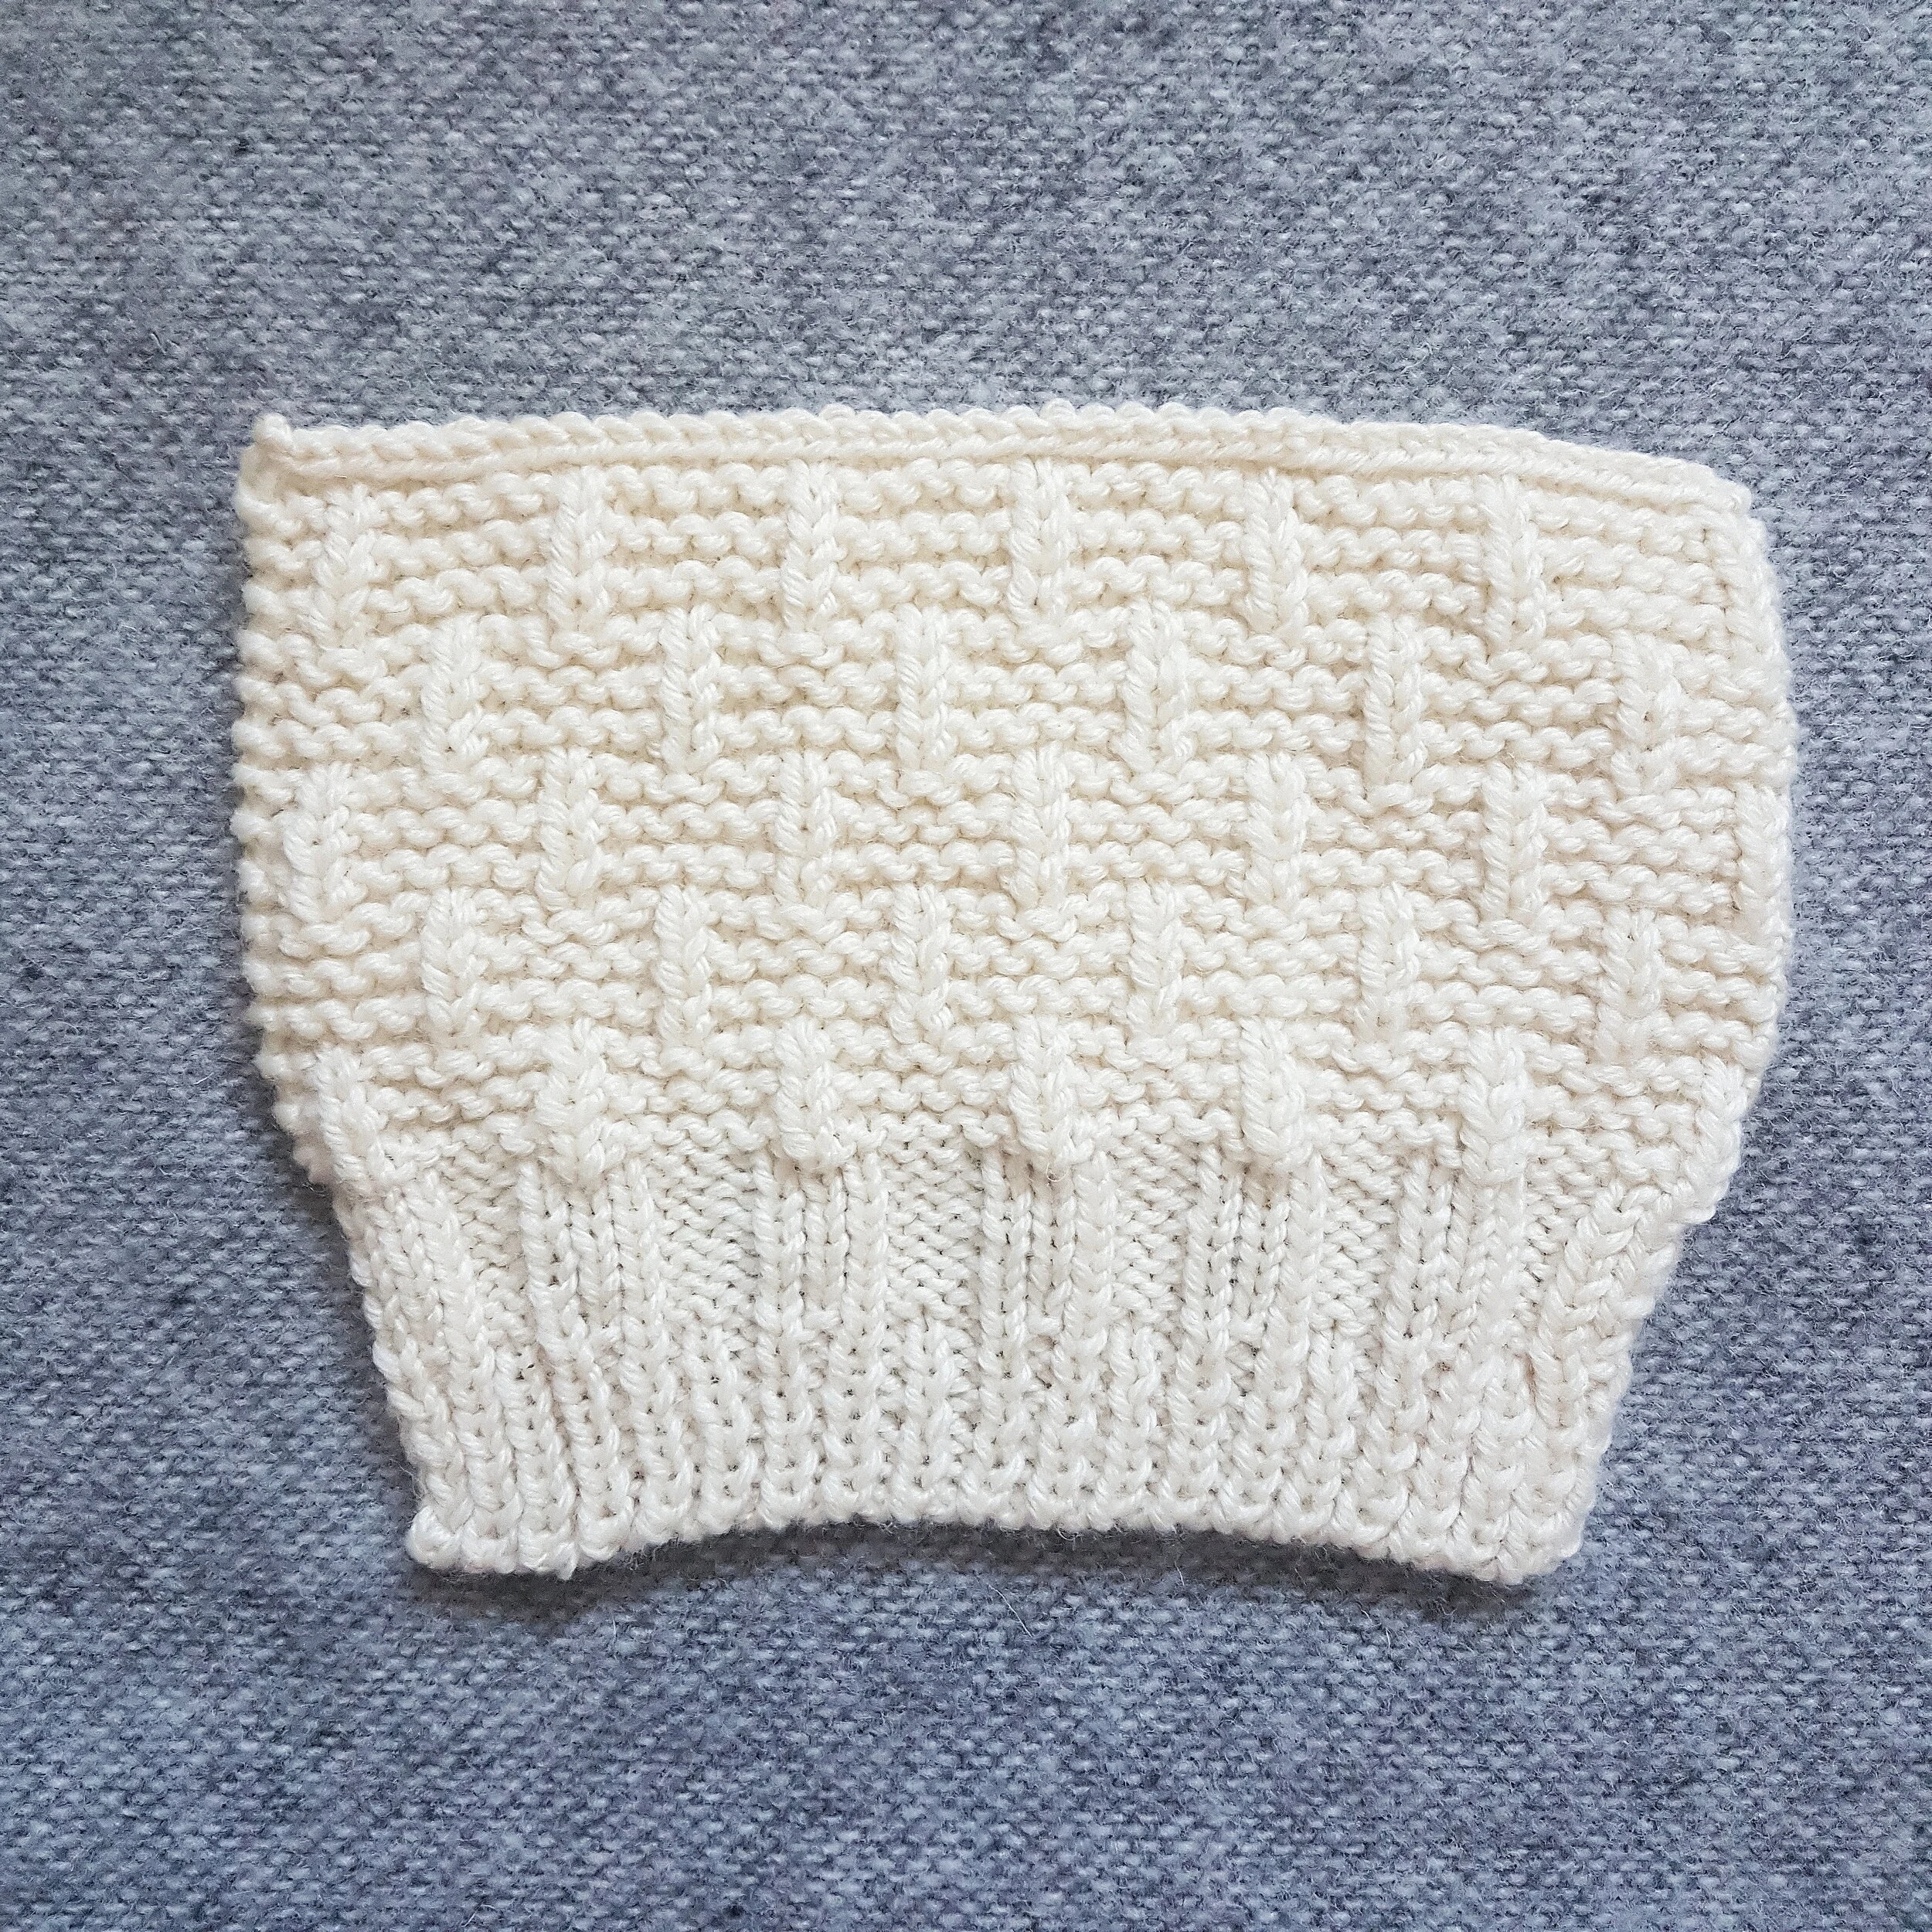
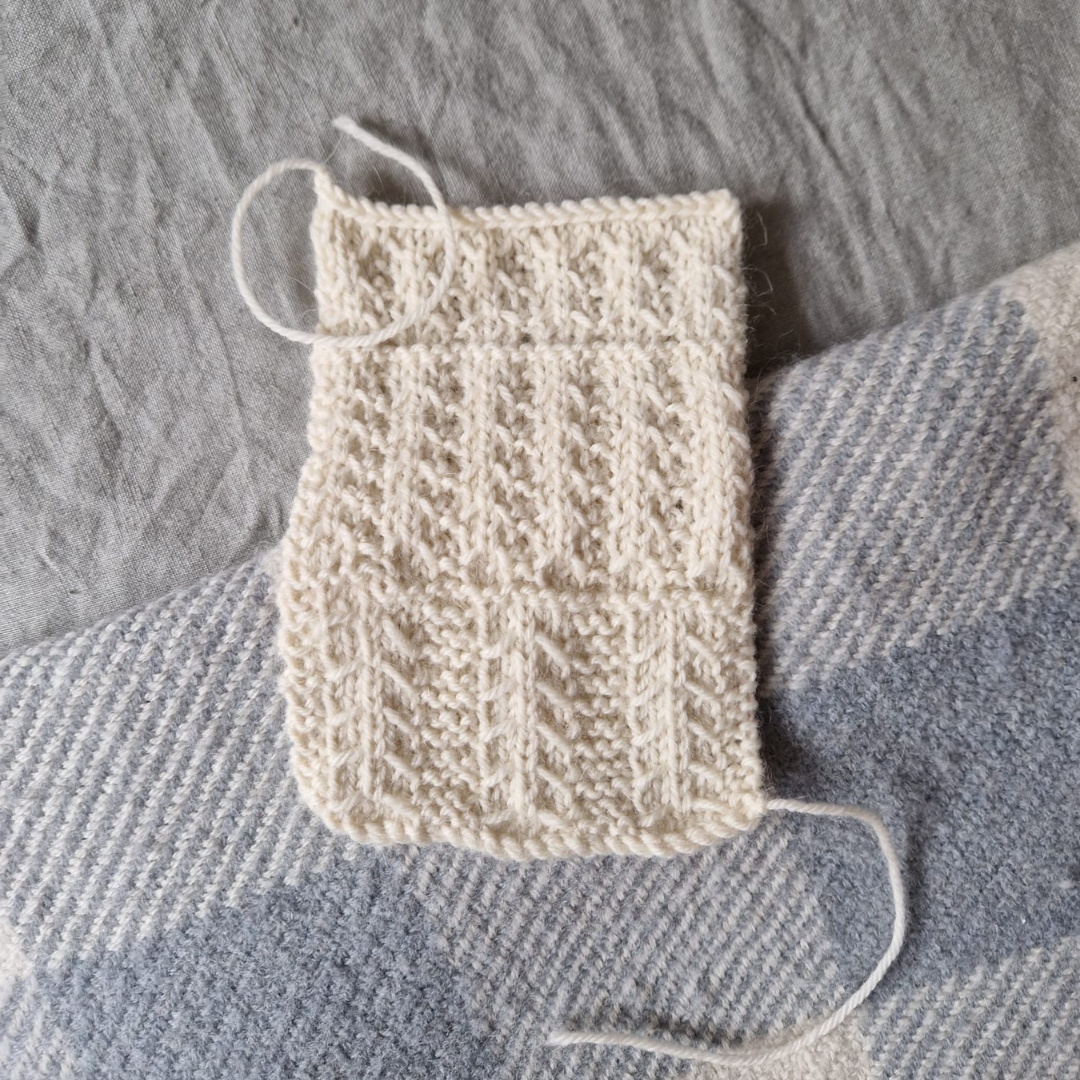
Once you’ve got a final design idea in mind, it’s time to think about your fabric. Using your moodboard and sketch as a guide, start charting and swatching up potential stitch or motif ideas in scrap yarn - you don’t need to use your final yarn at this stage.
After that, you will select your final yarn. It’s important to consider all of the key features of your sweater design and choose a yarn that will highlight them. Consider the impact of the fibre content, colour, and cost.
Using your chosen yarn, you will then swatch it up to decide on your finished fabric. Take your time with this! Sweater Design School students are taught to create at least 3 different styles of swatches, and many choose to make more than that!
You will likely need to experiment with needle sizes to achieve the drape or fabric density that you want. I also highly recommend testing out elements of your shaping or even construction in the swatching process to help you problem-solve the finer details of your design.
Stage 2: Outlining
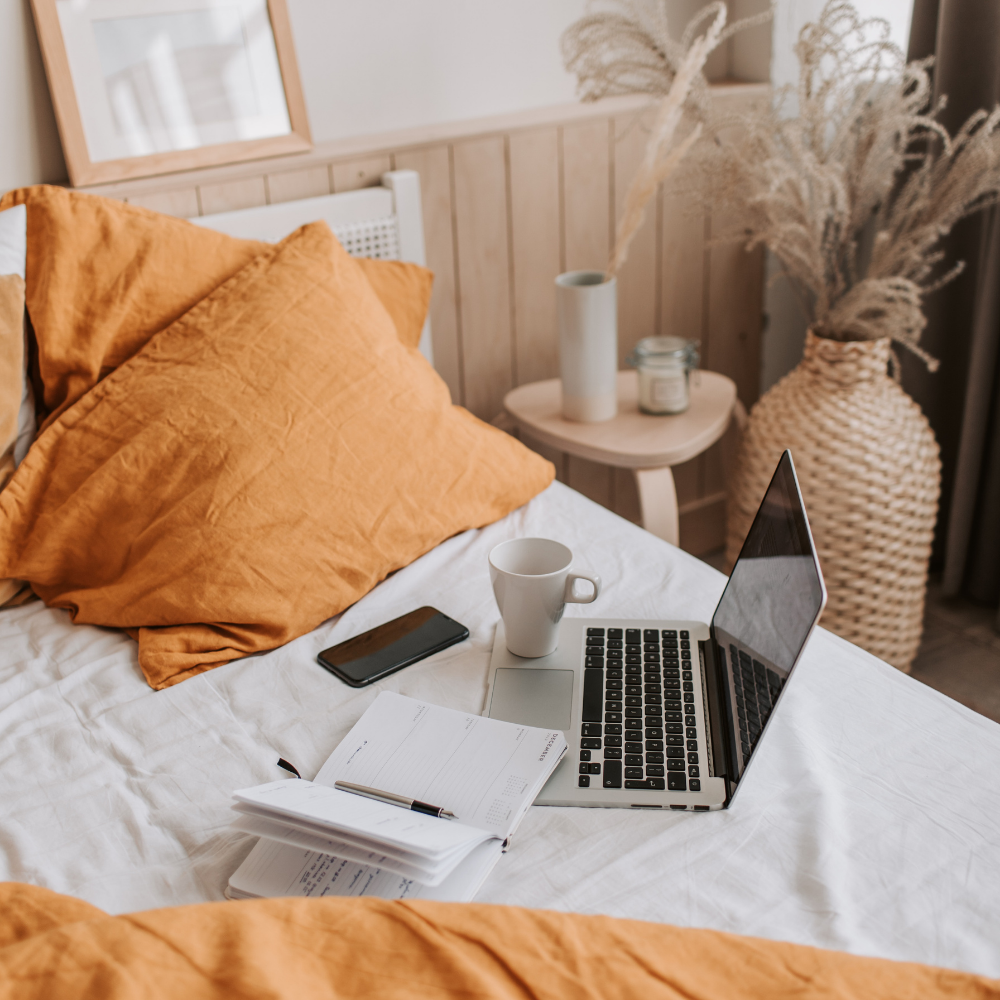
Once you’ve got a crystal clear understanding of what you’re designing and how you’re going to construct it, you are ready to outline the pattern inside of a spreadsheet.
You’ll start by using your size chart and ease preferences to calculate the finished measurements for your sweater, grading it across all sizes.
Then, using those finished measurements and your gauge swatches, you will start calculating all of the numbers in your pattern, including the stitch and row/round counts, the placement of your stitches or motifs and shaping.
I highly recommend that you work through these numbers in the order of the steps in which your sweater is constructed, as it will help you when writing your pattern up.
Stage 3: Writing
You’ve got your design planned and outlined in a spreadsheet, so now it’s time to bring all of your hard work together into the first draft of your sweater pattern.
Traditionally, knitting patterns follow a set structure to ensure that makers have all of the information needed to complete the pattern. This includes not only the pattern instructions but also notes around how the pattern is constructed and all of the yarn, needles and notions that the pattern requires.
You don’t need to lay it out properly yet - just use a simple Google doc. When you’re writing the pattern, it helps to mentally think through the construction of your sweater, step-by-step, and then draw from your spreadsheet to get the numbers you need.
You should also create any charts that makers will need, as well as draw the schematic for your design.
Stage 4: Testing
You might feel that your work is almost complete once you’ve finished writing your knitting pattern draft, but there is still a lot of important work left to be done in order to ensure you create a high-quality knitting pattern.
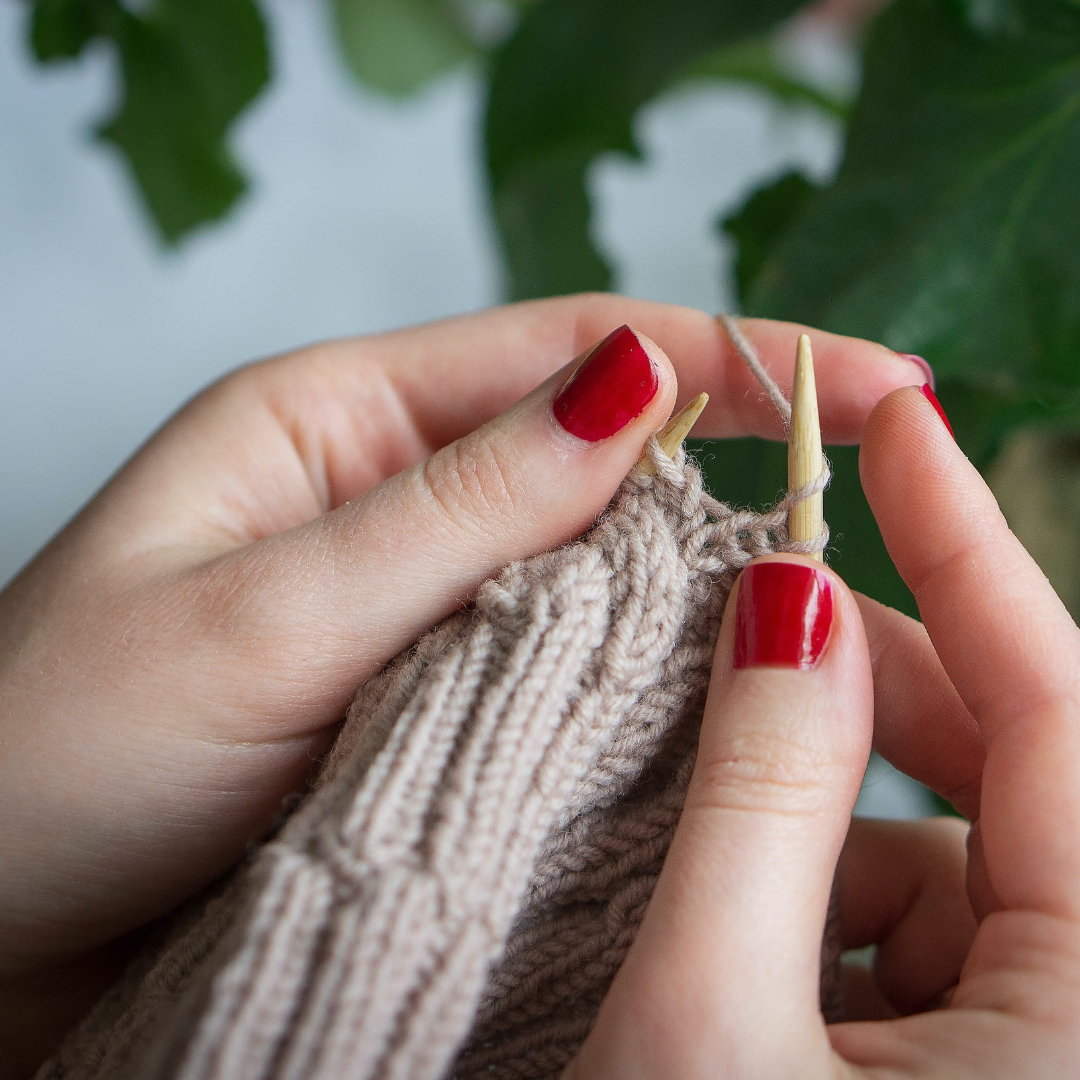
The most obvious next step is to knit your sweater sample. I recommend knitting your sample at this stage, simply because it allows you to “test” and fine-tune your pattern before it reaches your tech editor or test knitters. You’ll be able to catch little errors as you’re knitting, which is very helpful!
After that, it’s time to get the pattern tech-edited. Your tech editor will check all of the numbers in your sweater pattern to make sure that they add up correctly across all of the sizes. Depending on the services they offer, they may also go through the copy in your pattern, too, to make sure you don’t have any typos or sentences that don’t make sense. Based on their feedback, you will update your pattern draft.
Only once the pattern has been tech-edited and updated will you put it up for test knitting. You will need at least one test knitter per size, who will give you feedback on the pattern as well as their finished sweater.
Ideally, by this point, all of the errors will have already been found by you and your tech editor, however, there are usually a few things that slip through the net into test knitting. Try to update your pattern draft based on your test knitters’ comments as soon as you can to help you keep on top of it.
Stage 5: Presenting
The fifth and final stage of creating your sweater pattern is the presentation. This is the stage that many designers just want to rush through in order to move onto their next design, however, don’t fall prey to this! Stay committed and finish strong.
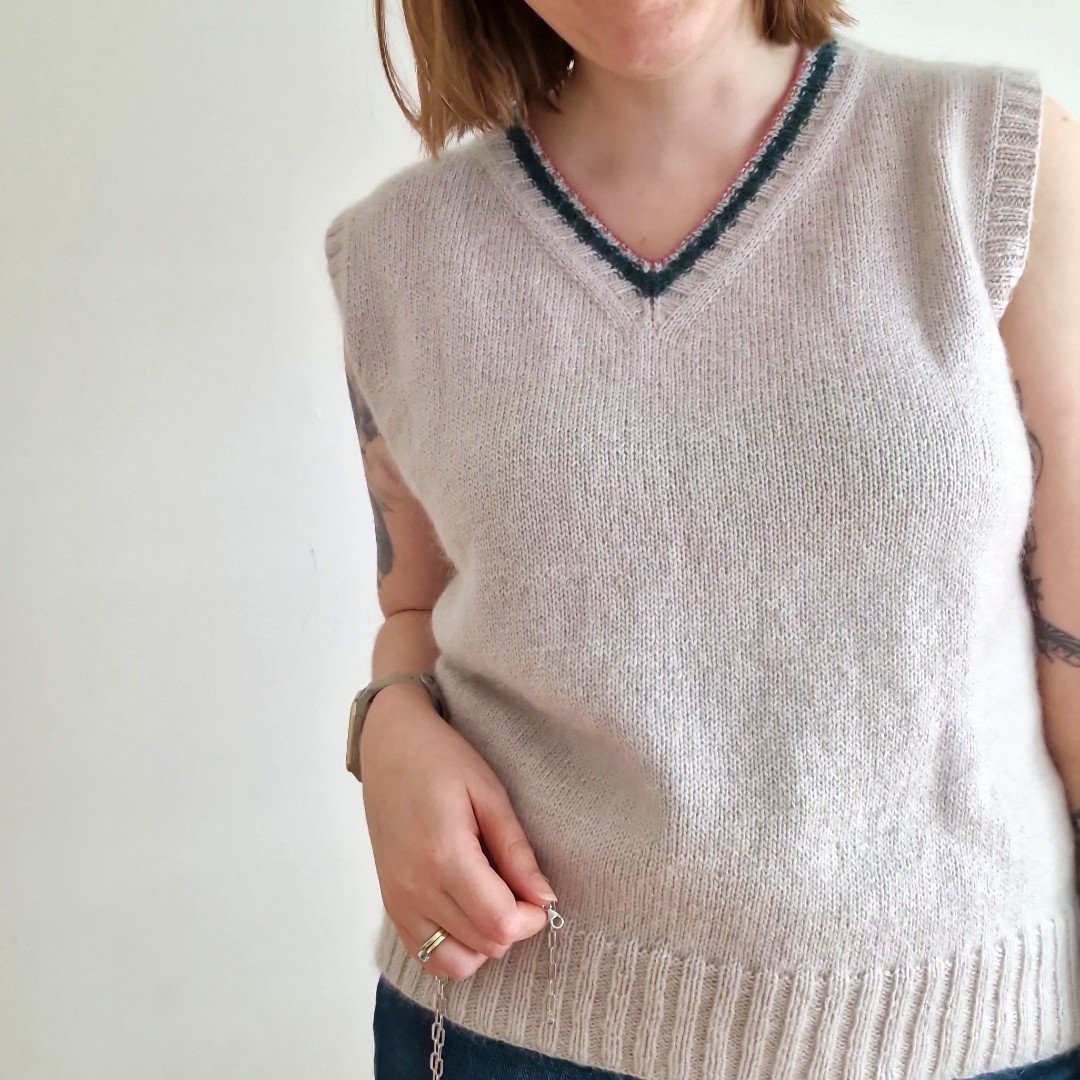
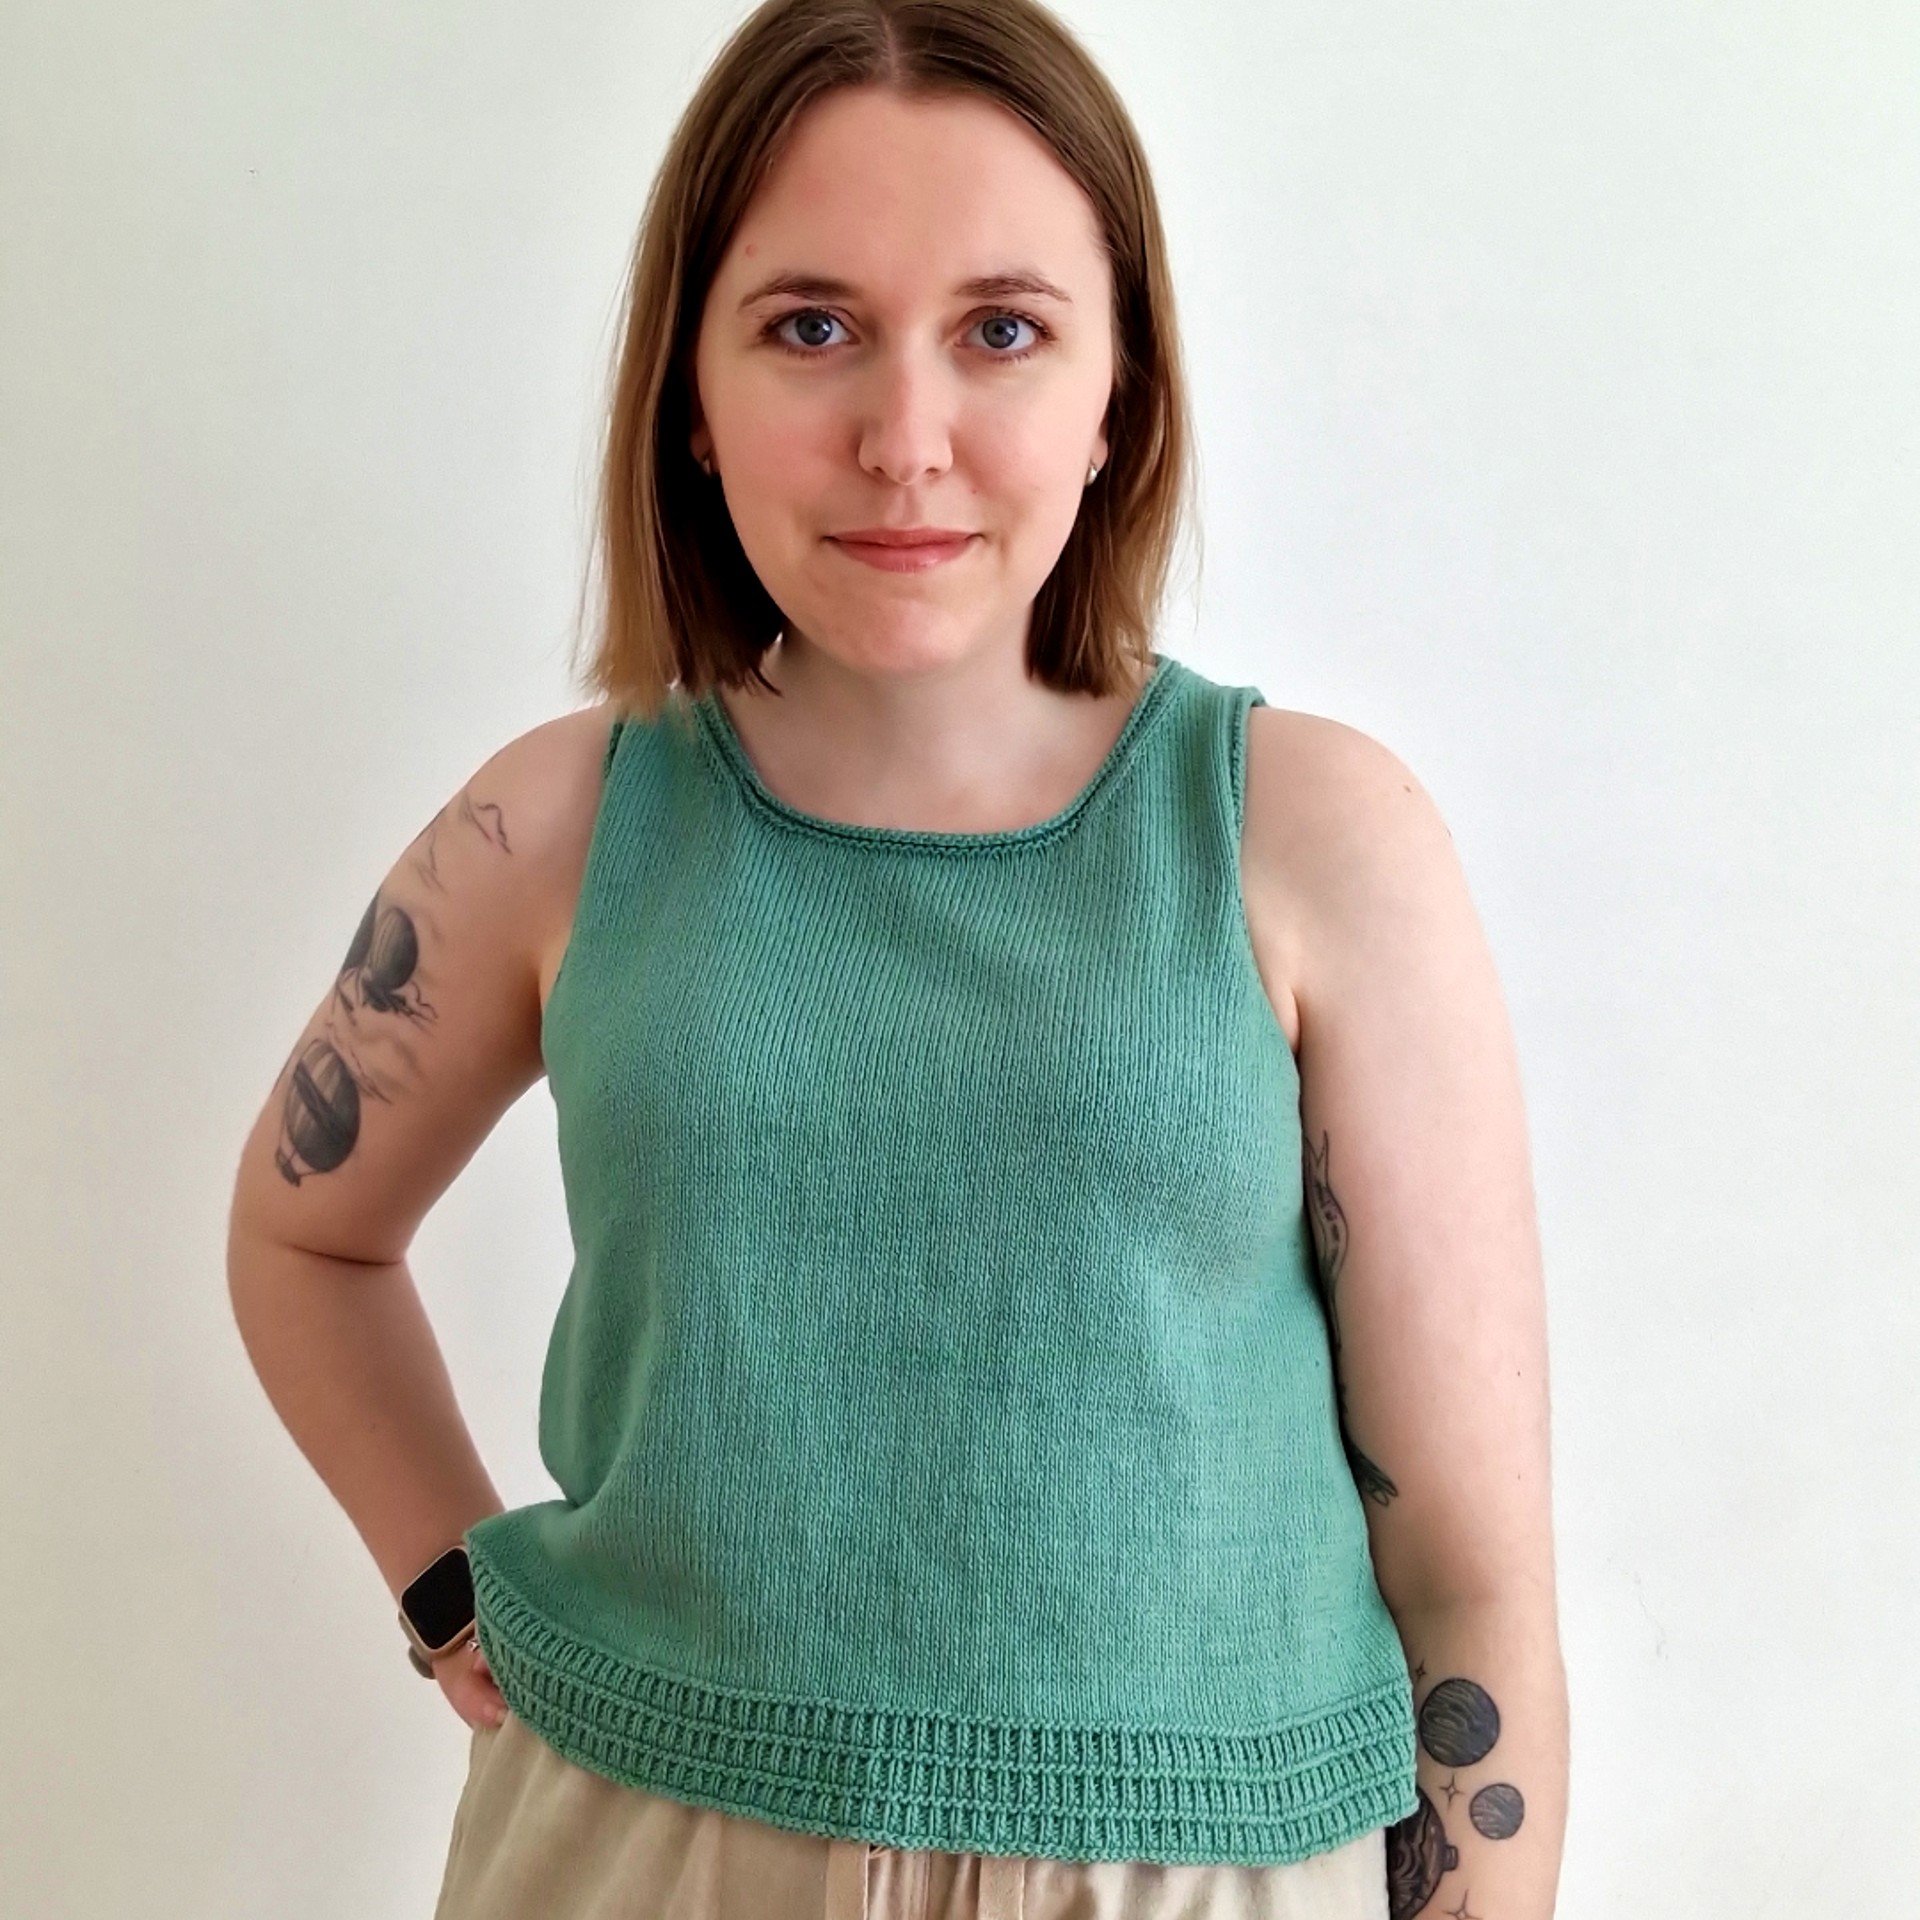
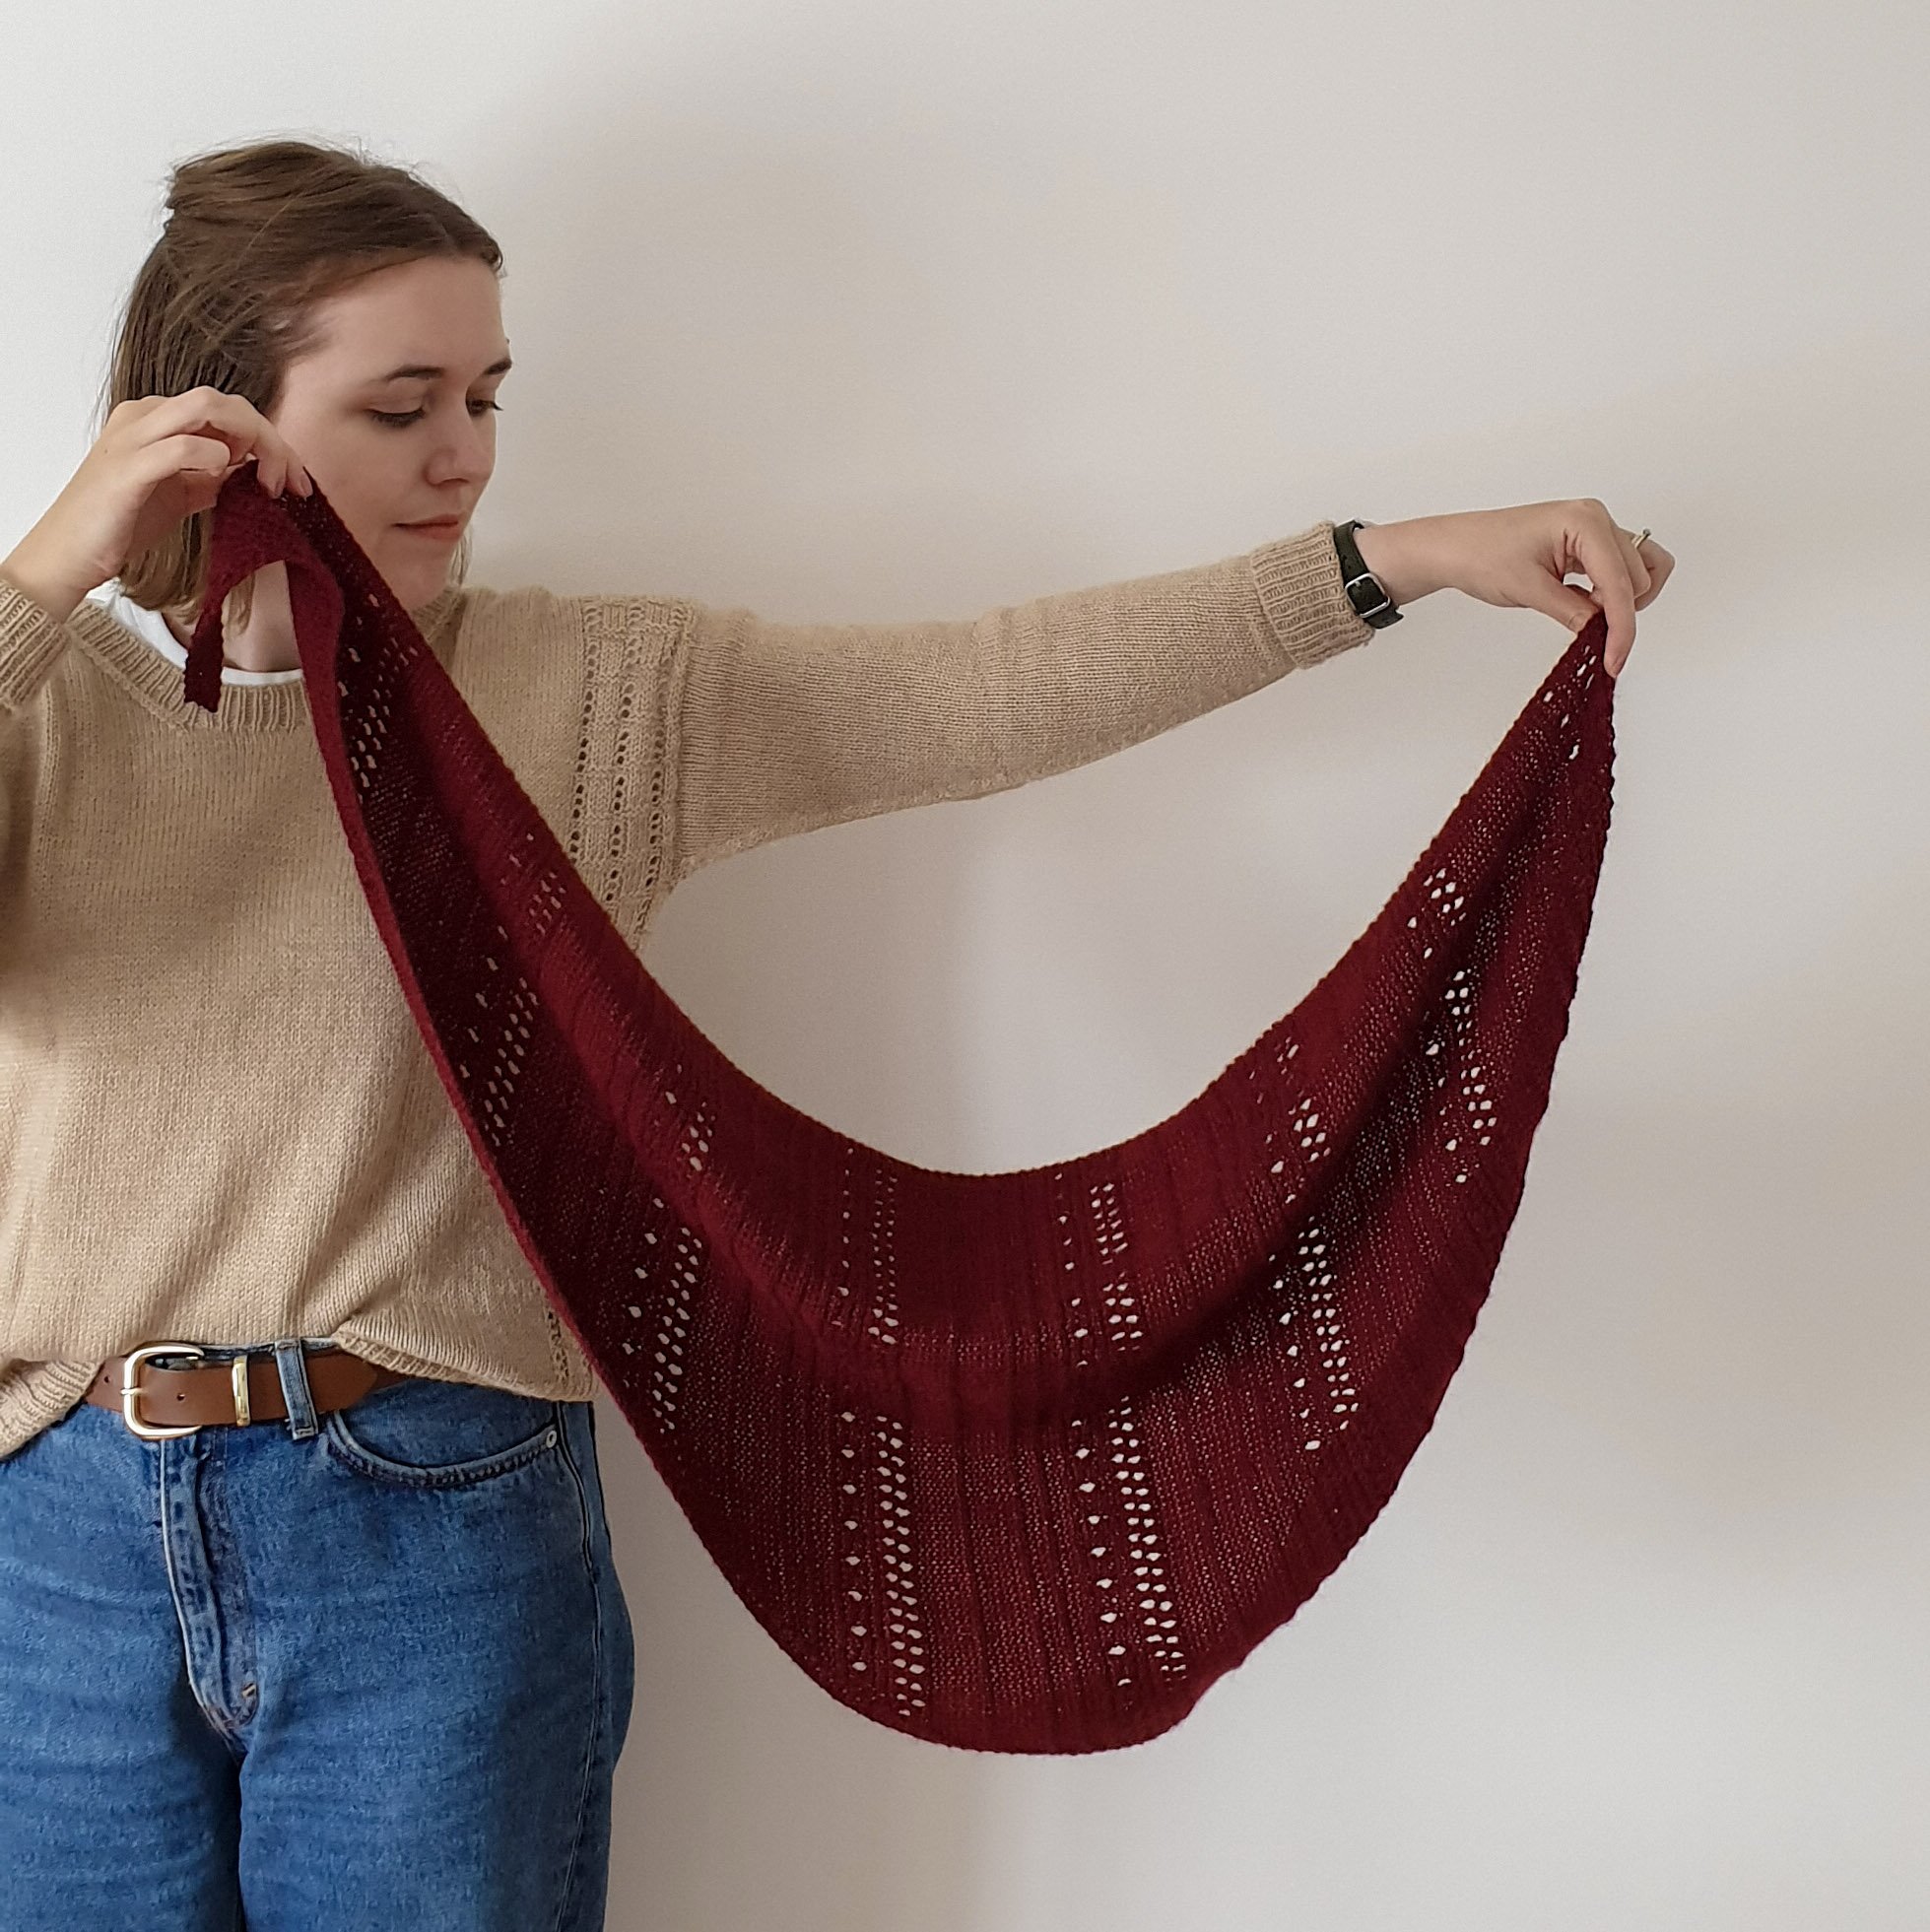
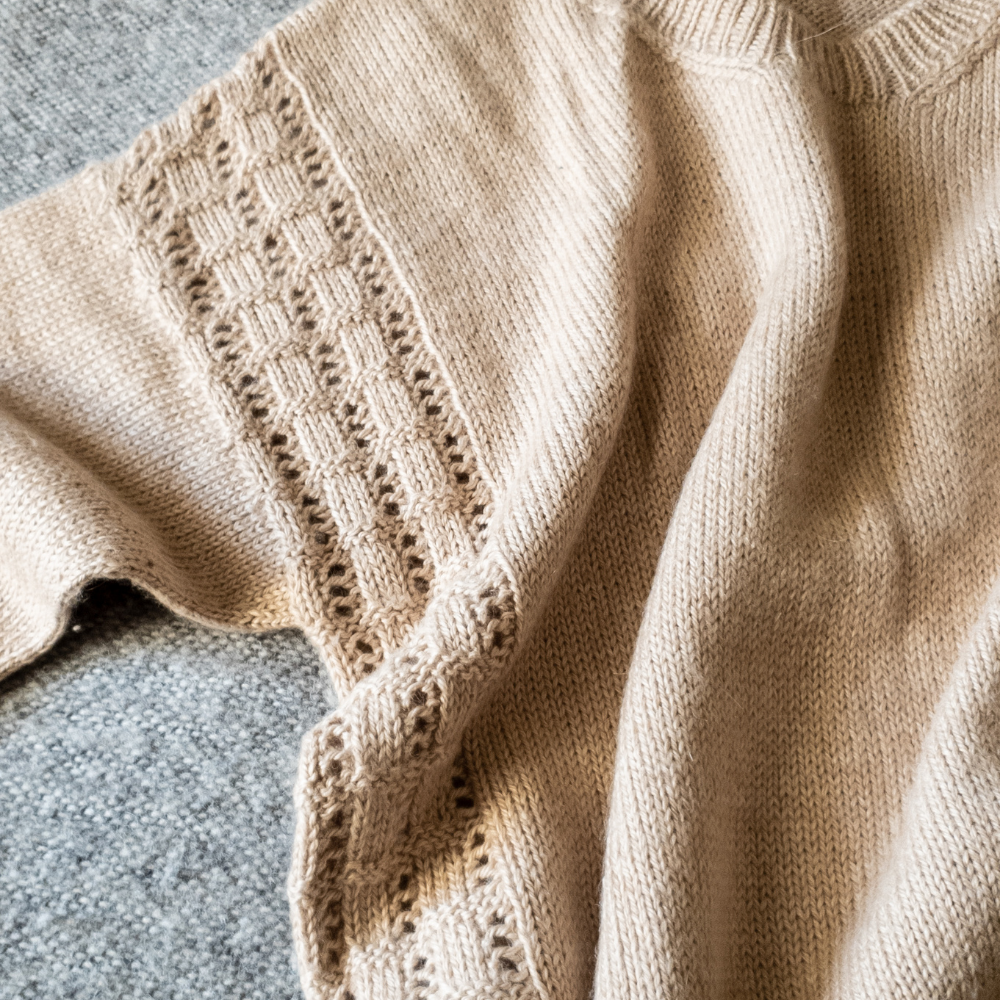
In this stage, you will photograph your sweater design in a clear and attractive manner, making sure to take plenty of detail shots that give makers lots of visual information about the design.
You will also take the final draft of your sweater pattern and lay it out into a professional, easy-to-follow PDF. There is no need to get too fancy here! You can still get good results from using a free word processor, such as Google Docs.
The main goal with your pattern presentation, whether that’s the pattern photography or the PDF itself, is to make it user-friendly. Makers shouldn’t have to zoom in to try and see the stitch used in your photographs, nor should they have to squint to try and read your typeface. Keep ease-of-use top of mind. The aesthetics of your pattern, whilst important, should be secondary.
Design Your First Sweater
And that’s how you design a sweater pattern! Now, as I mentioned earlier, there are a lot of moving parts in the design process, so to avoid overwhelm, stay focused on the stage you’re in before you start worrying about what’s next.